
This colorful backyard suncatcher curtain is one of those simple projects that looks far more impressive than it is. You’re taking bright translucent plastic bottle caps, drilling small holes in them, and stringing them into hanging strands on clear fishing line so they catch the light and flutter a little in the breeze. I love projects like this because they turn everyday odds and ends into something cheerful, and in a yard or on a porch, that little pop of color can make the whole space feel more welcoming.
If you enjoy easy, hands-on decorating projects and don’t mind a bit of repetitive assembly, this is a lovely one to make over a weekend. It’s especially nice for families, too, because you can sort colors together, plan patterns, and customize the curtain to fit a fence, pergola, porch opening, or garden corner.
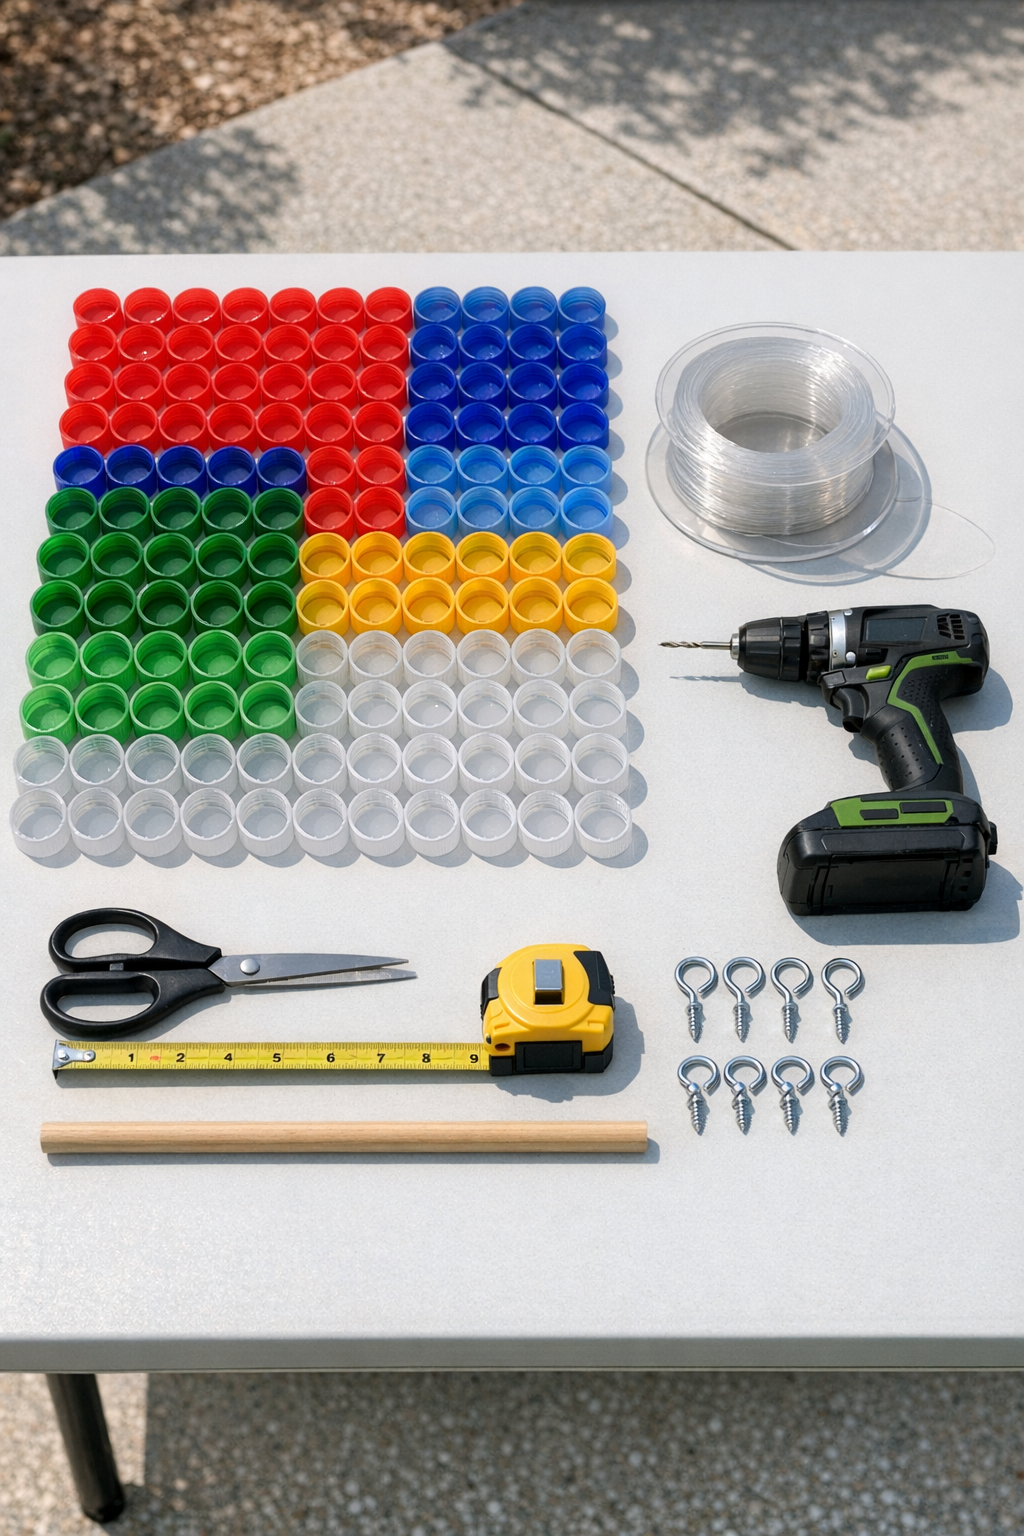
Materials
150 bright translucent plastic bottle caps, washed and dried, in mixed colors
Instructions
1. Wash all 150 bottle caps with warm soapy water, rinse them well, and let them dry completely so the finished curtain stays bright and clean.
2. Sort the caps by color and decide on your pattern before you drill anything; I like alternating warm and cool shades so the strands feel balanced when the sun hits them.
3. Cut your wooden dowel or choose a wood strip to the finished width you want, then mark strand placement every 2 inches across the length.
4. Mark each bottle cap with two small drill points opposite each other near the rim so the caps will hang flat and thread evenly into vertical strands.
5. Place a cap on the scrap wood and drill both holes slowly, then repeat for all 150 caps, clearing away any plastic bits as you go.
6. Cut your fishing line into lengths about 18 inches longer than your desired finished hanging length, since you’ll need extra for tying knots at the top and bottom.
7. Tie the first line securely onto the dowel at one marked position, leaving a neat top knot and a little room between strands.
8. Thread the first cap onto the line through both drilled holes so it sits horizontally, then add the next caps one by one, following your chosen color pattern.
9. After every cap, tie a small knot beneath it or use a clear bead as a stopper so the spacing stays in place; I usually leave 1 to 2 inches between caps for more sparkle and movement.
10. Repeat the threading process for each strand until all 150 caps are used, checking every few strands to keep the lengths visually even.
11. Tie a firm knot at the bottom of each strand under the last cap, and add a tiny dab of clear outdoor sealant to the knots if you want extra security.
12. Twist the screw hooks into the ends of the dowel and tie on the two hanging cords, then lift the curtain and hang it from a porch beam, pergola, fence crossbar, or sturdy outdoor bracket.
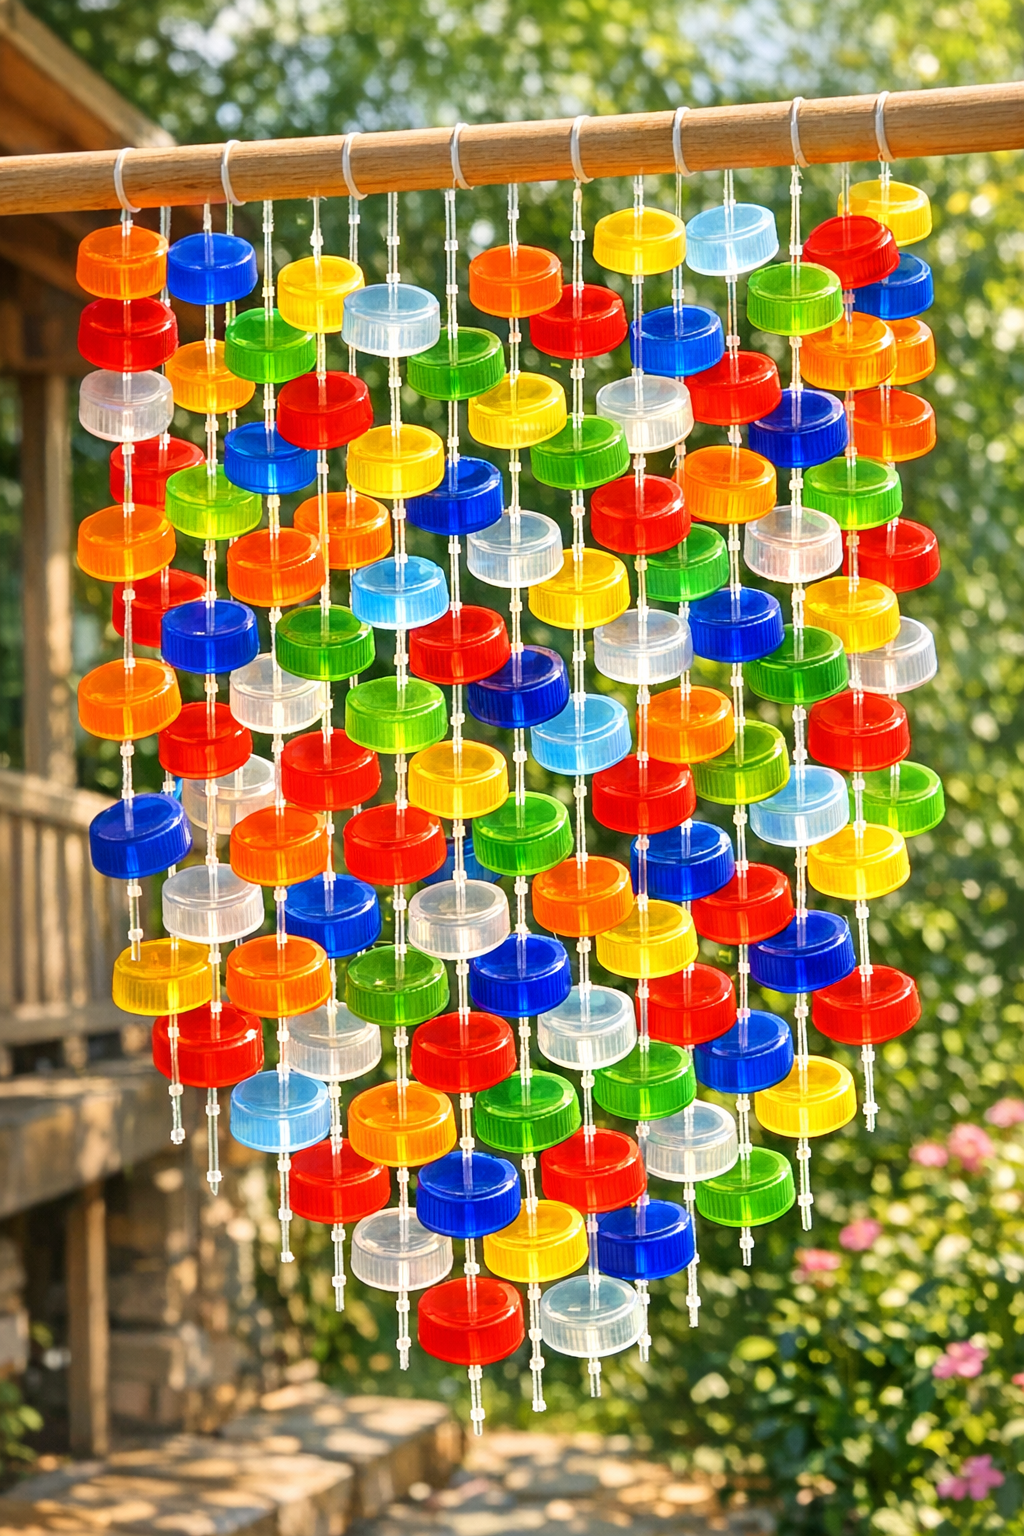
Variations & Tips
For a fuller curtain: Space the strands 1 to 1 1/2 inches apart instead of 2 inches apart, or make a second row behind the first for a thicker, more colorful look.
For picky color preferences: If someone in the family loves certain colors and avoids others, make each strand a single color or create a rainbow order so the finished curtain feels intentional instead of random.
For better weather resistance: Use UV-resistant fishing line if you can find it, and hang the curtain where it gets light but not constant strong wind to help it last longer.
For quieter movement: Leave a little more space between caps so they tap together less often in the breeze.
For a wider display: Join two dowels side by side or make matching panels rather than one extra-heavy piece; that’s usually easier to hang and simpler to store in colder months.
For easier drilling: Drill slowly and let the bit do the work, because pushing too hard can crack thinner caps. I like to keep a small bowl nearby for finished caps so the worktable stays manageable.
For kid-friendly planning: Let children help sort colors and design strand patterns, but keep the drilling and hanging steps for adults. It turns the project into a fun family decorating activity without making it stressful.