
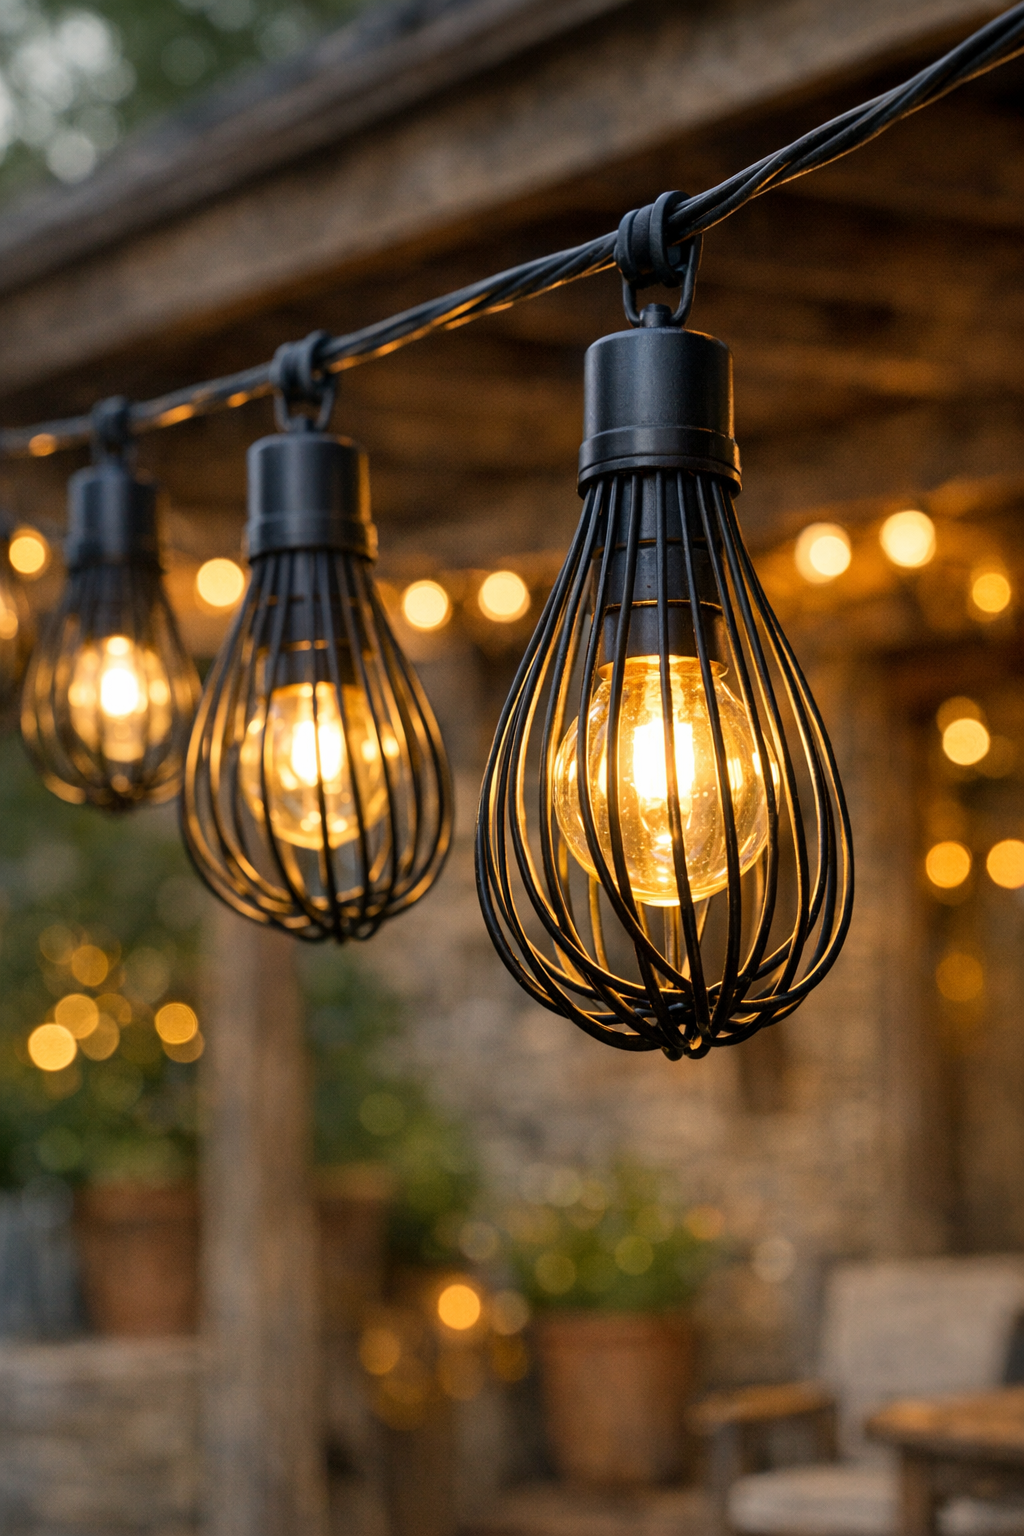
There’s something deeply satisfying about turning a humble kitchen tool into outdoor décor that looks far more expensive than it is. In this project, I’m taking 20 silver metal kitchen whisks, giving them a coat of matte black spray paint, and slipping them over warm white LED patio bulbs to create rustic string lights with a clever, sculptural look. The result feels a little farmhouse, a little industrial, and very cozy once the sun goes down.
As someone who spends plenty of time thinking about how presentation changes the mood of a table, I love projects like this because they rely on the same principle: simple ingredients, thoughtfully handled, can become something memorable. This is a good weekend DIY for anyone who wants to dress up a patio, balcony, pergola, or backyard seating area without rewiring anything complicated.
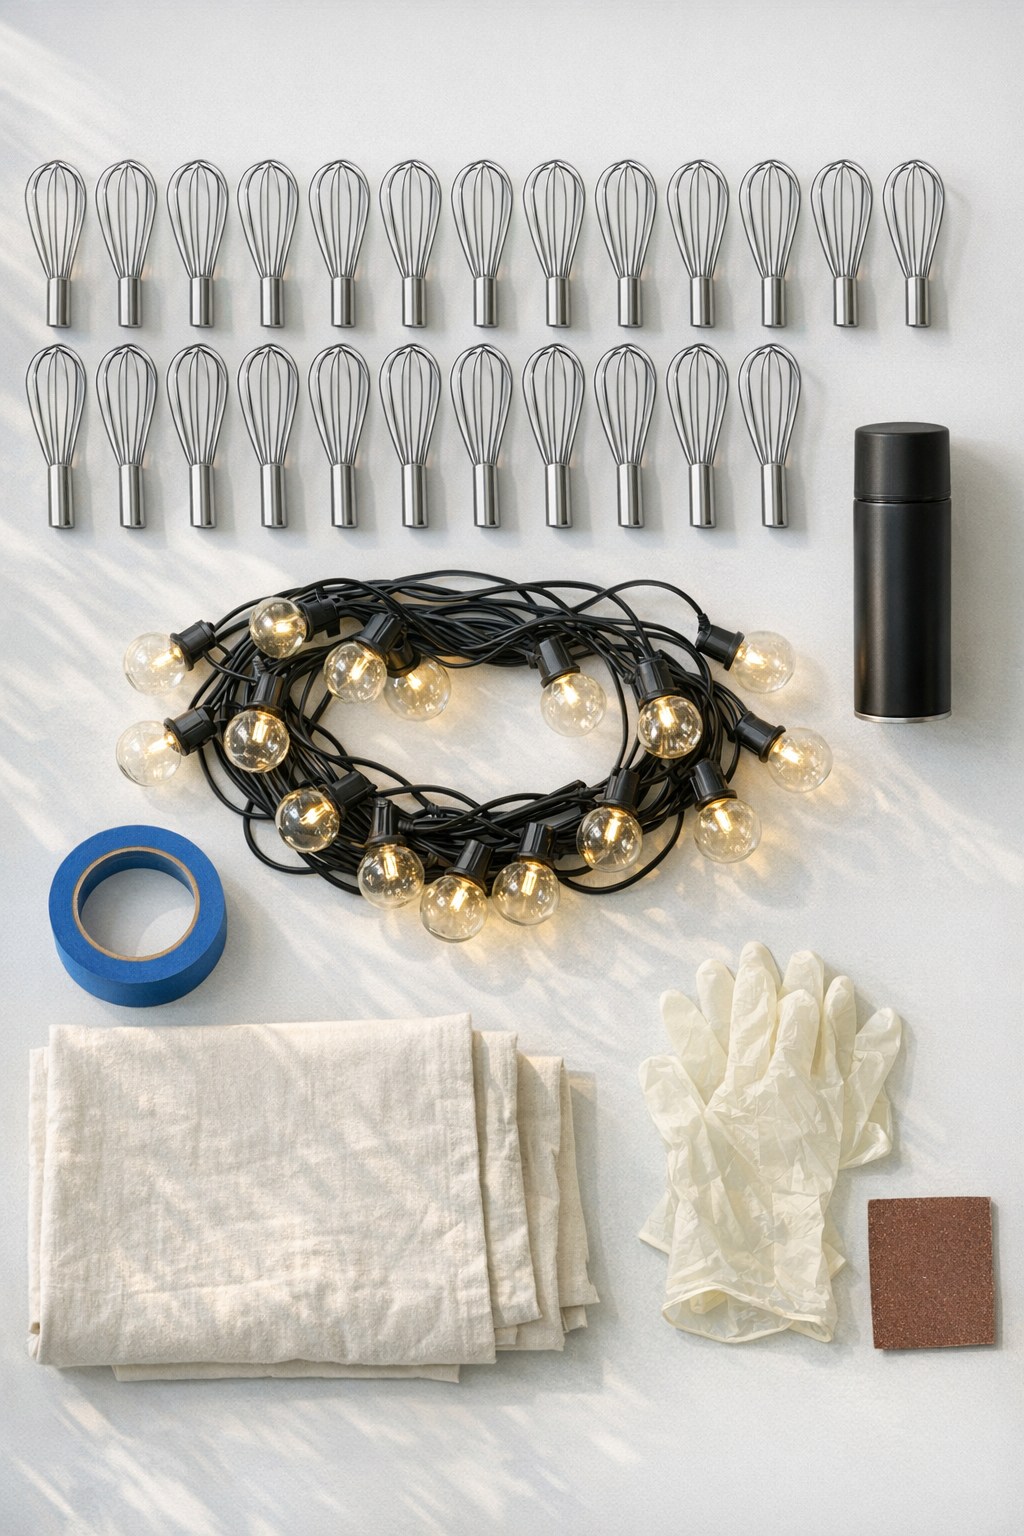
Materials
Instructions
1. Wash all 20 whisks in warm water with dish soap to remove oil and residue, then dry them completely with a lint-free cloth.
2. Lightly scuff the outside of each whisk with 220-grit sandpaper so the spray paint has a better surface to grip.
3. Set the whisks on a drop cloth or large cardboard sheet in a well-ventilated outdoor area, spacing them a few inches apart so you can spray evenly.
4. Apply a light first coat of matte black spray paint to the whisks, sweeping side to side and rotating as needed to reach the curved wires.
5. Let the first coat dry according to the can directions, then apply a second light coat for fuller, more even coverage.
6. Check the whisks from different angles and touch up any shiny silver spots, especially around the inner wires and handle edges.
7. Allow the paint to cure fully before assembly so the finish does not scratch when you handle the whisks.
8. Unplug the LED string lights and lay them flat on your work surface, making sure the bulbs are cool and evenly spaced.
9. Starting at one end, gently slip the bulb through the open wire end of a painted whisk so the bulb sits inside the whisk cage.
10. Repeat with the remaining 19 bulbs, using one whisk per bulb and adjusting each whisk so it sits straight and centered.
11. If any whisk feels loose, wrap a small piece of painter’s tape near the bulb base or socket area to help the whisk stay in position without forcing it.
12. Hang the finished string lights across a patio, fence, pergola, or balcony rail, keeping the strand supported according to the manufacturer’s spacing guidelines.
13. Plug in the lights and make final adjustments so the whisk shades face consistently and the glow looks even along the full strand.
Variations & Tips
For a more weather-ready finish: Choose an outdoor-rated spray paint that bonds to metal, and let the whisks cure fully before hanging them outside.
If your bulbs are larger: Test one whisk on one bulb before painting all 20. Kitchen whisks vary quite a bit in wire spread, and it’s much easier to swap sizes early than after finishing the whole batch.
For a softer rustic look: Use satin black instead of matte black. Matte gives a more aged, wrought-iron feel, while satin reads a little cleaner and slightly more polished.
Placement tip: These look especially nice over a dining area or seating nook where the whisk shapes can be appreciated up close. I’d avoid placing them so high that all that texture disappears.
Safety note: Use only cool-running LED bulbs for this project, not incandescent bulbs. LEDs are the better choice here because they stay much cooler and are safer around painted metal covers.
Budget-friendly shortcut: If you source mismatched whisks from thrift stores, the finished strand can actually look even more charming. A little variation in shape gives the lights a collected, handmade character.