
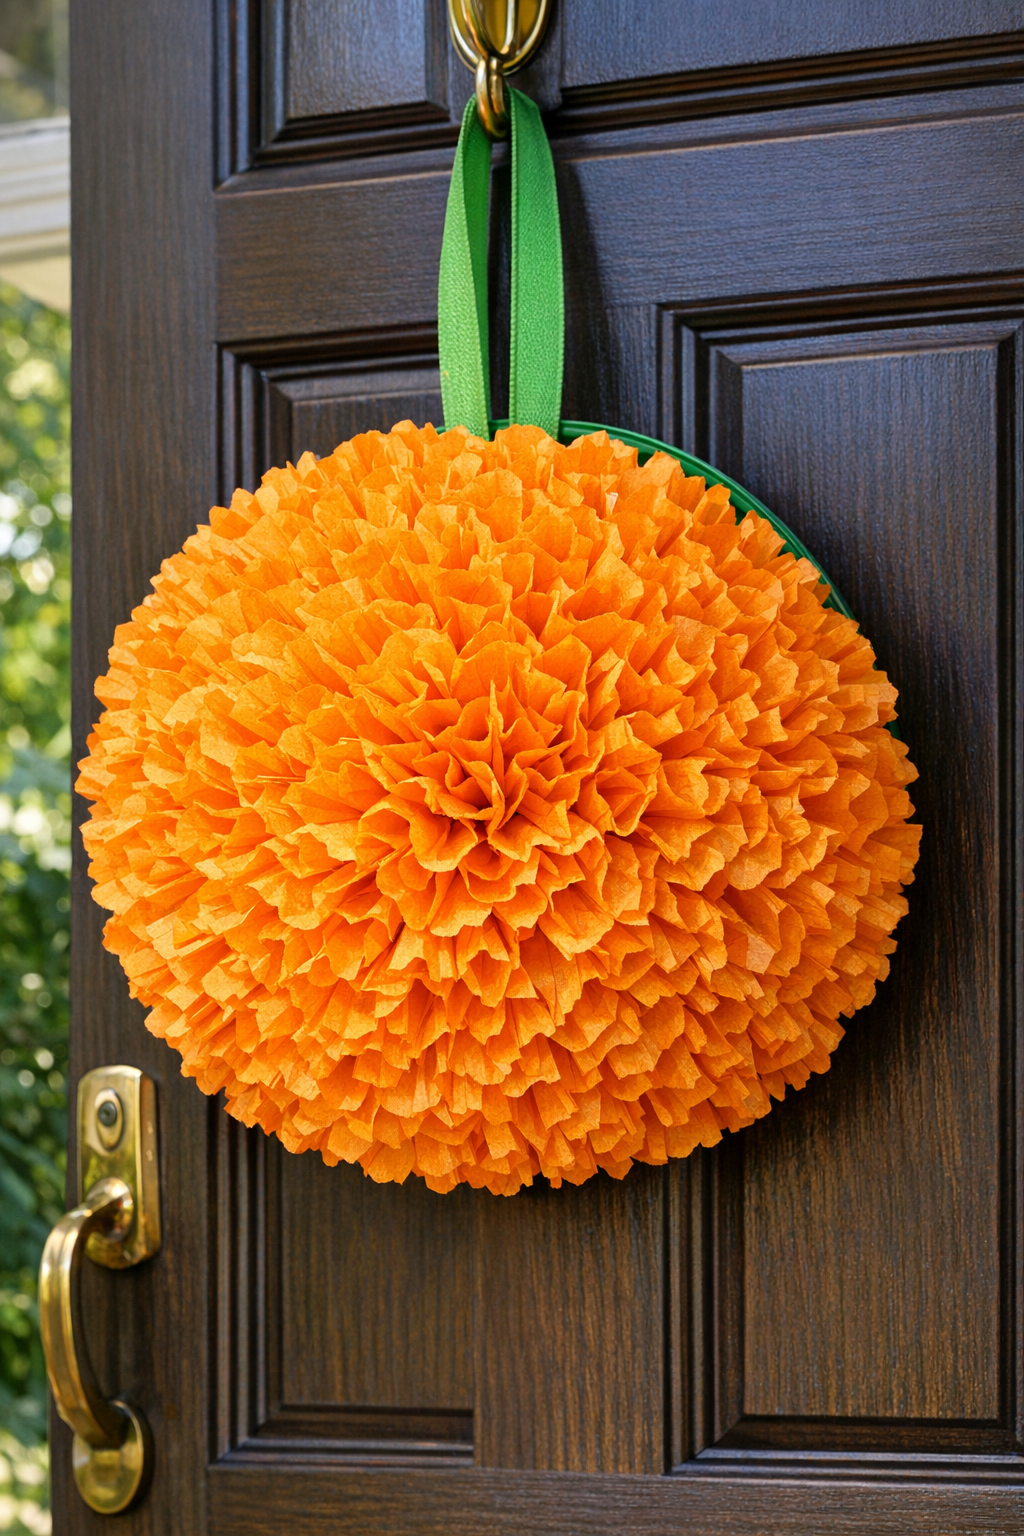
This giant summer marigold door hanger is one of those projects that looks surprisingly high-end for how simple it is. By folding bright orange paper coffee filters and gluing them into a green plastic serving bowl, you get a big, cheerful bloom that has that full, ruffly marigold look without needing fancy supplies or a whole free weekend.
I love projects like this because they fit real life. When I want to make my front door feel seasonal but I do not have time for a full wreath build, this kind of quick craft is exactly my speed. If you like bold summer color, budget-friendly decor, or easy crafts you can finish in an evening after work, this one is a very fun option.
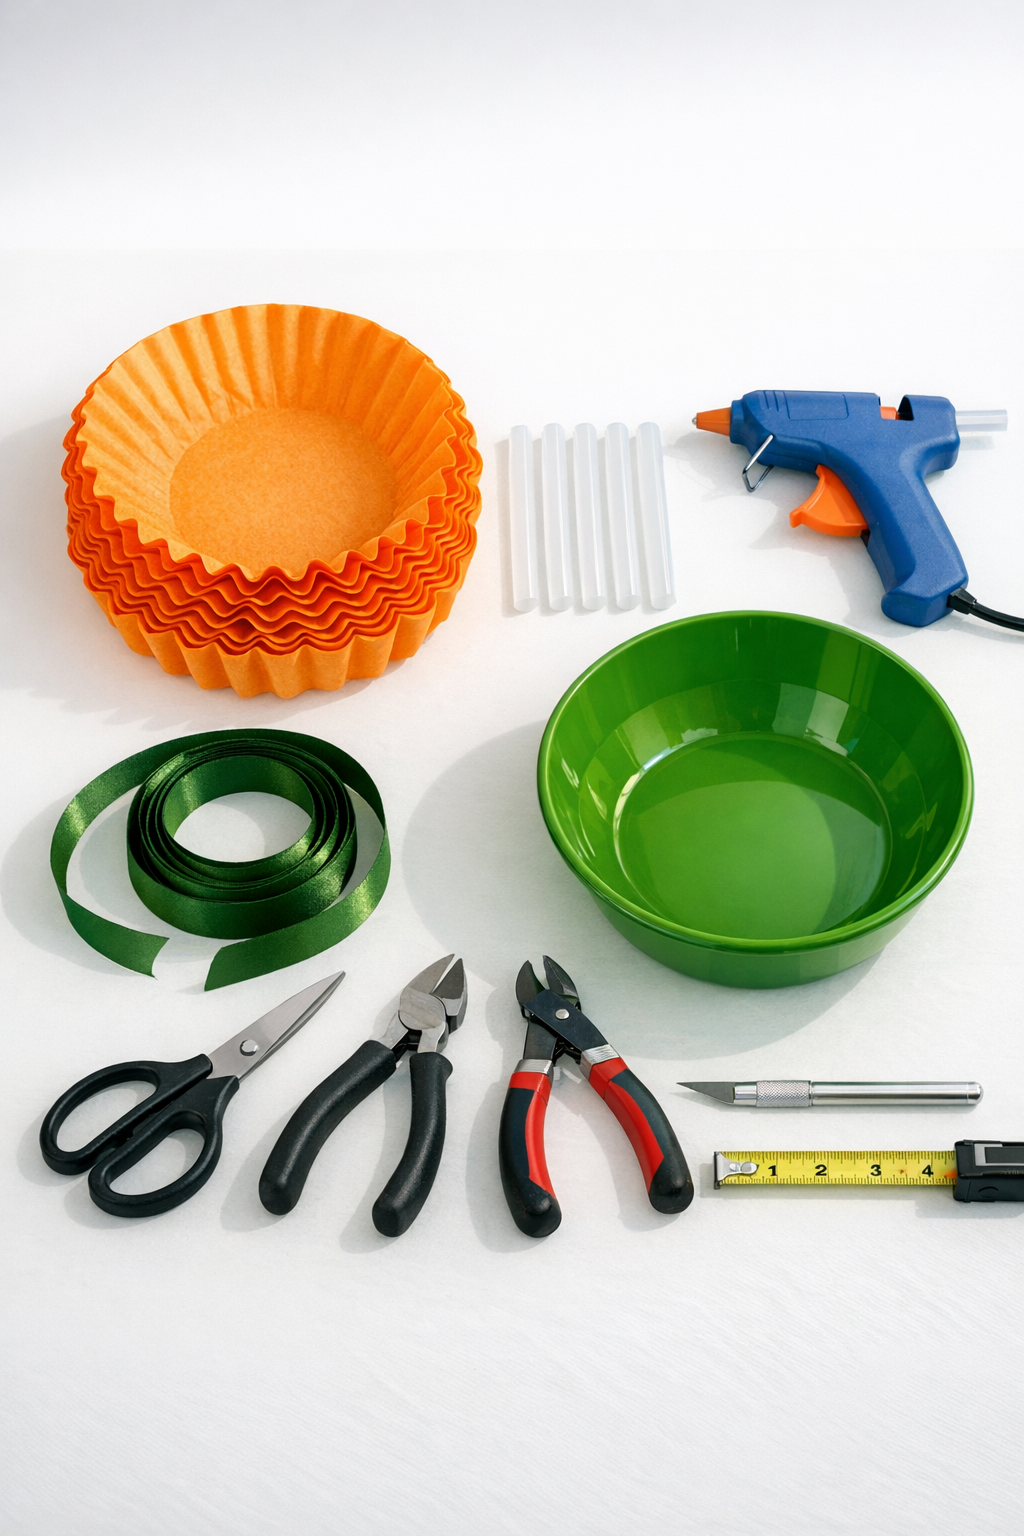
Materials
Instructions
1. Set up your work area with the bowl upside down so the bottom becomes the back of the hanger and the open side faces you. Plug in the hot glue gun and let it fully heat while you prep the filters.
2. Fold each orange coffee filter in half, then in half again to make a loose wedge shape. Pinch the pointed end so each filter has a gathered base and a fuller ruffled edge.
3. If you want a hanging loop hidden at the top, make two small holes near the rim on the back side of the bowl, about 1 inch apart. Thread the 18-inch ribbon through the holes and knot it securely inside the bowl, or secure it with floral wire for extra strength.
4. Start gluing the first outer row of filters around the bowl’s rim, placing hot glue on the pinched end of each filter and pressing it to the plastic for a few seconds. Overlap each filter slightly so there are no gaps and the ruffled edges fan outward like petals.
5. Add a second row just inside the first, staggering the filters so each new petal lands between two petals from the outer row. This layering is what gives the flower that fluffy, rounded marigold shape.
6. Continue filling the bowl with additional rows, working inward in tighter circles and adjusting the angle of the filters slightly upward as you go. Use more glue near the center where the surface curves more sharply and the petals need extra hold.
7. Glue the final few filters tightly into the center, fluffing the ruffled edges with your fingers before the glue fully cools. If the middle looks flat, add one or two extra folded filters standing a bit more upright for fullness.
8. Turn the hanger over and check that the ribbon loop feels secure and balanced. If needed, glue a small felt circle over the knot or wire on the inside of the bowl to keep the back neat and help stabilize the hanger.
9. Add the optional green ribbon bow at the top or slightly off to one side by tying it first and then hot-gluing it near the hanger loop. Keep it small enough that it accents the flower without covering the petals.
10. Hang the finished marigold on a protected front door, covered porch wall, or inside entryway and fluff any compressed filters once it is in place. The finished piece should look full, round, and bright from a distance.
Variations & Tips
Make it bigger: Use a 12- to 14-inch bowl and increase to 100 to 120 coffee filters if you want a more dramatic oversized flower for a wide porch.
Use two shades: Mix deep orange and golden yellow coffee filters, or lightly spray-paint a few filters before folding, to give the marigold more dimension.
Help it last longer: This project is best on a covered door or porch since paper can fade or soften in direct rain and harsh weather. I would definitely keep it out of the elements if you want it to stay pretty for more than a season.
Work in batches: If you are squeezing this into a busy evening like I usually do, fold all 80 filters first, then glue in rows. That assembly-line approach makes the project go much faster.
Choose the right glue setting: A high-temperature glue gun tends to hold better on slick plastic than a low-temp one. Test one filter first so you know how quickly the glue sets on your bowl.
Try a different finish: Skip the bow for a cleaner modern look, or add a few green felt leaves near the top if you want the hanger to read more like a flower and less like a wreath.