
If you have a pile of muddy rain boots by the back door, this simple outdoor boot rack is one of those little projects that makes daily life feel so much easier. I love a DIY that uses inexpensive materials in a clever way, and turning a wooden crate into a boot rack with sliced pool noodles as dividers is exactly that kind of project. It keeps boots upright, helps them dry faster, and gives the patio or mudroom corner a much tidier look.
This is a great beginner project because there’s no complicated building involved, just a little measuring, cutting, and fitting. I especially like this one for families, because everyone can have their own boot slot, and it’s soft enough that little kids’ boots won’t get scratched up when they’re shoved in after a wet afternoon outside.
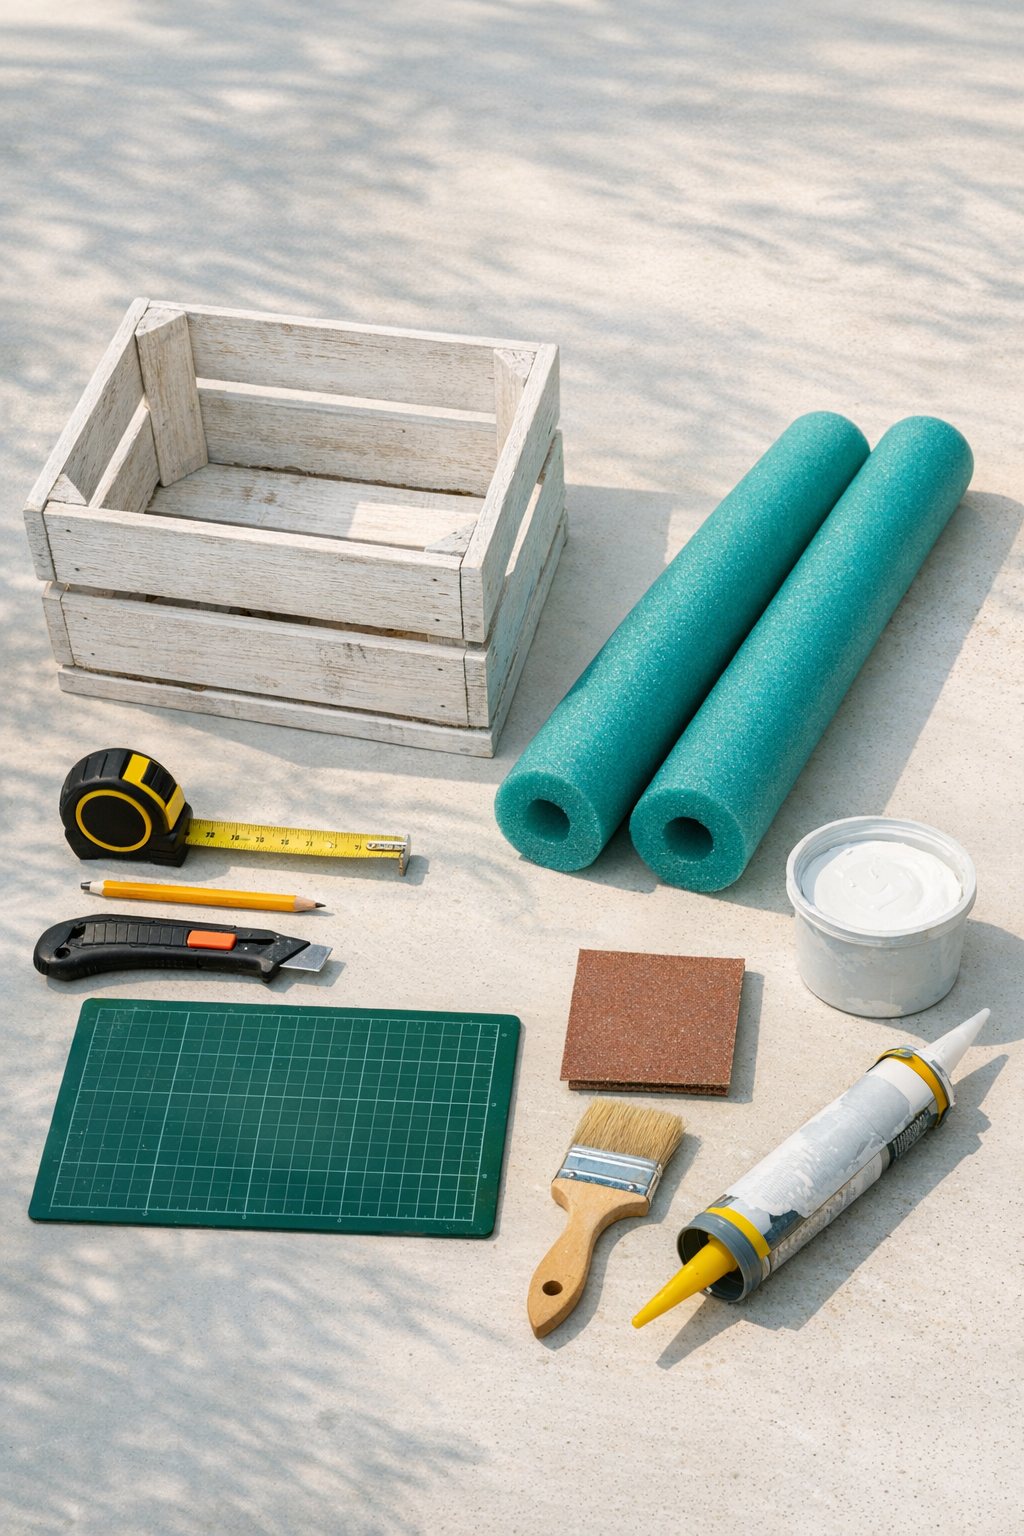
Materials
Instructions
1. Lightly sand the wooden crate to smooth any rough spots, especially around the top edges and slats. Wipe away the dust with a damp rag so the finish will go on evenly.
2. Apply a thin coat of white exterior paint or whitewash over the entire crate, working it into the slats and corners. Let it dry completely before handling.
3. Measure the inside width of the crate from one long side to the other, then write that measurement down. This will be the length for each pool noodle divider.
4. Mark the pool noodles into equal sections using the inside width measurement; most crates will need pieces about 12 inches long. Cut the noodles cleanly with a utility knife on a cutting mat or scrap board.
5. Test-fit the cut noodle pieces inside the crate, placing them side by side across the width of the crate to create divider rows. Adjust the number of pieces until the crate feels full but not overly compressed.
6. Run a thin bead of waterproof construction adhesive along the bottom of the crate where each noodle piece will sit. Press each noodle section firmly into place so the rows stay snug and evenly spaced.
7. Let the adhesive cure according to the package directions, keeping the crate flat while it sets. If you’re using a clear outdoor sealer, brush it onto the crate once the paint is dry and cured.
8. Add rubber furniture pads to the bottom corners if the rack will sit on concrete or wood decking. This helps with drainage, keeps the crate from sliding, and protects the surface underneath.
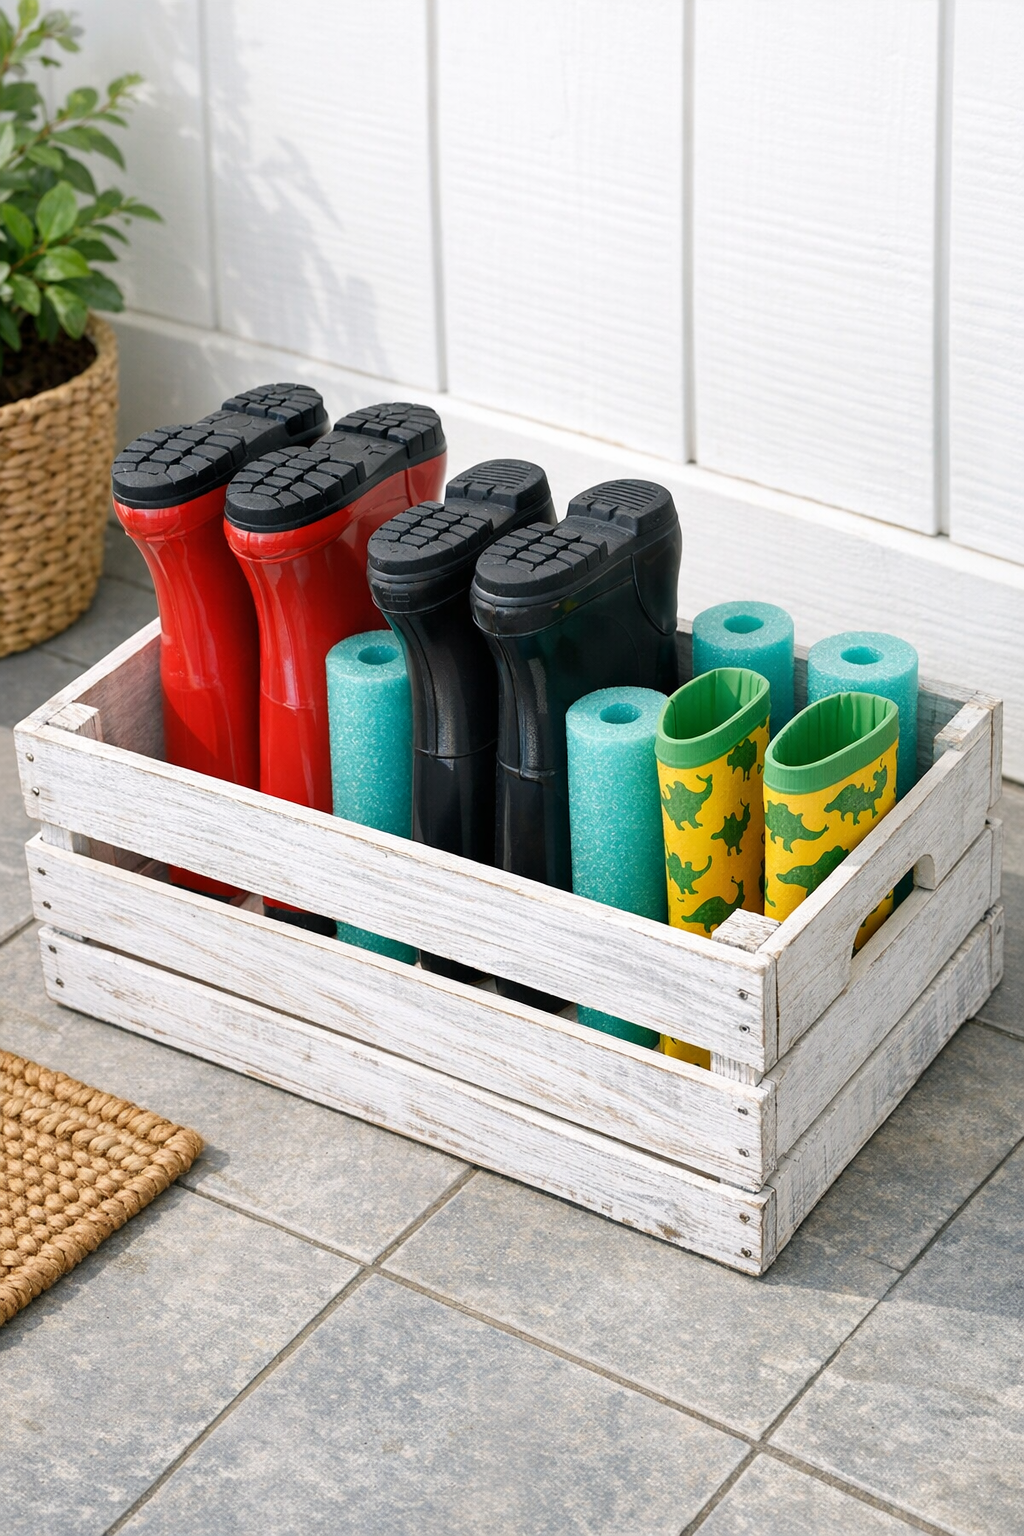
9. Slide boots upside down between the noodle dividers so each pair stands upright and can drip dry. Set the finished rack on a covered patio, porch, or mudroom entry where wet shoes usually collect.
Variations & Tips
For bigger family boot collections: Use two matching crates side by side, one for adult boots and one for kids’ boots. In my house, that little bit of separation makes it much easier for everyone to find their own pair without digging.
For picky color preferences: If bright teal doesn’t fit your space, use black, gray, or neutral pool noodles if you can find them, or paint the crate a color that ties everything together. I like the whitewashed look because it keeps the whole project feeling fresh instead of too playful.
For taller boots: Choose a deeper crate so the dividers feel more secure under heavy rain boots. You can also space the noodle rows slightly farther apart to make room for wider shafts.
For extra drainage: Drill a few small 1/4-inch holes in the crate bottom before painting if the rack will live outside full-time. That helps water drain away instead of pooling under the boots.
For easy cleaning: The noodle inserts can be wiped down with warm soapy water, and the crate can be hosed off lightly if sealed well. I usually give outdoor organizers a quick rinse every couple of weeks during muddy seasons.
For a no-glue version: Cut the noodle pieces slightly longer than the inside width so they press-fit tightly into the crate. This can work well if you want to remove or replace the dividers later.
Placement tip: Keep the rack in a covered spot rather than full weather whenever possible. That small choice helps the paint, adhesive, and crate last much longer through the seasons.