
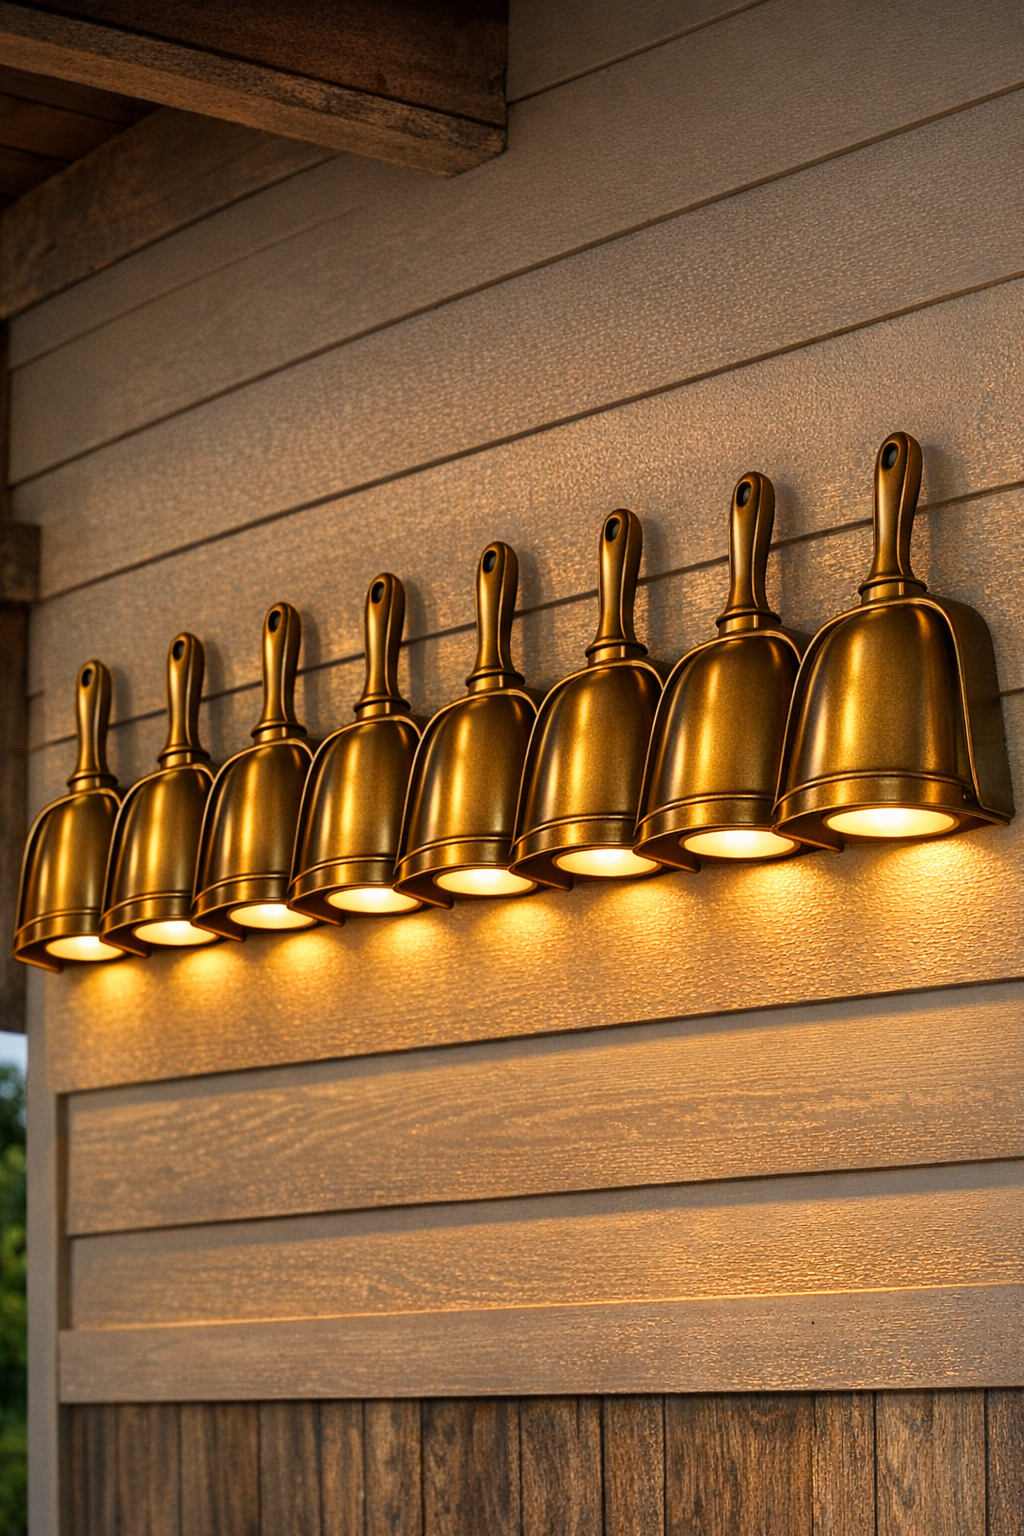
There is something especially satisfying about turning a plain, inexpensive household item into something that looks like it belongs on a charming old porch. These wall sconces start with simple plastic dustpans, but with antique brass spray paint and a little thoughtful mounting, they take on that warm, welcoming glow I always love to see at dusk. It reminds me of the kind of practical ingenuity folks have always used out here in the Midwest—making do, making it pretty, and making it last.
This project is a fine choice for anyone who wants porch lighting with character without spending a small fortune. If you’re comfortable with basic measuring, spray painting, and mounting lightweight fixtures, you can make a full matching set of eight sconces for a long porch, breezeway, shed wall, or covered patio.
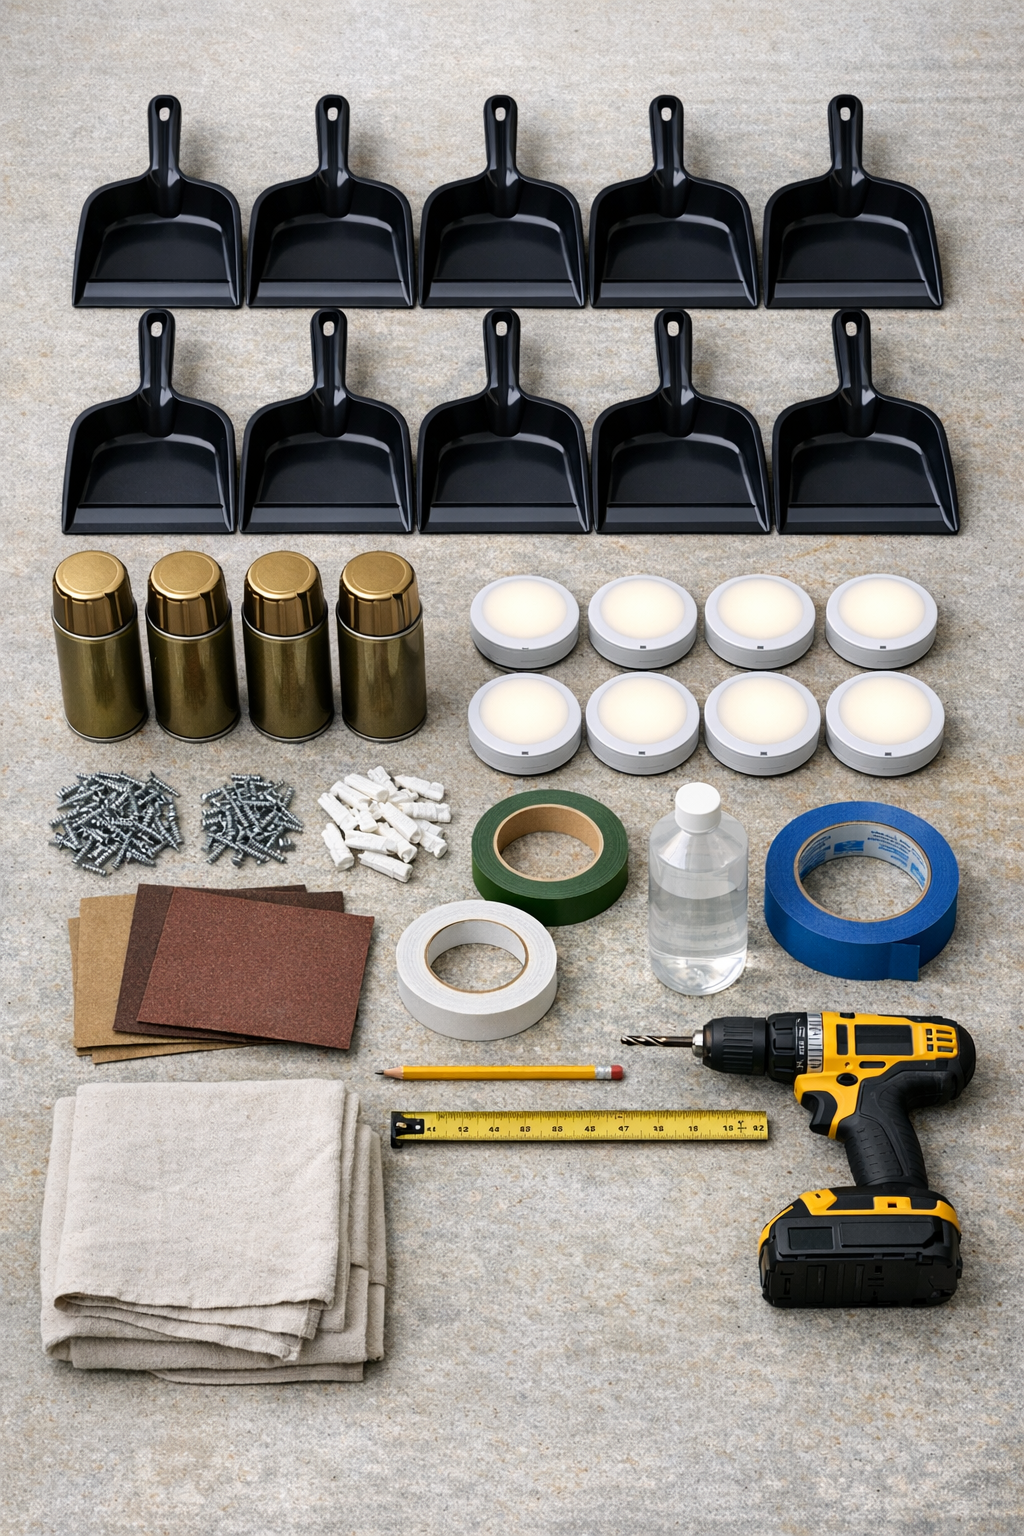
Materials
Instructions
1. Wash all eight dustpans with warm soapy water, rinse them well, and let them dry completely so the paint will stick cleanly.
2. Lightly scuff the outside of each dustpan with 220-grit sandpaper, focusing on the broad scoop and handle area, then wipe away all dust with rubbing alcohol.
3. Set the dustpans upside down on your drop cloth and apply a light, even coat of plastic primer to the outside surfaces only; let them dry according to the can directions.
4. Spray each primed dustpan with antique brass paint in two to three thin coats, letting each coat dry before the next, until the finish looks even and rich.
5. Once the paint has cured, decide which side of each dustpan will face down and mark two mounting points near the upper back edge so the dustpan will sit like a sconce shade over the light.
6. Pre-drill small holes in each dustpan at the marked spots, keeping them at least 1 inch from the edge to prevent cracking.
7. Measure and mark the wall for all eight sconces, spacing them evenly and keeping the center point of each LED puck light at a consistent height for a tidy finished look.
8. Attach each LED puck light to the wall first, using exterior-grade adhesive pads or the hardware provided by the manufacturer, and test them to be sure every light turns on properly.
9. Hold one painted dustpan over each puck light and check the fit so the light sits centered under the scoop, making small adjustments before fastening anything permanently.
10. If the wall surface is uneven, place a small piece of foam weatherstripping behind the dustpan where needed so it sits securely without wobbling.
11. Screw each dustpan to the wall through the pre-drilled holes, positioning it so the open scoop curves over the puck light and the warm glow can spill out from underneath.
12. Turn on all eight puck lights at dusk and make any final angle adjustments so the row looks even and each sconce throws a soft, welcoming light across the porch.
Variations & Tips
For a deeper antique finish: After the brass paint dries, lightly mist a little dark brown or oil-rubbed bronze spray paint from farther away to give the sconces more age and dimension.
For easier maintenance: Use rechargeable puck lights if your porch gets regular use, since replacing eight sets of batteries can become a chore in a hurry.
For stronger paint adhesion: Let the painted dustpans cure a full 24 hours before mounting, especially in humid weather, so the finish is less likely to scratch during installation.
For better symmetry: Make a simple paper template for the screw holes and wall placement; when you’re hanging eight pieces in a row, a little measuring saves a lot of second-guessing.
For a softer glow: Choose puck lights labeled warm white rather than cool white, because that gentler amber tone gives the whole porch a calmer, more welcoming feel.
For covered porches only: These hold up best in sheltered outdoor spots where they won’t take direct rain, snow, or harsh sun day after day.