
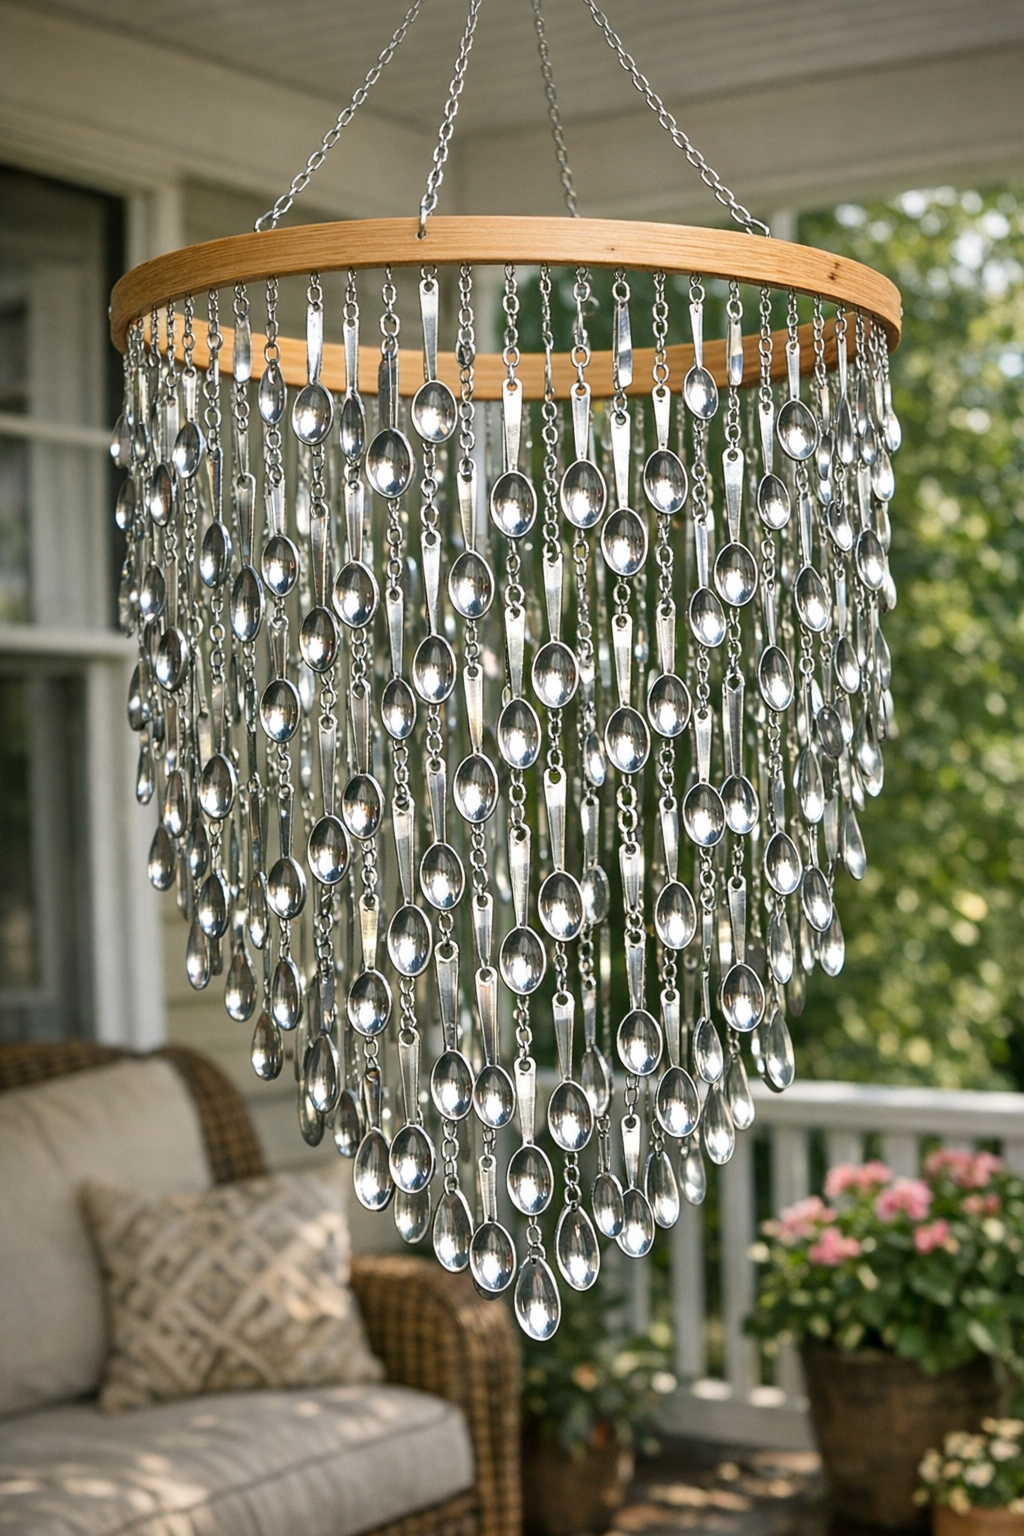
I love a porch project that feels cheerful without asking for fancy tools, and this giant wind chime is exactly that kind of make. By stringing lots of inexpensive silver measuring spoons from a large wooden embroidery hoop, you end up with a piece that catches light, moves beautifully in the breeze, and makes the sweetest soft clinking sound.
This is a wonderful weekend project if you want something a little unexpected for your front porch, patio, or even a garden corner. I especially like it because it looks impressive, but the actual process is simple and repetitive in the most relaxing way—perfect for an afternoon at the kitchen table while the family chats nearby.
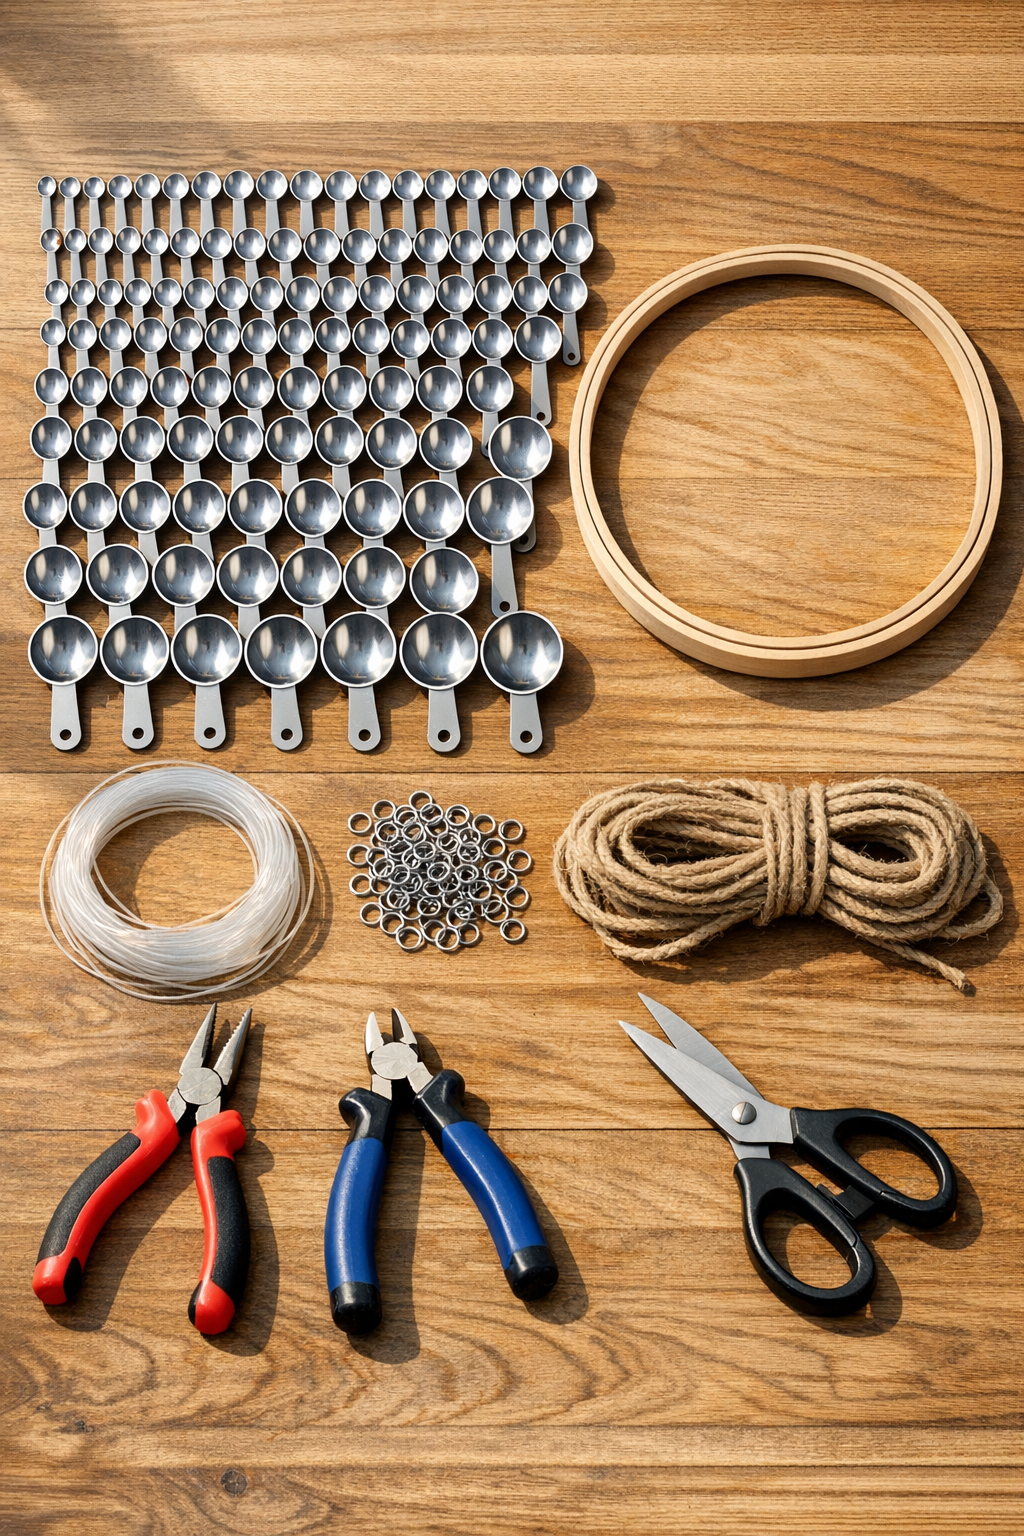
Materials
Instructions
1. Separate the embroidery hoop and tighten it again so the hoop is secure and fully round. Wipe the wood and all the measuring spoons with a dry cloth so everything is clean before assembly.
2. Count out your 150 spoons and divide them into 15 groups of 10 spoons each. This makes the chime fuller and helps you keep the strands evenly spaced.
3. Cut 15 lengths of clear nylon cord, each 30 inches long. Tie a small double knot at one end of each cord so the bottom spoon will not slide off.
4. Attach one jump ring through the handle hole of each spoon if the holes are small or sharp-edged. This helps the spoons hang more freely and keeps the cord from rubbing too much.
5. Thread 10 spoons onto each cord, spacing them about 1 to 1 1/2 inches apart. Tie a small knot above each spoon to hold it in place, and add a dot of craft glue on the knot if you want extra security.
6. Repeat until all 15 strands are assembled. Lay the finished strands side by side and trim any noticeably uneven cord ends so the lengths look balanced.
7. Use the piece of painter’s tape to help mark the hoop into 15 evenly spaced hanging points. You do not need perfect math here—just aim for consistent spacing all the way around the hoop.
8. Tie one spoon strand onto each marked point on the embroidery hoop with a firm double knot. Slide the knots so the strands hang from the inner edge of the hoop for a fuller, curtain-like look.
9. Cut three hanging cords if you have not already, then tie them to the hoop at three evenly spaced points. Bring the top ends together above the center and knot them securely.
10. Tie the 24-inch cord to the top knot to create a hanging loop for a porch hook or ceiling hook. Hold the chime up and adjust the three support cords until the hoop hangs level.
11. Gently shake the wind chime and listen for any strands that are too crowded or too long. Re-space a few spoons or retie any strand that tangles so the chime moves freely in the breeze.
12. Hang the finished wind chime in a covered porch area or another sheltered outdoor spot. I like to place it where it catches wind but does not bang hard against a wall or railing, so the sound stays light and pleasant.
Variations & Tips
For a fuller look: Use 18 to 20 shorter strands instead of 15 longer ones if you want the wind chime to look more like a sparkling curtain.
For picky sound preferences: If your family prefers a quieter porch, space the spoons a little farther apart so they tap more softly and less often.
For outdoor durability: Braided nylon cord usually lasts longer than cotton twine outside, especially in rainy Midwestern weather like we get around here.
For extra sparkle: Mix in a few larger serving spoons or measuring cups near the center to catch more light and add visual variety.
For easier hanging: Test the location with an empty hanger first before carrying out the finished chime, because once all 150 spoons are attached it gets awkward fast.
For a neater finish: Add a tiny dab of clear glue to every major knot, then let it dry fully before hanging so the strands stay put over time.
For porch safety: Hang it high enough that nobody brushes into the spoon ends when walking by, especially if you have kids running in and out with sandy shoes and popsicles in hand.