
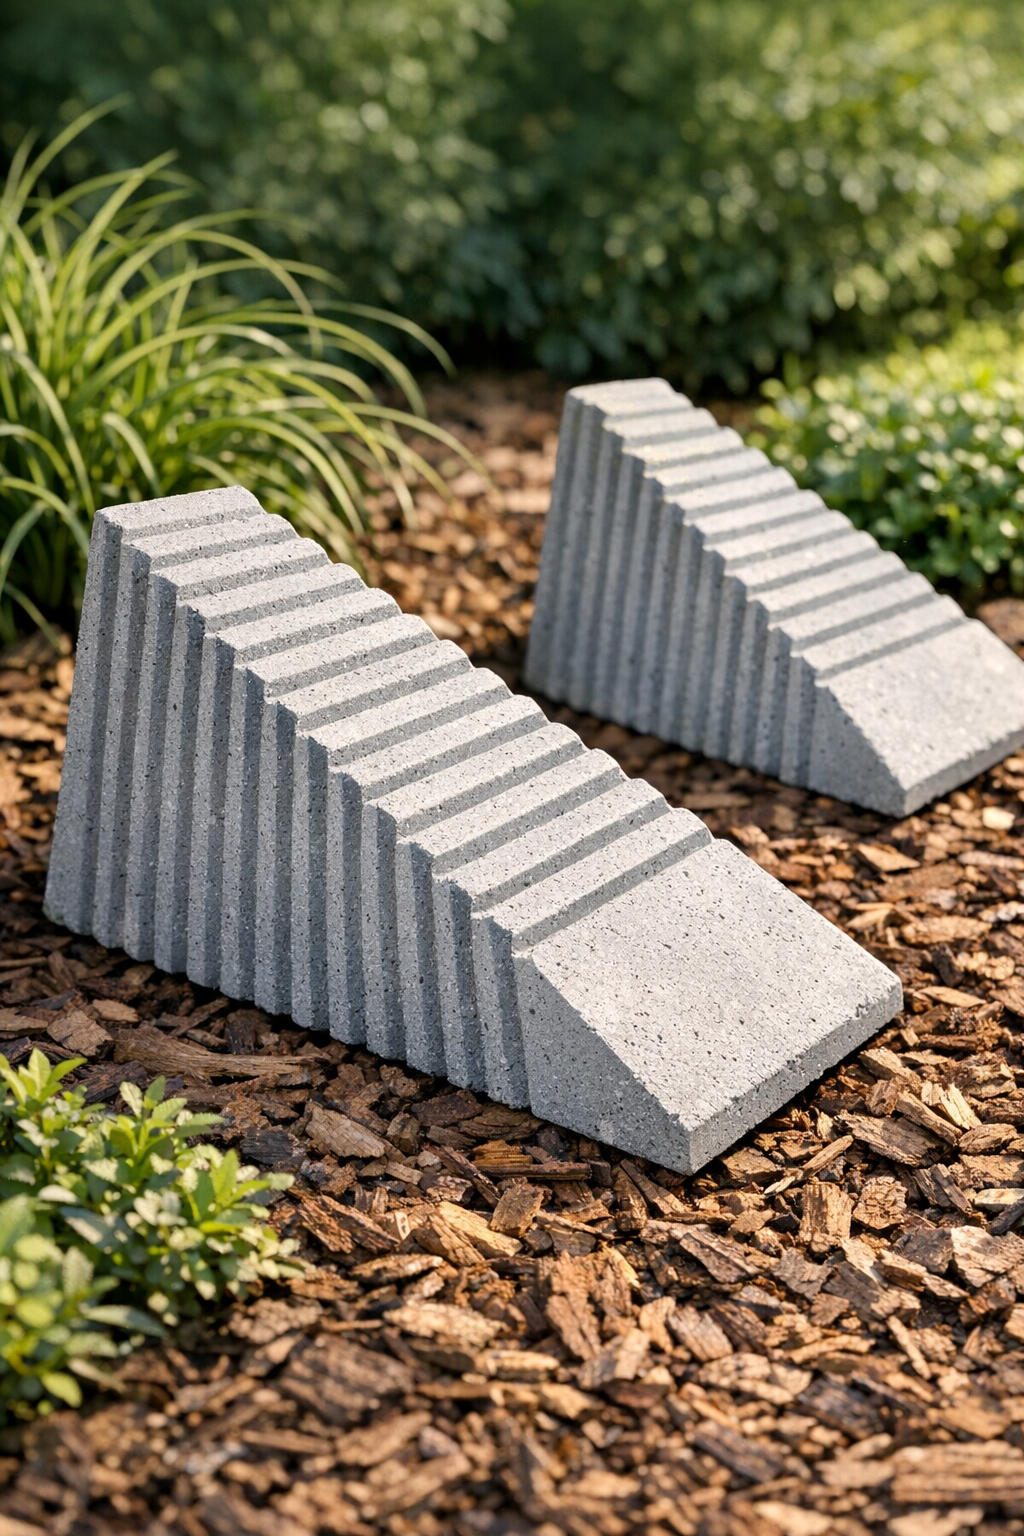
I love a project that looks a little odd on the supply table and then turns into something surprisingly useful in the yard. These heavy ridged yard wedges are made by pouring cement into plastic accordion file organizers, which gives them that clean, repeating texture without needing fancy molds. The result is a pair of sturdy wedge-shaped blocks that can work as garden edging accents, decorative doorstop-style weights for outdoor spaces, or simple sculptural pieces tucked into mulch or gravel beds.
This is the kind of weekend DIY I reach for when I want something durable, affordable, and low-maintenance. If you’re busy like I am, it’s especially satisfying because the hands-on time is short, and most of the project is just waiting for the cement to cure while you get on with your day.
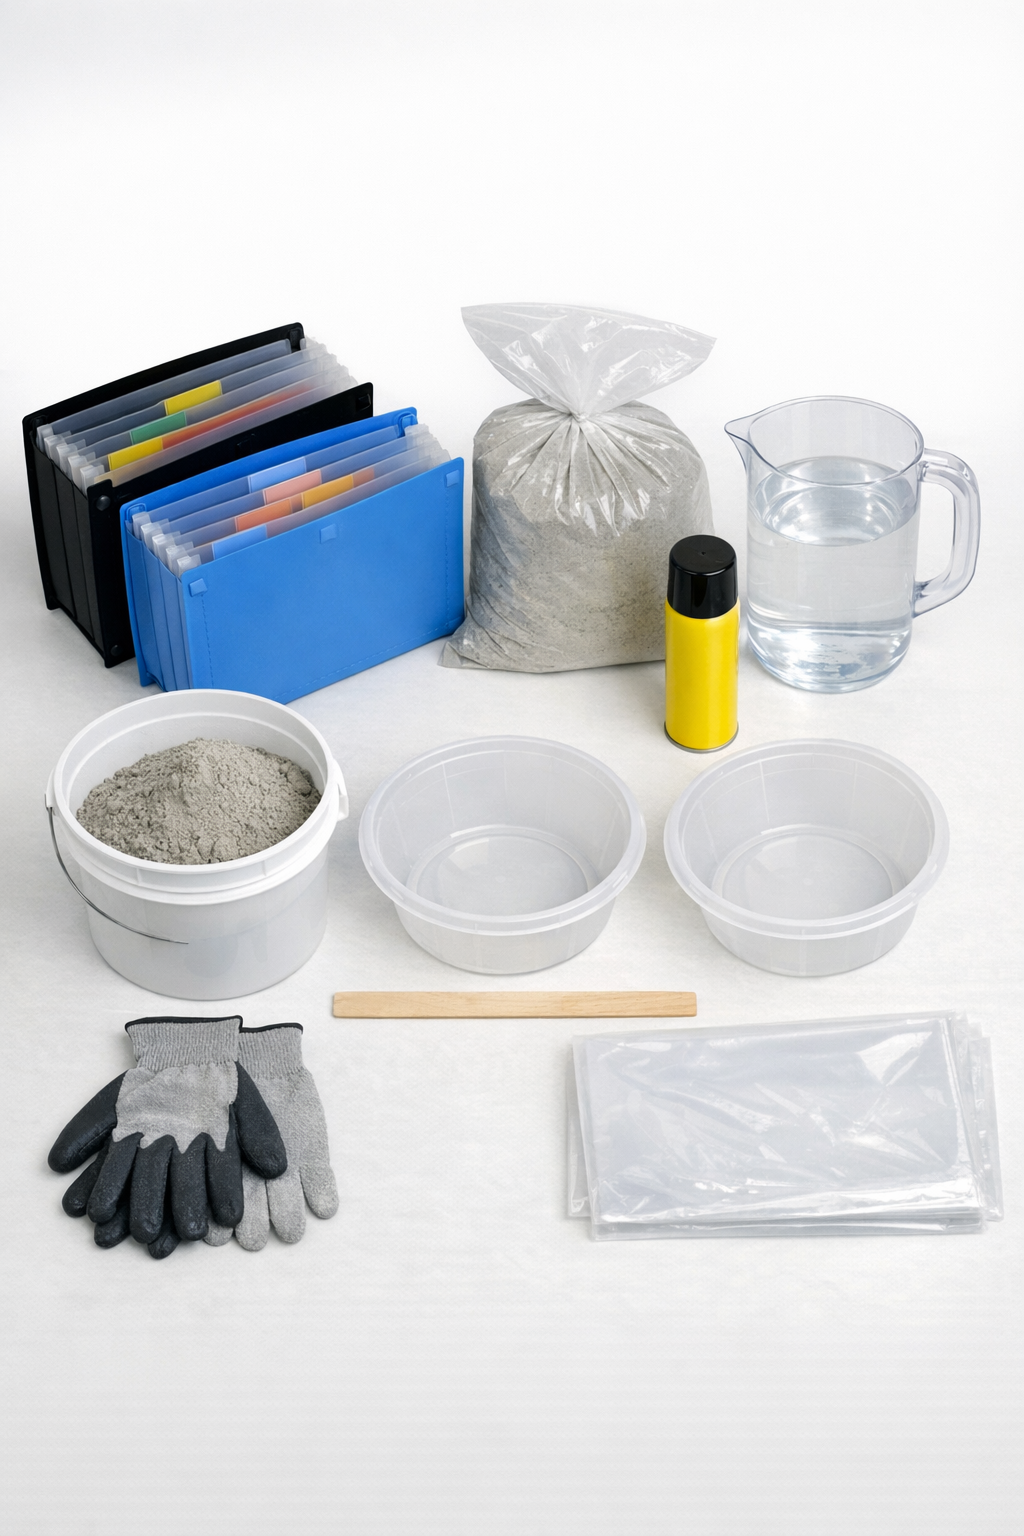
Materials
2 plastic accordion file organizers, letter-size, 12 to 13 pockets each
Instructions
1. Spread the plastic drop cloth over a flat outdoor work surface and put on your gloves. Set the two accordion file organizers on the covered surface with the bottom edges resting flat so they form stable wedge-like molds.
2. Open each organizer slightly so the ridges are visible and evenly spaced, then tape any loose flaps or seams that might shift once filled. Lightly coat the inside with nonstick spray or a thin film of mineral oil to help the cured cement release more easily.
3. In a mixing tub, combine about 10 pounds of cement mix with roughly 3 to 3 1/2 cups of water, stirring until it reaches a thick brownie-batter consistency. Mix the second batch only when you’re ready to fill the other organizer so it doesn’t begin setting too soon.
4. Scoop or pour the cement into the first organizer, filling the compartments evenly and tapping the sides gently to settle the mix and release air bubbles. Smooth the top just enough so the wedge sits evenly once cured.
5. Repeat the mixing and filling process for the second organizer, matching the fill level to the first one so the finished pair looks consistent. Tap both molds on the table a few more times to level the cement and bring any trapped bubbles to the surface.
6. Let the molds sit undisturbed for 24 hours, or until the cement feels hard and cool rather than soft or tacky. If the weather is very hot or windy, loosely drape plastic over the top so the surface does not dry too fast and crack.
7. Peel the plastic organizers away carefully, starting at the outer edges and working toward the center ridges. If a section sticks, flex the plastic instead of pulling hard on the cement.
8. Allow the wedges to cure for another 24 to 48 hours before placing them in the yard. Set them into mulch, gravel, or along a garden edge with the ridged side facing outward for the most dramatic look.
Variations & Tips
For a darker finish: Mix in a small amount of charcoal concrete pigment before adding water if you want a deeper gray, more modern look.
For smoother edges: After unmolding, rub any rough spots lightly with a sanding stone or a scrap of coarse wet/dry sandpaper once the cement is fully cured.
For heavier wedges: Use slightly larger accordion organizers or fill the molds a bit thicker, as long as the plastic still holds its shape securely.
For easier placement: I like to nestle these about 1 to 2 inches into mulch or gravel so they look intentional and stay put during heavy rain.
For cold-weather curing: If temperatures are low, move the molds into a garage or sheltered area while they set, because cement cures much more reliably above freezing.
My practical tip: Don’t rush the unmolding. I’ve learned from plenty of kitchen and DIY projects that giving materials their full set time usually means a much better final result and far less frustration.