
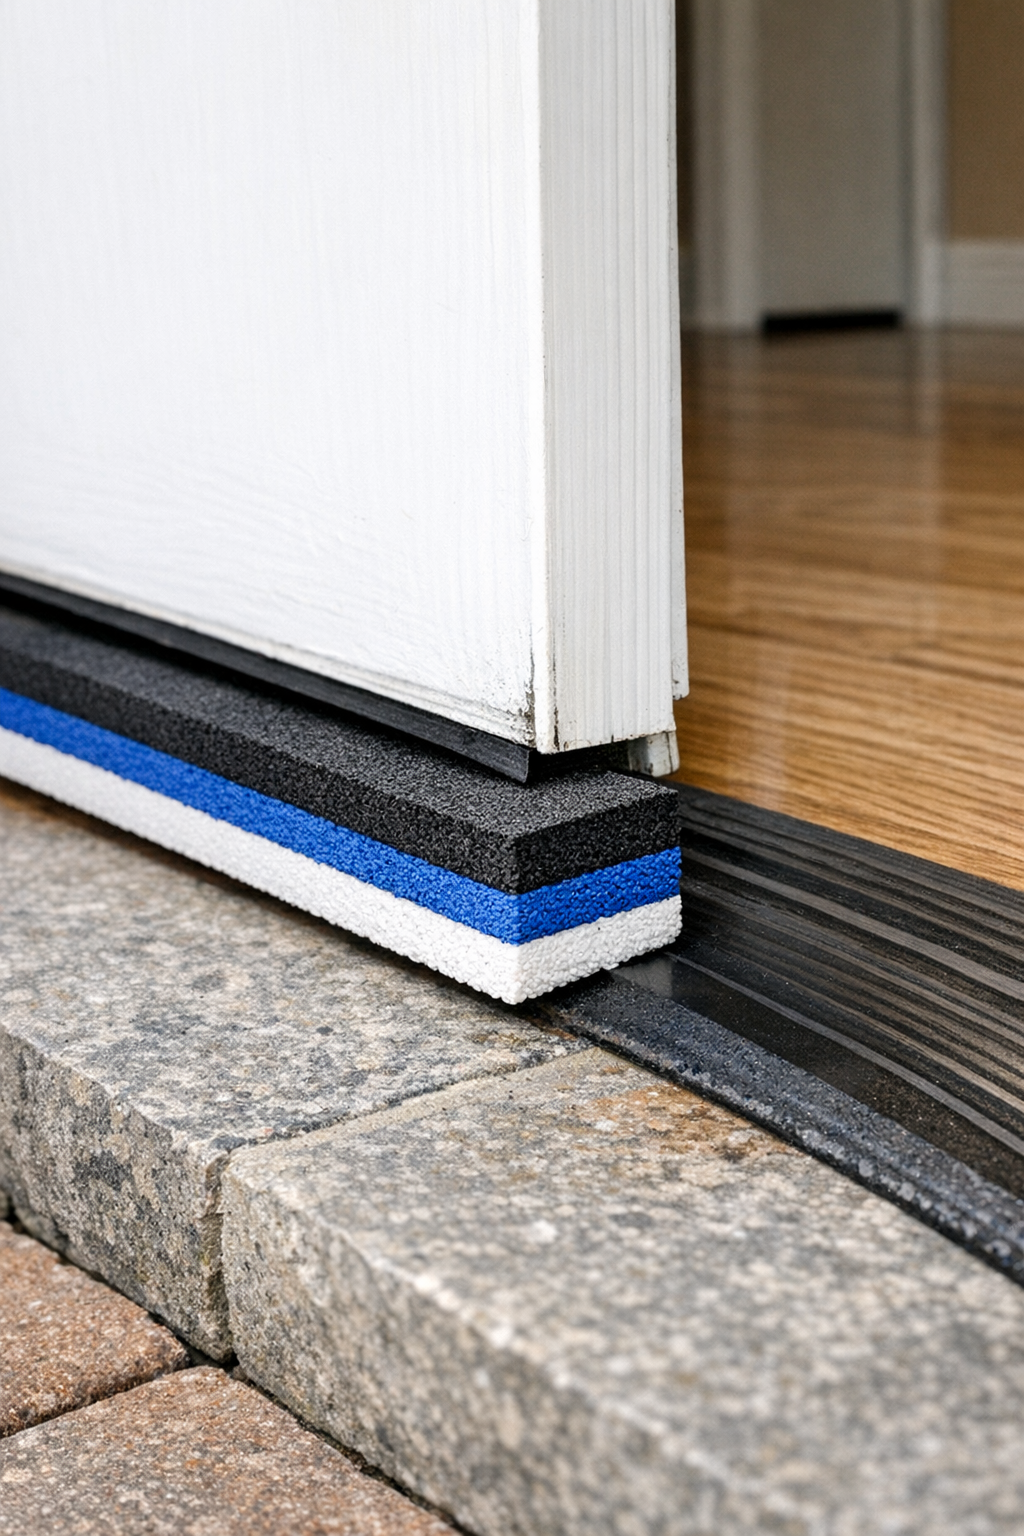
There is something deeply satisfying about turning a humble, worn-out item into something useful for the house, and this little threshold project does exactly that. By softening sliced foam flip flops in hot water and pairing them with one basic liquid adhesive, you can make a simple weather-proof strip that helps block drafts, dust, and light at the bottom of a door.
Out here in the country, I have always believed in using what is on hand before running to town for a fancy fix. This is a good project for anyone who wants an inexpensive door threshold or draft stopper solution, especially for a shed, mudroom, porch door, workshop, or an older interior door that lets in too much cold air.
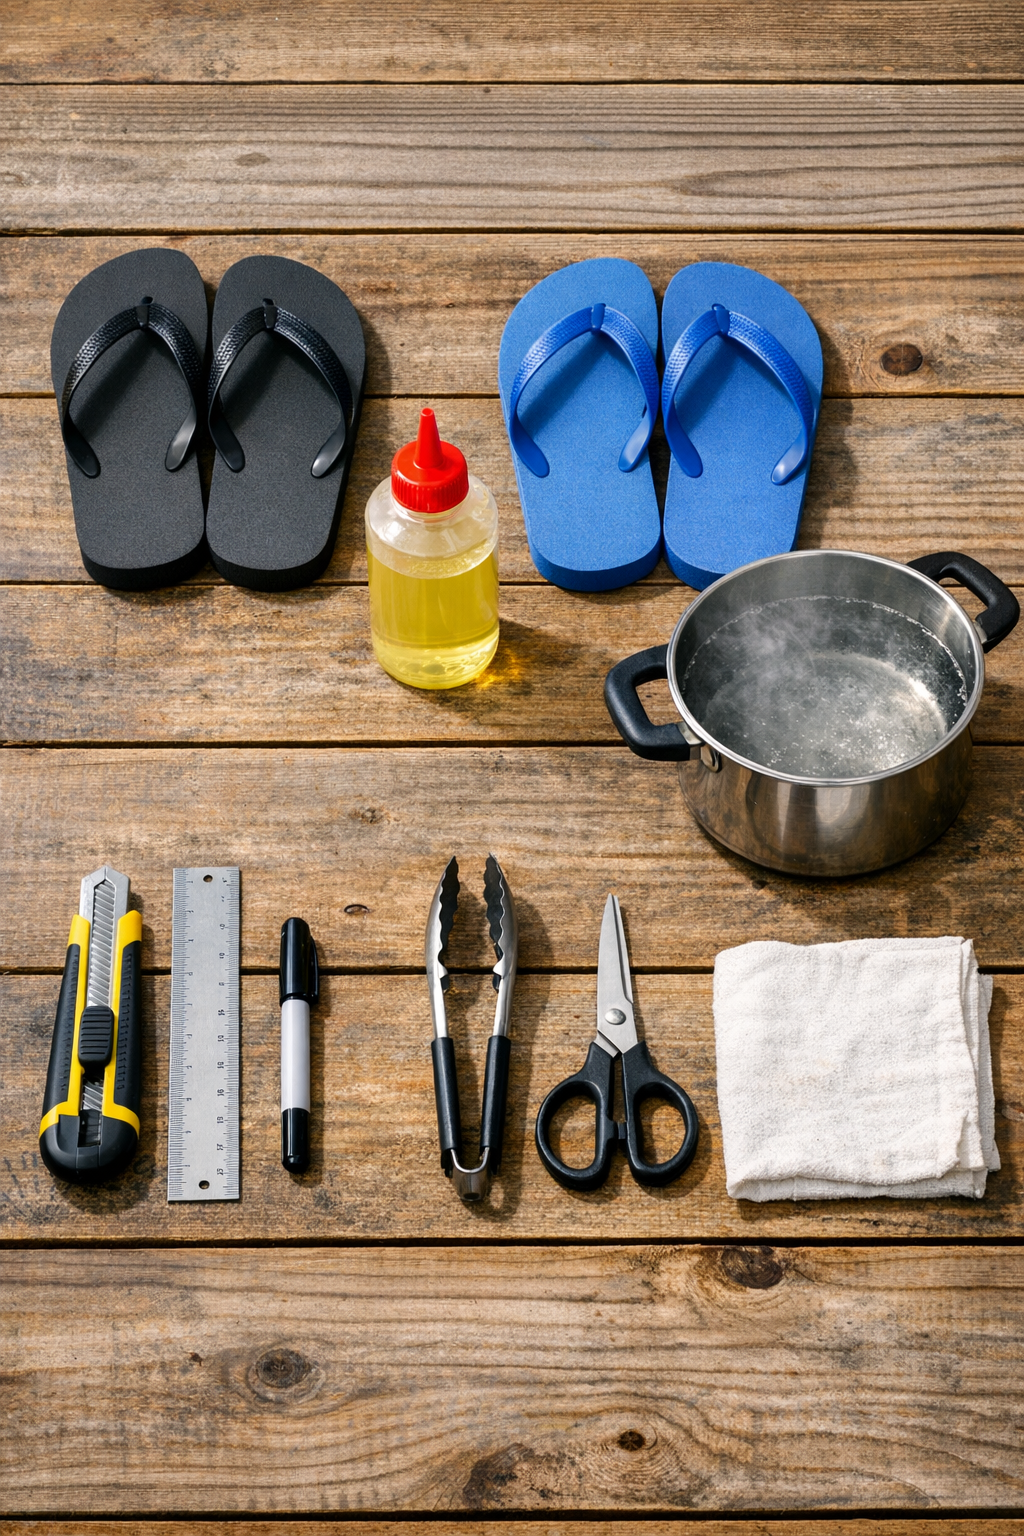
Materials
Instructions
1. Measure the width of the door opening and the gap beneath the closed door so you know how long and thick your threshold strip needs to be.
2. Wash and dry the flip flops, then cut away the straps so you are left with flat foam soles only.
3. Slice each sole lengthwise into strips slightly wider than the door gap area, using a ruler and utility knife to keep the cuts straight.
4. Bring the pot of water to a gentle boil, then dip the foam strips in for 30 to 60 seconds until they soften and become more flexible.
5. Remove the strips with tongs and press them flat on a protected surface, shaping them while warm so they will sit evenly against the floor and door bottom.
6. Dry the strips thoroughly with a rag and let them cool completely before gluing, because adhesive will not hold well on damp foam.
7. Dry-fit the strips at the threshold and stack enough layers to lightly touch the bottom of the closed door without forcing it.
8. Spread a thin, even coat of waterproof contact adhesive between the foam layers, then press them together carefully, matching the edges as closely as you can.
9. Place a heavy book or flat weight over the glued foam stack and let it cure according to the adhesive directions, usually 1 to 2 hours for handling and longer for full strength.
10. Trim the cured strip to the exact width of the doorway and shave any uneven edges so the piece looks tidy and fits snugly.
11. Apply contact adhesive to the bottom of the foam strip and to the clean threshold area, wait until tacky if your adhesive calls for it, then press the strip firmly into place.
12. Close the door gently and check the seal; if needed, trim a little height from the foam or add one thin softened layer until the threshold blocks drafts without dragging too hard.
Variations & Tips
For wider gaps: If your door has a larger draft space, glue together extra foam layers rather than forcing one thick piece into place. It seals better and looks neater.
For outdoor or porch doors: Choose a waterproof contact adhesive rated for moisture and temperature swings. That extra bit of care will help the threshold last through damp weather.
For a cleaner finish: Dark flip flops tend to look more like store-bought weather stripping once installed. I often save black or brown pairs for practical household fixes like this.
If the foam curls: Reheat the strip briefly in hot water and flatten it again under a board while it cools. Foam has a memory, and a second shaping usually settles it down nicely.
Before final gluing: Sweep and wipe the threshold well so dust does not weaken the bond. That small step makes a world of difference in how long the repair holds.
Where this works best: This project is ideal for utility spaces, older homes, sheds, and workshop doors where stopping drafts matters more than a perfect decorative finish. Around my place, those are exactly the spots that need a practical homemade solution.