
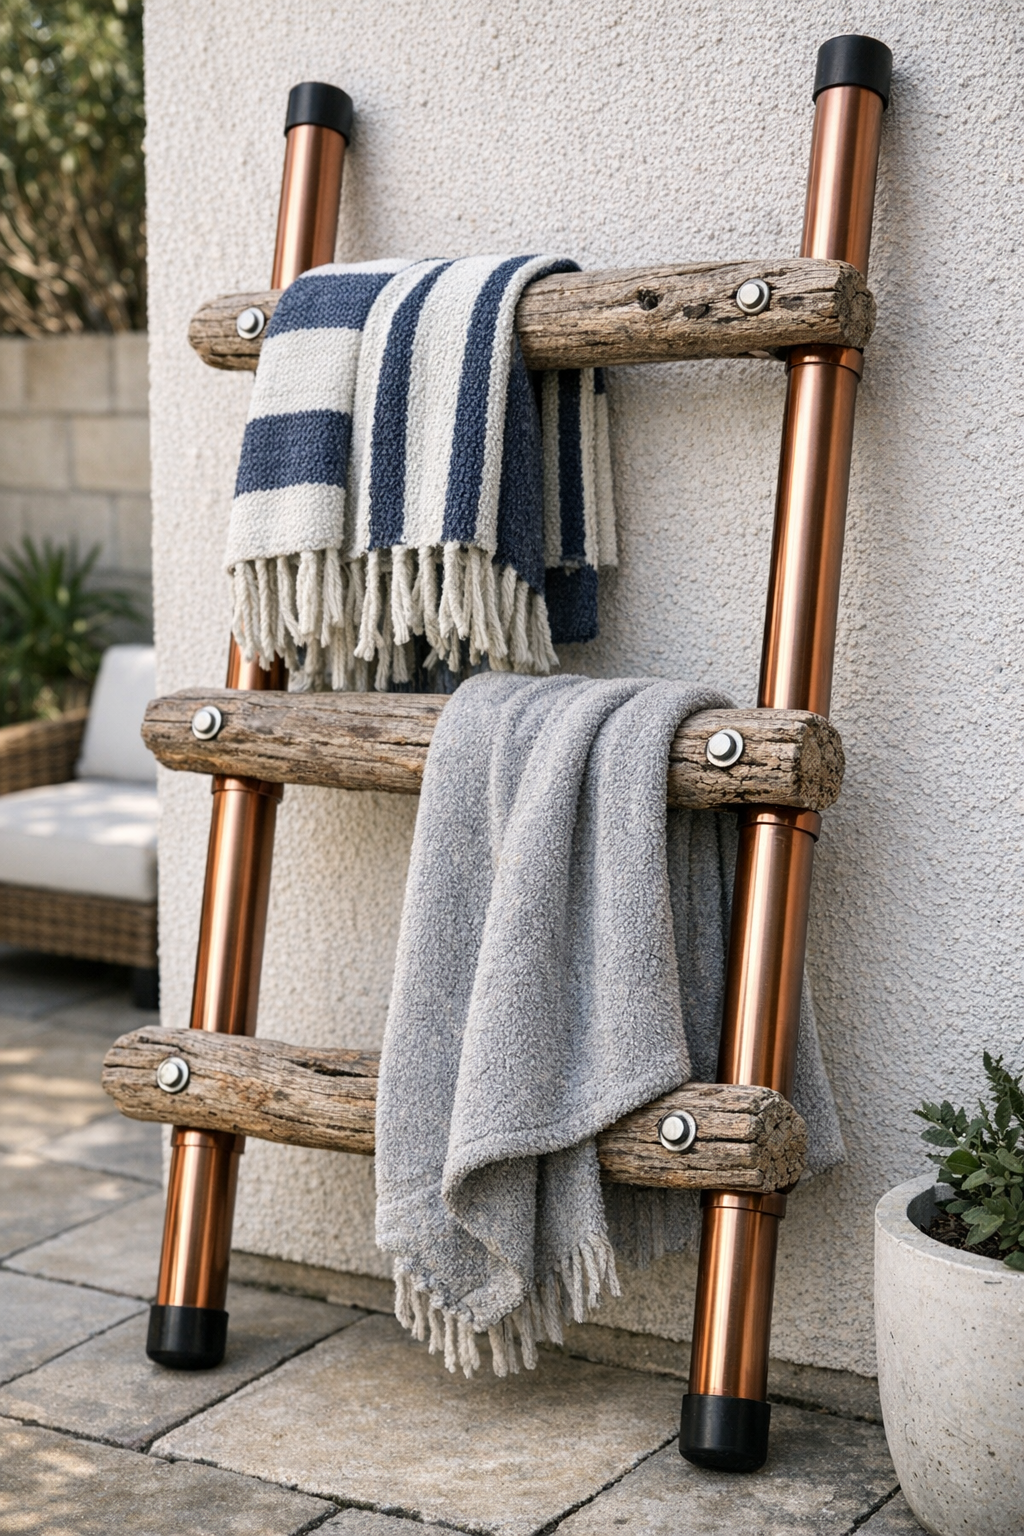
I love a backyard project that looks a little high-end but still feels doable on a Saturday afternoon, and this outdoor blanket ladder absolutely fits that category. The idea is simple: weathered driftwood-style branches become the rungs, and shiny copper pipes form the sides, giving you a mix of rustic and polished that looks beautiful on a patio, porch, or by a fire pit.
If you’re like me and always have throws migrating outside once the weather turns nice, this is such a practical piece to make. It keeps blankets off the furniture, lets them air out, and adds a sculptural touch to an empty wall or fence. I especially like projects like this because they feel custom without requiring a full workshop setup.
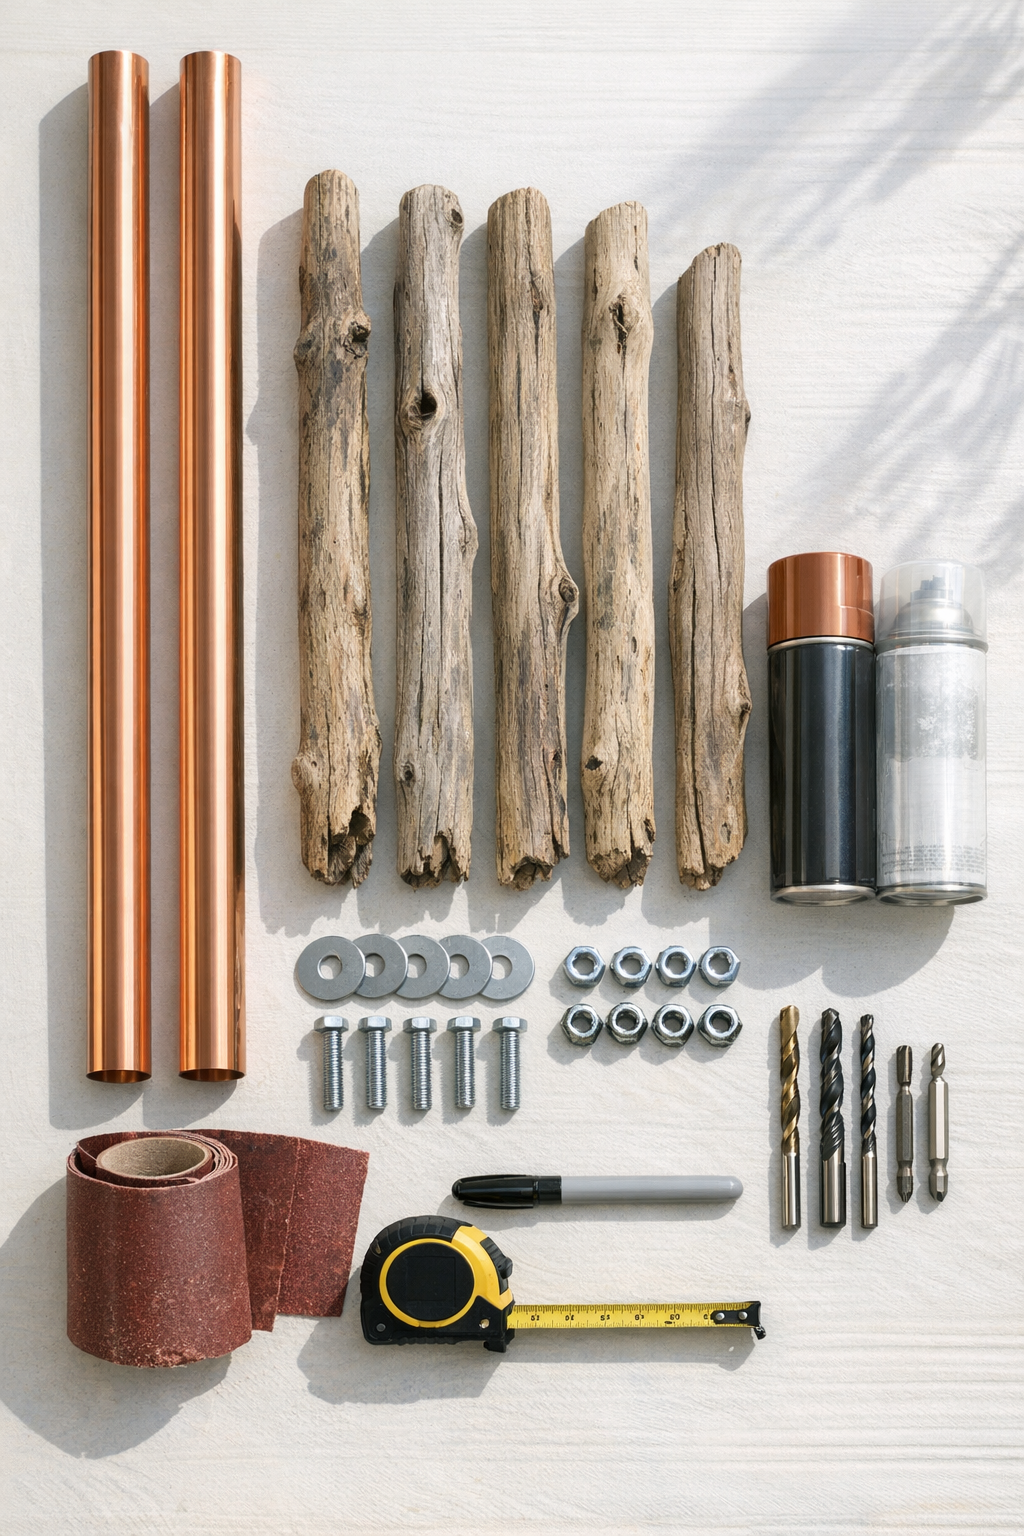
Materials
2 copper pipes, 1 inch diameter x 72 inches long
Instructions
1. Wipe down the copper pipes and driftwood branches, then let everything dry completely so paint and sealer will stick properly.
2. Lightly sand the branches with 120-grit and then 220-grit sandpaper, smoothing splinters while keeping the natural weathered texture intact.
3. Spray the copper pipes with your chosen metal paint in light, even coats, and let them dry according to the can directions. If you love the raw copper look, use a clear gloss coat instead for protection.
4. Measure and mark rung placement on both pipes, placing the bottom branch 12 inches from the ground end and spacing the remaining three branches 14 inches apart.
5. Lay the two pipes parallel, about 20 inches apart, and use painter’s tape to hold them in position while you double-check that all rung marks line up evenly.
6. Drill a 1/4 inch hole through both pipes at each marked rung location, keeping the holes directly opposite each other so the branches will sit level.
7. Mark the ends of each branch 1 inch in from both sides, then drill a 1/4 inch hole straight through each branch end.
8. Slide one bolt with a washer through the first pipe, then through one end of a branch, add another washer, and secure it loosely with a lock nut. Repeat on the other side of the same branch.
9. Continue attaching the remaining branches one at a time, checking spacing as you go so the ladder stays straight and the branches remain roughly parallel.
10. Stand the ladder up carefully, adjust the branches until everything looks balanced, then tighten all nuts fully without crushing the wood.
11. Spray or brush on a clear outdoor sealer over the branches and any painted pipe surfaces, then let the ladder cure completely before using it outdoors.
12. Press the rubber end caps onto the bottom and top ends of the copper pipes, then lean the finished ladder against a wall or fence at a gentle angle and style it with outdoor throws.
Variations & Tips
For a more modern look: Use straighter branches with fewer knots and paint the copper matte black instead of keeping the metallic finish.
If you can’t find driftwood: Fallen hardwood branches or peeled tree limbs work well too; just make sure they’re fully dry and solid before drilling.
For outdoor durability: Stainless steel hardware really is worth it here. I’ve learned the hard way that shortcutting with basic hardware outdoors usually means rust shows up faster than you think.
To keep it steady: This ladder is meant for leaning display storage, not climbing. A slightly wider bottom spacing and rubber end caps help it grip better on concrete, decking, or pavers.
For easy seasonal styling: I like to keep one lightweight throw and one heavier blanket on mine so it looks full without feeling cluttered. In the fall, this is also a great place to hang a small outdoor wreath or lantern clip-on.
When choosing branch thickness: Try to keep all four branches fairly close in diameter so the finished ladder feels intentional and balanced, even with the natural variation.