
There’s something deeply satisfying about turning cast-off things into something sturdy and useful, especially when it’s something that can live outdoors and take a bit of weather. These heavy-duty patio tiles are made from cut-up plastic school binders, sand, and a little wire mesh for strength, and the result is a surprisingly solid paver-style tile that’s handy for a garden path, a potting area, or a small sitting nook by the back door.
I’ve always had a soft spot for practical make-do projects. Out here, we don’t waste much if it can still serve a purpose, and this is the kind of project that feels right at home beside a shed, porch, or vegetable garden. If you’re comfortable working carefully with heat and want a thrifty outdoor project, this one is a good weekend job.
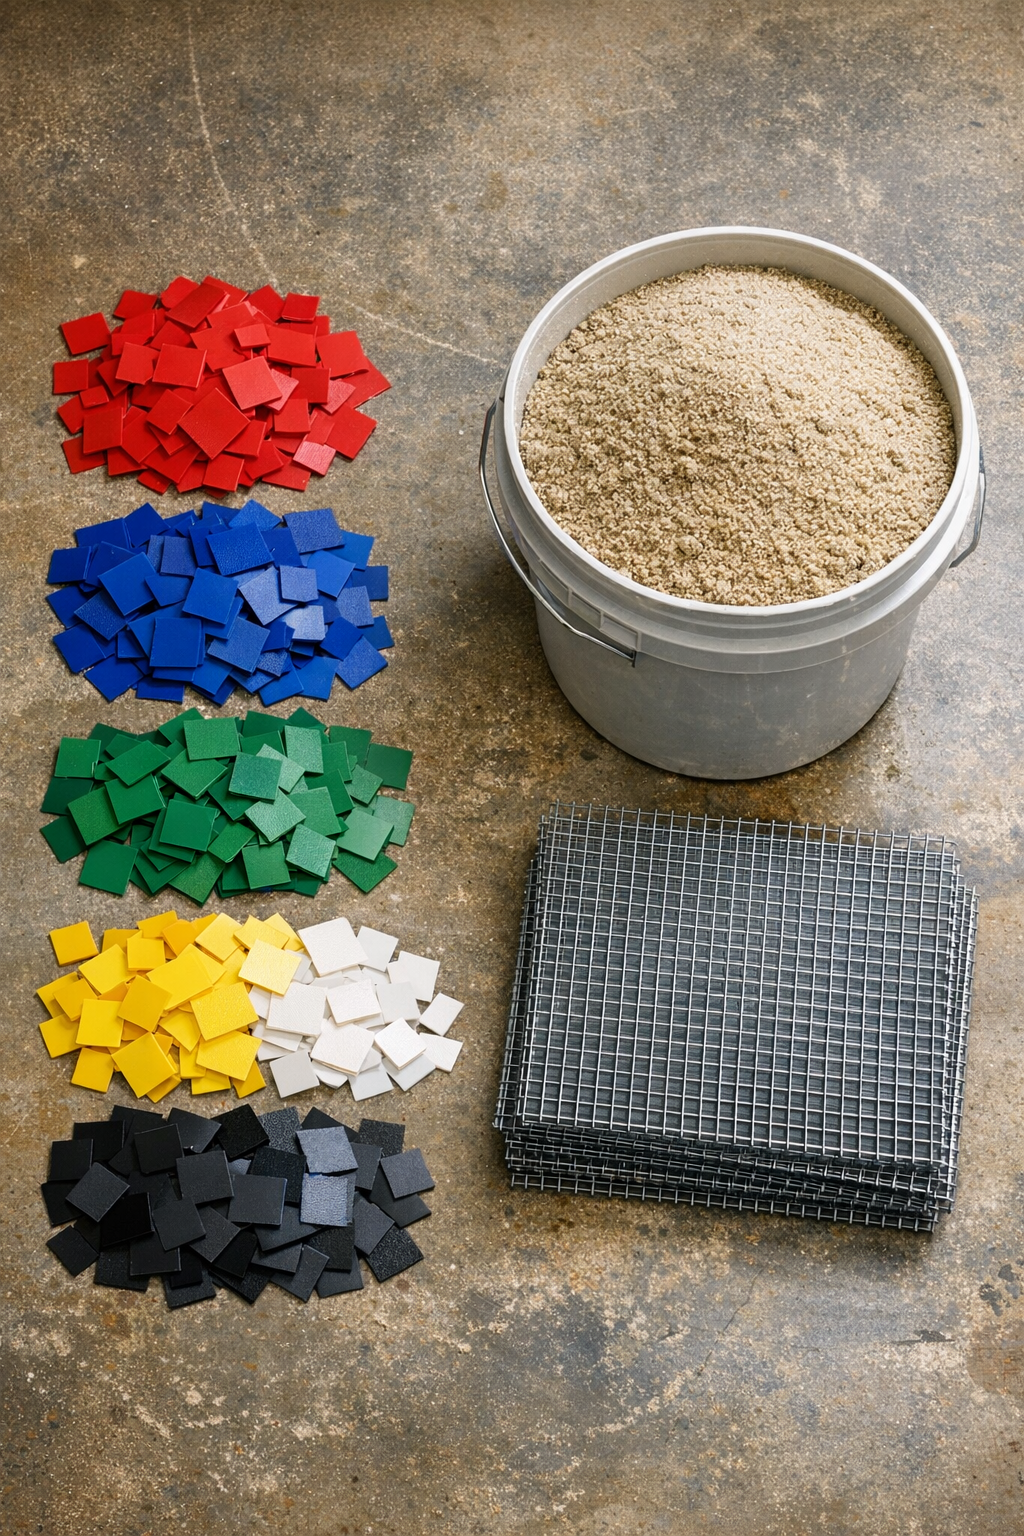
Materials
6 plastic school binders, standard 1-inch size, cut into 1-inch squares
Instructions
1. Cut the binders into roughly 1-inch pieces, removing any metal rings, paper inserts, and spine hardware so you are left with only clean plastic.
2. Fill a 12-inch square tile mold halfway with 1 1/2 cups of dry sand, then mix in about 2 cups of the cut binder pieces so the plastic is distributed through the sand.
3. Lay one 12-inch square of wire mesh flat over that first layer, pressing it down gently so it sits centered and does not stick out at the edges.
4. Add another 1 1/2 cups of sand and 2 cups of plastic pieces over the mesh, spreading everything into an even layer and filling the mold to the top.
5. Heat the filled mold in a dedicated workshop oven or other plastic-safe melting setup at about 375 degrees Fahrenheit until the binder plastic softens and begins binding the sand together, usually 25 to 35 minutes.
6. Remove the mold carefully and press the surface flat with a metal trowel or wooden block while the plastic is still soft, compacting the tile so the corners and edges stay crisp.
7. Let the tile cool completely in the mold for at least 1 hour, then unmold it and set it aside on a flat surface for a full day before using it outdoors.
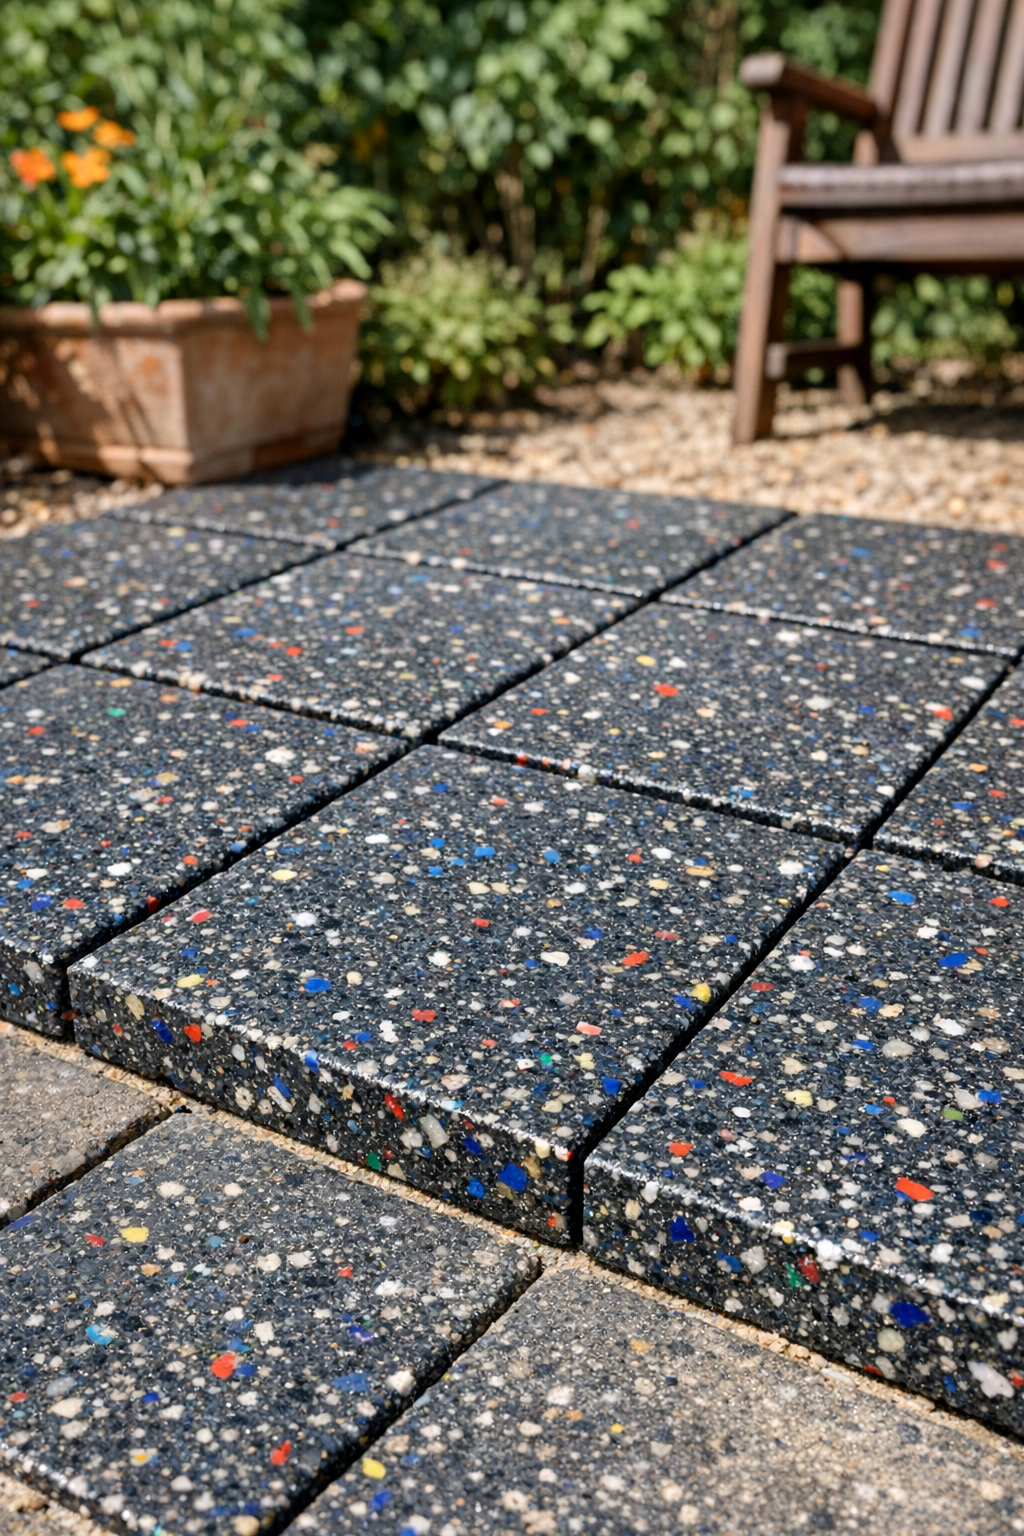
8. Repeat the same process for the remaining materials to make a set of six patio tiles, then place them over a level bed of compacted sand for best support.
Variations & Tips
Use matching plastic types: For the strongest tiles, try to use binders made from the same kind of plastic so they melt more evenly and bind the sand consistently.
Keep this project for outdoor utility spaces: I’d use these for paths, work areas, or under planters rather than for a polished front entry, since the finish is more rugged than fancy.
Work only in a well-ventilated area: Melting plastic needs good airflow and dedicated equipment that will never be used for food, and that’s one point I would never cut corners on.
Try an earth-tone look: Dark blue, black, tan, or gray binders tend to give a more natural-looking finished tile that blends in nicely with mulch, gravel, and garden beds.
Level the base well: Even a sturdy tile can rock or crack if the ground beneath it is uneven, so take a little extra time to tamp the sand base flat before setting the tiles in place.