
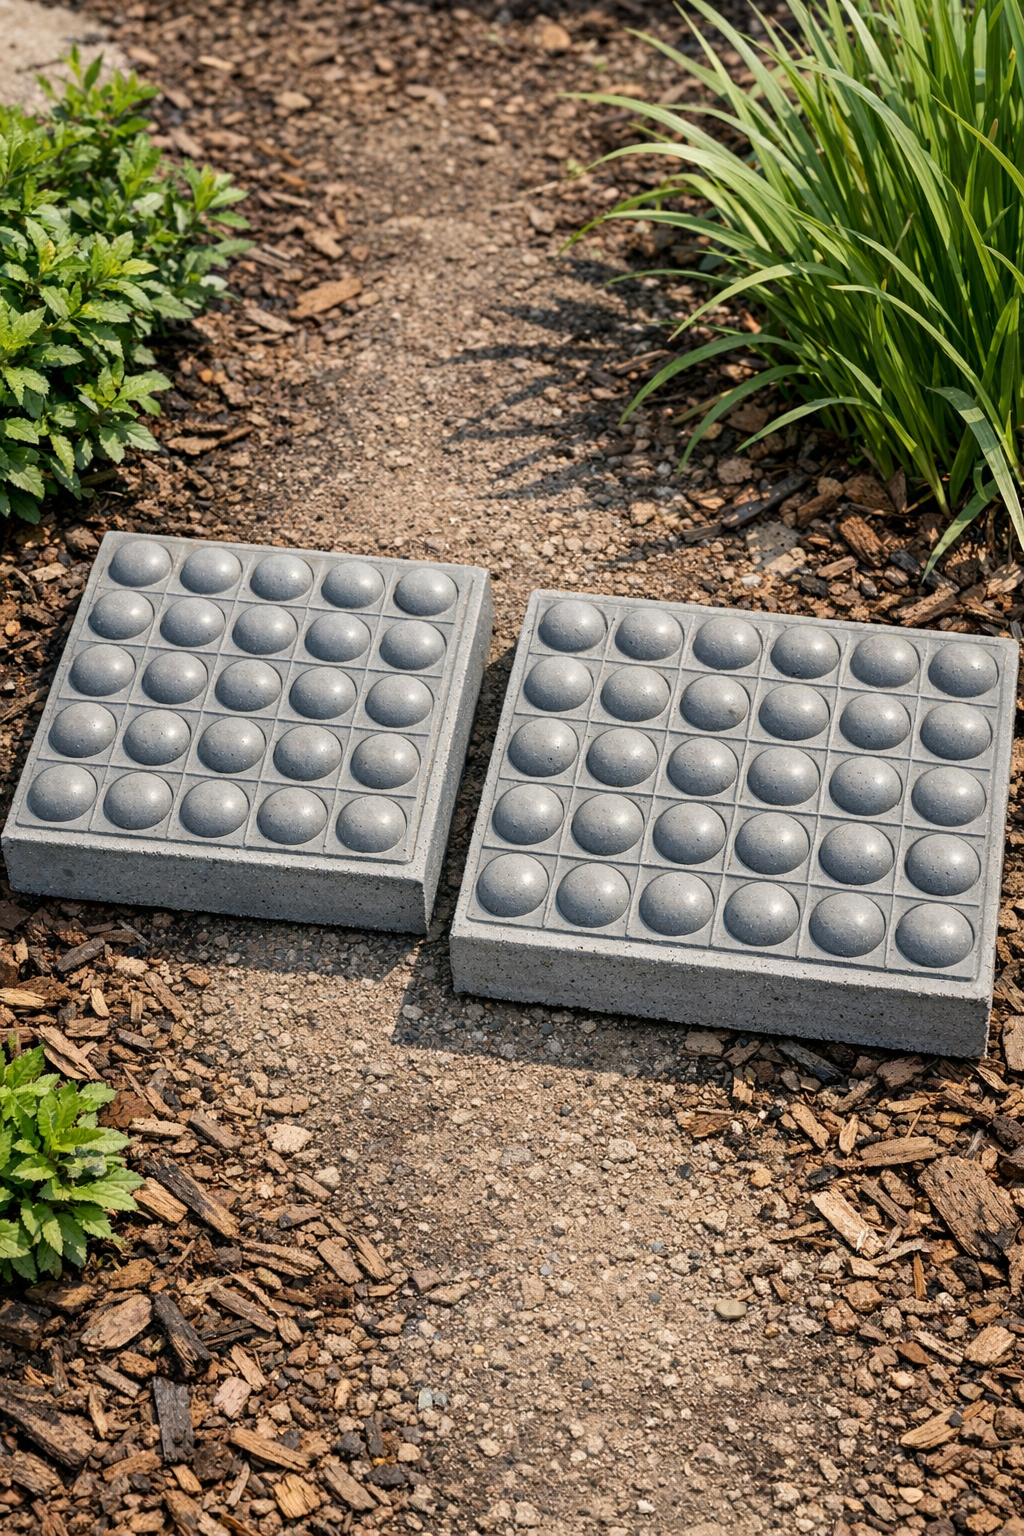
I love a weekend project that looks a little odd at the start and surprisingly polished at the end, and this one definitely fits that category. These heavy studded yard tiles are made by pouring cement over large silicone pop-it toys and one simple add-in that helps turn a playful mold into outdoor décor with real weight and texture. The finished tiles have a raised, pebble-like surface that looks great tucked into mulch, set between garden beds, or used as a small stepping area near a back door.
This is a good project for anyone who wants a low-cost garden DIY without needing power tools or fancy supplies. As someone who is usually squeezing projects in between work and figuring out dinner, I appreciate that the steps are straightforward and the materials are easy to handle in one afternoon, plus drying time does most of the work for you.
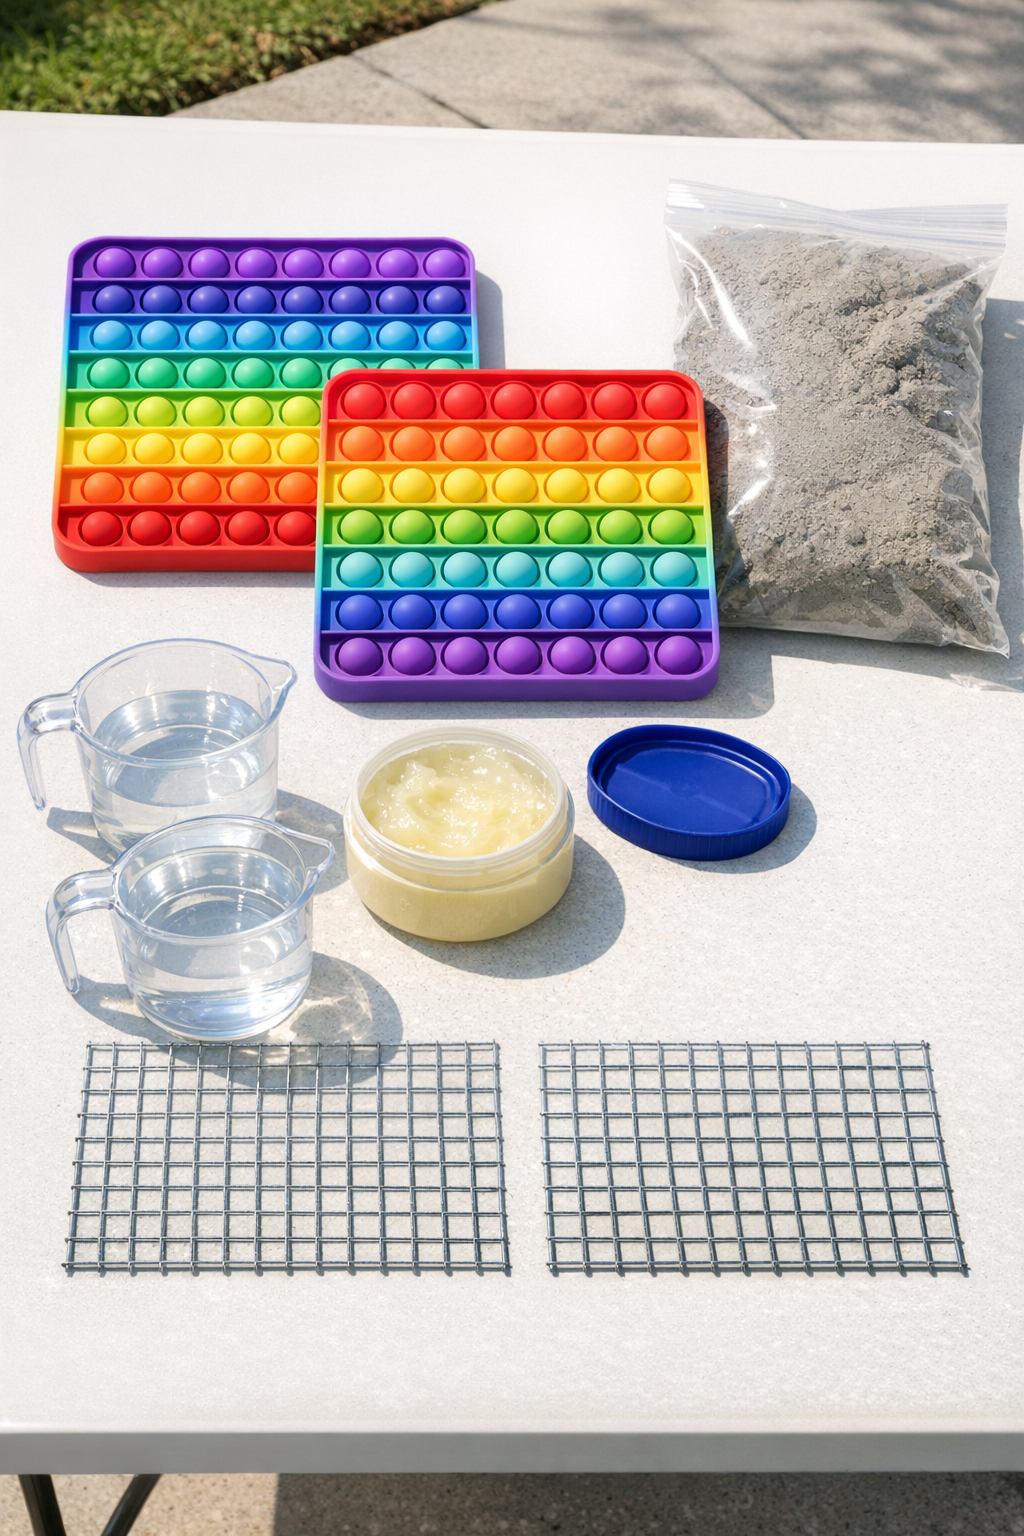
Materials
Instructions
1. Set your pop-it toys on a flat, sturdy surface protected with a plastic drop cloth, and make sure they sit level so the tiles cure evenly.
2. Rub a very thin coat of petroleum jelly or cooking oil inside each pop-it mold, covering the bumps and edges so the cement releases cleanly later.
3. Cut or bend the wire mesh so each piece fits inside a pop-it with about 1 inch of clearance on all sides; this hidden layer is the secret item that helps strengthen the tile.
4. In a bucket or mixing tub, combine the cement mix with water a little at a time until it reaches the texture of thick brownie batter and holds its shape when scooped.
5. Spoon cement into each pop-it mold until it is about halfway full, then tap the sides and bottom gently to settle the mix into all the round cavities.
6. Lay one piece of wire mesh onto the first layer of cement in each mold, pressing it down lightly so it sits centered without touching the outer edges.
7. Add more cement on top until each mold is filled to about 1/2 to 3/4 inch thick, then smooth the back with a trowel or scrap piece of wood.
8. Tap the molds again several times on the table to release trapped air bubbles, and scrape away any drips around the edges for a cleaner shape.
9. Let the tiles rest undisturbed until the cement is firm, usually 24 hours for demolding and several more days for a stronger cure.
10. Flex the silicone molds gently to release the tiles, then turn them studded-side up and let them finish curing in a shaded dry spot before placing them in the yard.
Variations & Tips
Use different pop-it shapes: Square molds are easiest to place like stepping stones, but circles, hearts, or other large shapes can make a fun accent in a flower bed.
Keep the tiles thick enough: I would not go thinner than about 1/2 inch, especially for outdoor use, because thin cement pieces are much more likely to crack when moved.
Cure slowly for better strength: If the weather is hot and dry, lightly cover the tiles with plastic after demolding so they do not dry too fast and become brittle.
Add color carefully: You can mix in a cement colorant or brush masonry stain onto the cured tile, but I like the plain concrete look because it works with almost any yard style.
Place them on level ground: Set the finished tiles over compacted sand or soil so they are supported evenly; that little bit of prep helps them last much longer.
Make extras at once: If I am already mixing cement, I usually make a batch of two or four tiles because cleanup takes the same amount of effort either way, and matching sets always look more intentional in the yard.