
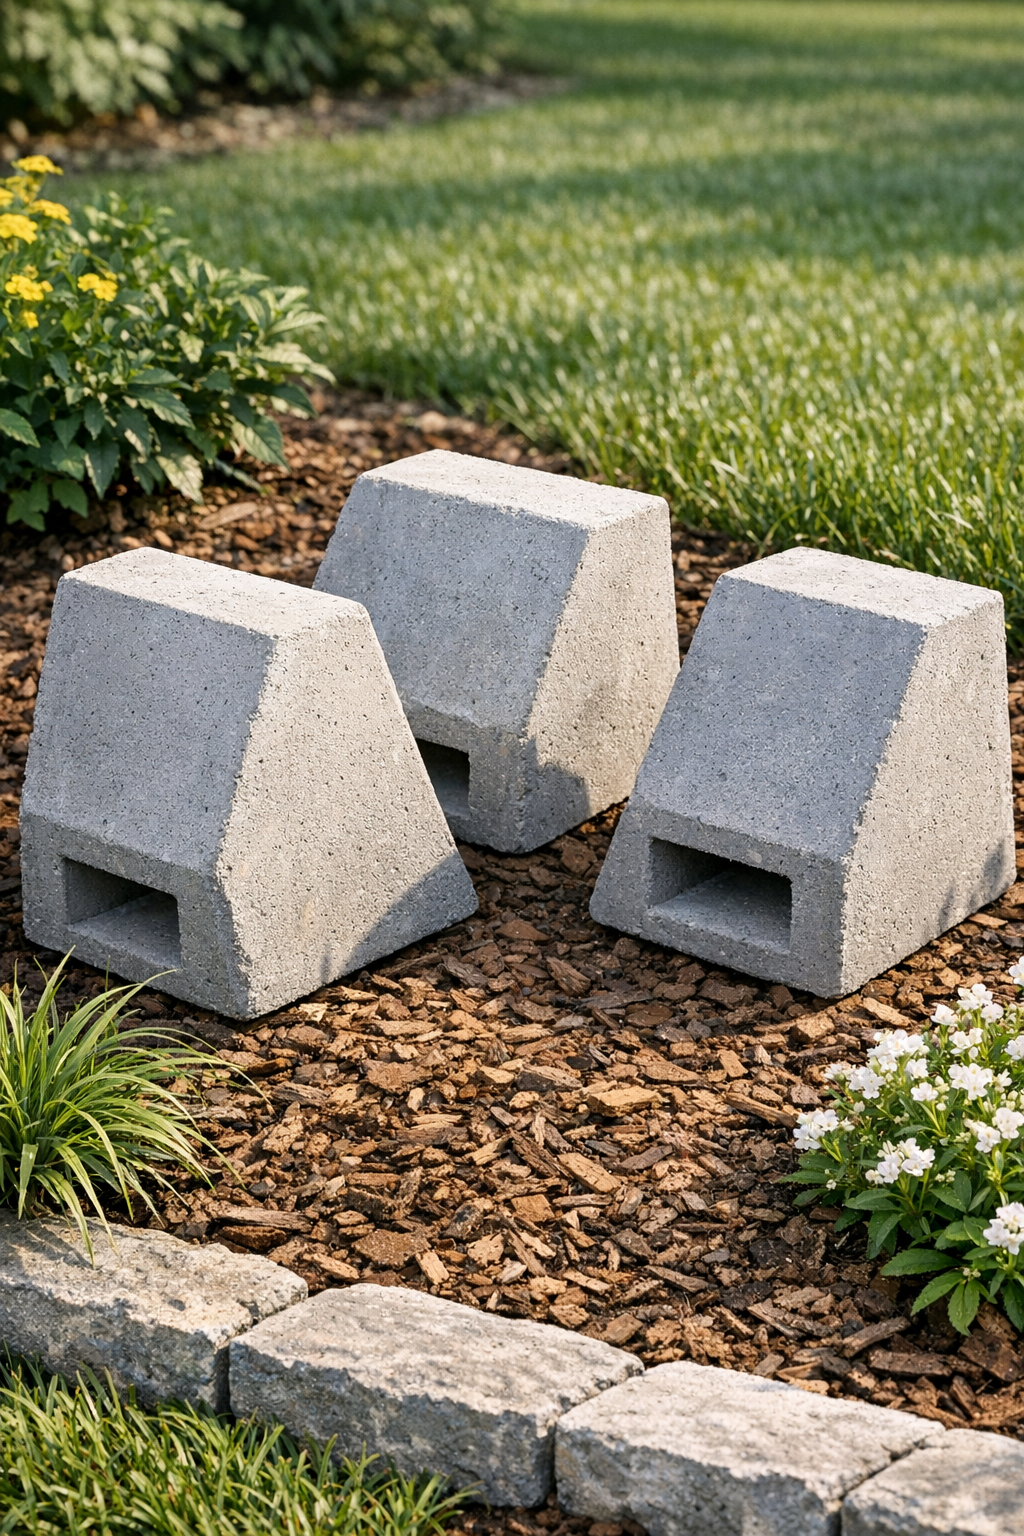
There’s something deeply satisfying about making a sturdy garden piece out of plain everyday items, especially when those items are as humble as plastic dustpans and a bag of cement. This project creates three heavy angled yard blocks that can be used as rustic edging, simple landscape accents, or little wedges to hold pots and décor in place on a porch or garden path. I’m always fond of a project that feels clever without being fussy, and this one has that same make-do spirit I grew up around.
If you’re the sort of person who likes practical yard projects, low-cost upcycling, or simple concrete crafts that don’t require woodworking tools, this is a fine one to try. The angled shape comes straight from the dustpan form, and with a couple of common household items added in, you end up with solid blocks that look far more useful than their beginnings would suggest.
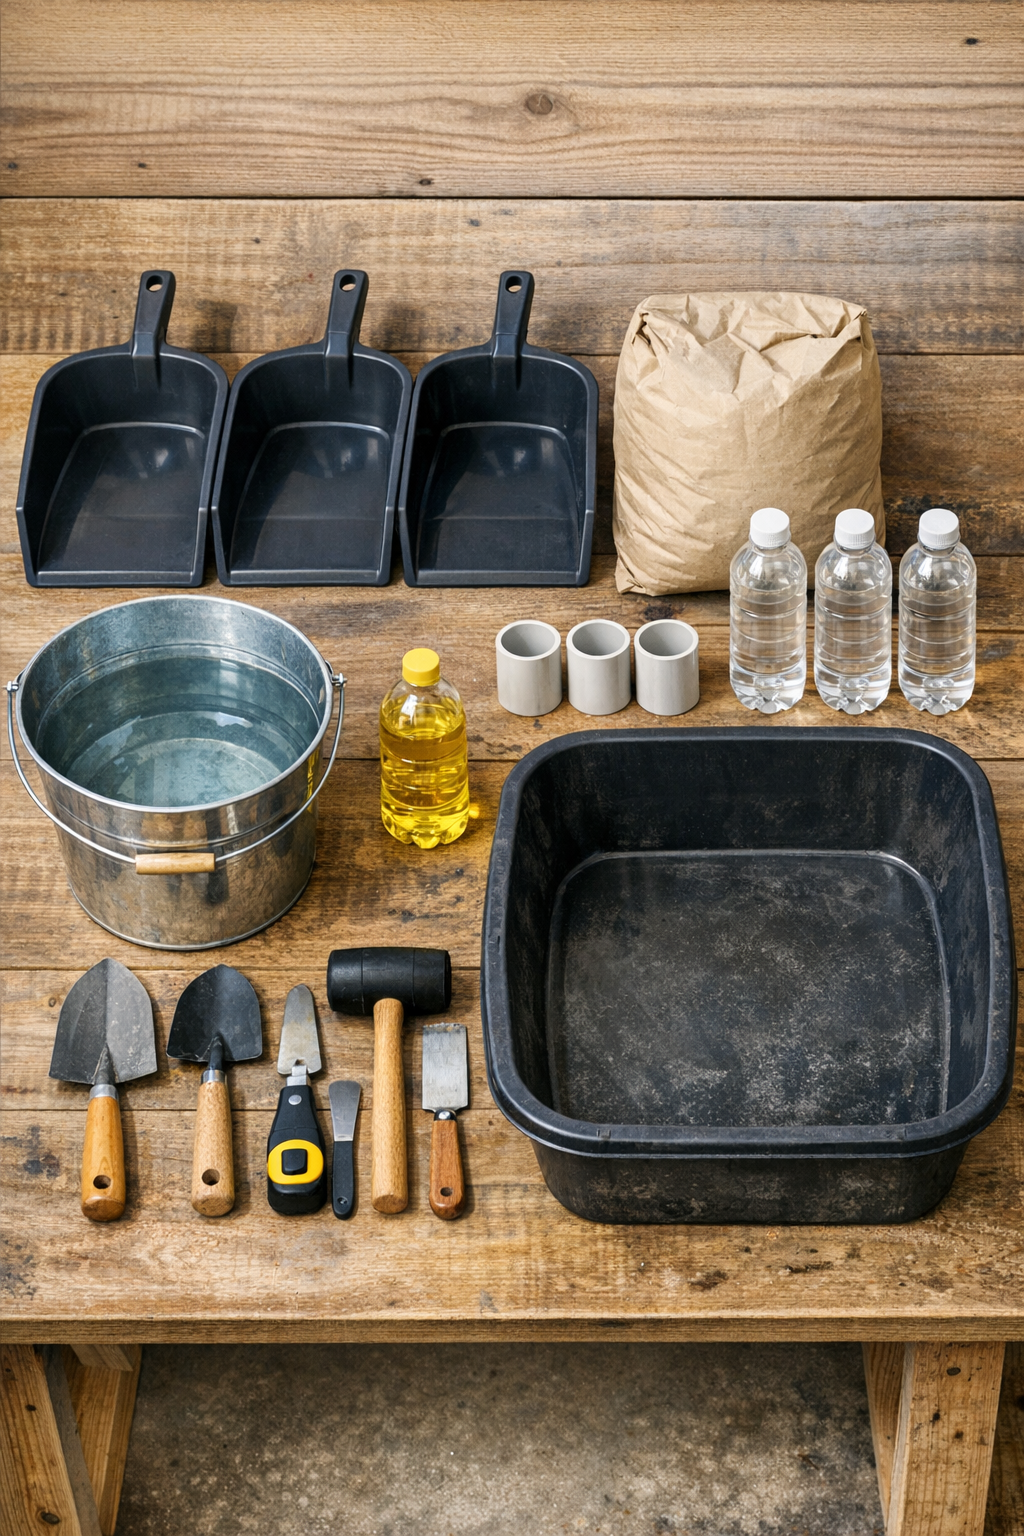
Materials
Instructions
1. Set the dustpans on a flat protected surface, and make sure they sit steady with the scooped end level enough to hold wet concrete. Rub a thin coat of cooking oil inside each dustpan so the cured blocks release more easily later.
2. Place your plastic drop cloth under the work area, then set the three PVC pipe pieces and three capped plastic bottles nearby. These two everyday inserts create openings and reduce weight while giving the blocks a more useful shape.
3. In a mixing tub, combine the concrete mix with water a little at a time until it reaches the texture of thick oatmeal. Stir thoroughly so there are no dry pockets, but keep it stiff enough that the inserts won’t sink all the way to the bottom.
4. Fill each dustpan about halfway with wet concrete, tapping the sides gently to release trapped air. Use a scrap of cardboard or a small trowel to push the mix neatly into the corners and along the angled front edge.
5. Press one plastic bottle sideways into the center of each dustpan mold, keeping the bottle suspended slightly above the bottom so concrete remains underneath it. Add one PVC pipe piece near the back or side of each mold where you’d like a handhold or planting pocket opening.
6. Add more concrete around the bottle and pipe inserts until each dustpan is filled to about 1/2 inch below the rim. Smooth the top with a trowel or scrap cardboard, and tap the dustpans again to settle the mix.
7. Let the molds sit undisturbed until the concrete firms up, usually 24 hours for fast-setting mix and longer in cool weather. If the surface starts drying too quickly in hot sun, loosely cover the molds with plastic.
8. Remove the blocks by flexing the dustpans gently and sliding the concrete forms out onto a towel or piece of cardboard. Twist out the PVC pipe inserts and pull away the plastic bottles once the concrete is fully firm.
9. Cure the blocks for another 2 to 5 days, lightly misting them once or twice a day if the weather is hot and dry. Once hardened, place them in the yard as edging, step markers, planter supports, or decorative anchors around gravel and mulch beds.
Variations & Tips
For heavier blocks: Use a high-strength concrete mix and fill the dustpans nearly to the rim. The extra weight helps if you plan to use them as permanent edging or to brace large planters.
For drainage or planting pockets: Set the PVC pipe vertically instead of at an angle to create a deeper opening. I think these look especially nice tucked beside herbs or trailing flowers.
Smoother finish: Tap the molds several extra times after filling, and run a damp gloved finger over the top edge before the concrete sets. That small bit of fussing makes them look much more finished.
Easy release: If your dustpans are thin and flexible, the blocks usually pop out without trouble, but don’t rush it. My rule in the kitchen and garden both is the same: let things set properly, and they’ll reward your patience.
Color option: Add a small amount of concrete pigment to the mix if you want the blocks to blend into brick, stone, or darker mulch beds. Earthy charcoal, tan, or soft red all suit a Midwestern yard beautifully.
Placement tip: Set the finished blocks on compacted soil or gravel so they don’t rock. If you’re lining a path, dry-fit all three first before committing to their final spacing.