
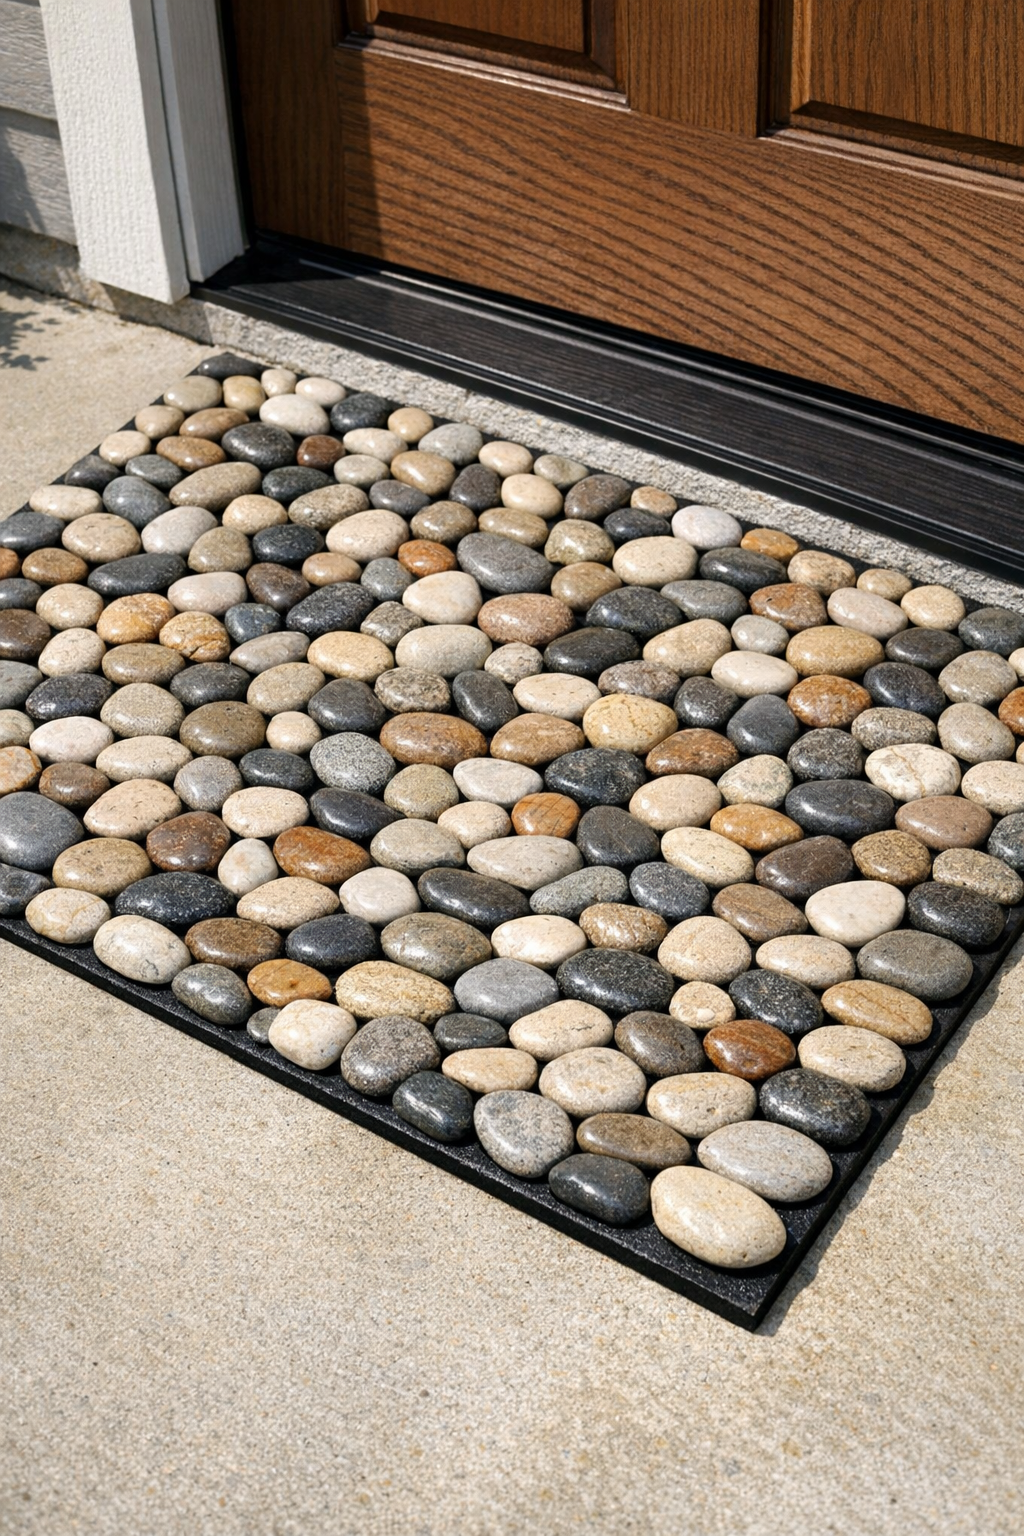
This rustic porch welcome mat is one of those projects that looks surprisingly high-end once it’s finished, even though the basic idea is wonderfully simple: arrange smooth river rocks on a sturdy rubber mat and glue them down into a durable, textured surface. I love projects like this because they bring natural materials right up to the front door, and the finished piece has a grounded, almost spa-like look that feels both practical and inviting.
If you enjoy home décor projects with a little hands-on arranging, this one is especially satisfying. It’s a good fit for anyone who likes working visually rather than measuring every last detail, and it’s approachable even if you’re not a seasoned crafter. The key is choosing the right adhesive, laying out the stones thoughtfully, and giving everything enough time to cure well.
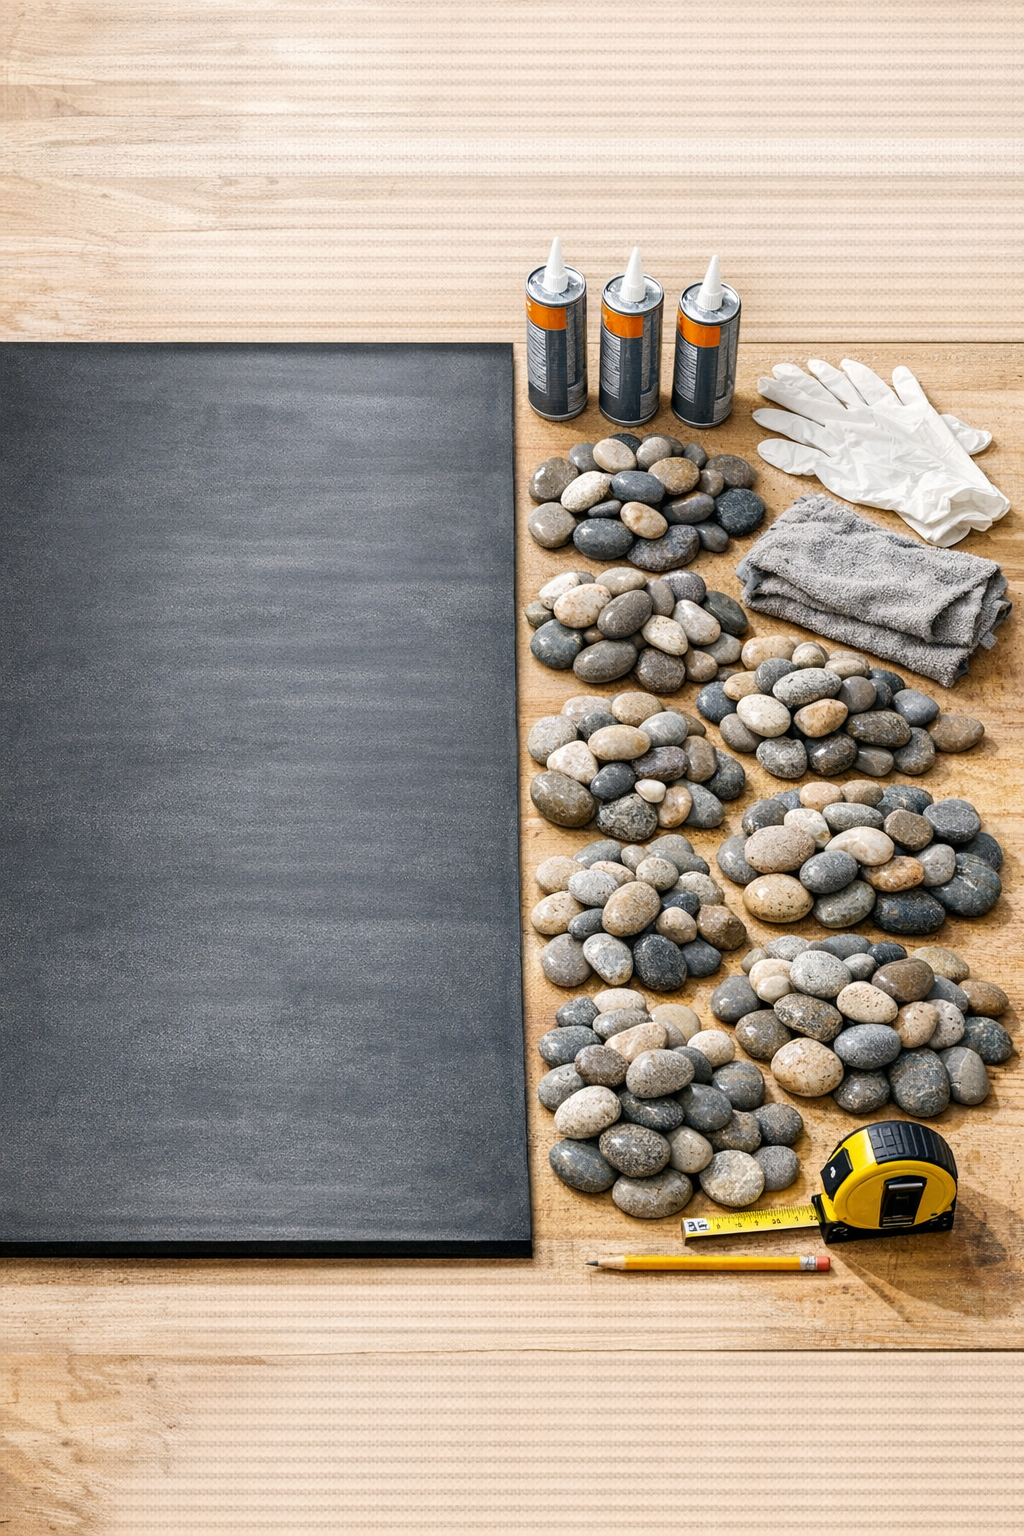
Materials
300 smooth heavy river rocks, approximately 2 to 3 inches wide each
Instructions
1. Set up your work area on a flat surface in a dry, well-ventilated spot, and place the drop cloth underneath to protect the table or floor. A level setup matters here because shifting stones can throw off your pattern before the glue cures.
2. Wipe both sides of the rubber mat clean, then clean the top surface with rubbing alcohol and let it dry fully. I never skip this step because rubber often holds dust or residue that weakens the bond.
3. Sort the 300 river rocks into rough size groups so you can balance the layout more easily. Put larger, flatter stones in one area and smaller filler stones in another.
4. Dry-fit the rocks on the mat before opening the adhesive, starting around the outer edge and working inward. Leave very small gaps between stones so the mat looks full without becoming crowded or uneven.
5. Adjust the arrangement until the shape feels balanced from all sides, mixing colors and sizes naturally. I like to avoid obvious rows, because a slightly irregular layout gives the mat that relaxed rustic look.
6. Use the wax pencil to mark a few guide points on the mat near the corners and center so you can keep the layout consistent while gluing. Remove the rocks in small sections rather than clearing the whole mat at once.
7. Apply construction adhesive to the mat in a small area of about 6 x 6 inches, using enough to support each stone without excessive squeeze-out. Press each rock firmly into place, twisting slightly to seat it into the adhesive.
8. Continue gluing section by section, following your dry layout and checking that the stone tops stay relatively even. If adhesive pushes up between stones, wipe it away right away with a paper towel.
9. Fill the entire mat, then go back and press down on any stones that seem loose or higher than the rest. Check the edges carefully since perimeter stones are the ones most likely to catch on shoes later.
10. Let the mat cure flat for the full time recommended on the adhesive package, ideally 24 to 48 hours in a dry area. Don’t move it too early; heavy stones can shift before the bond sets completely.
11. After curing, lift the mat gently and inspect for any stones that need extra adhesive underneath. Re-glue any weak spots and allow those repairs to cure fully before use.
12. Place the finished mat on your porch or by a sheltered exterior door on a level surface. If it will be exposed to frequent rain, position it where water can drain and the adhesive can last as long as possible.
Variations & Tips
Color mix: Use stones in a tighter gray palette for a more modern look, or blend tan, brown, charcoal, and off-white stones for a more organic style.
Adhesive choice: Make sure the adhesive is rated for both rubber and stone, as well as outdoor use. In my experience, this is the make-or-break detail for a project like this.
Edge planning: Save your flattest and most evenly sized stones for the border so the mat has a cleaner outline and feels sturdier underfoot.
Drainage tip: If your rubber mat has no texture at all, choose one with a slightly grippy surface next time so the adhesive has more to hold onto.
Placement idea: This mat works best on a covered porch, enclosed entry, or three-season space where it gets the rustic charm without constant soaking weather.
Cleaning: Shake off dirt regularly and rinse gently when needed, then let the mat dry completely before putting it back in place.
Design variation: You can create subtle bands of color, a darker stone border, or a centered oval pattern if you want the mat to look a bit more designed without becoming fussy.