
I love a project that turns something headed for the recycling bin into something cheerful and useful, and this crochet pencil cup does exactly that. By stitching colorful cotton yarn right through a cleaned plastic peanut butter jar, you end up with a sturdy back-to-school organizer that is practical enough for homework time and cute enough to brighten a desk.
This is a nice project for beginners who are comfortable with basic crochet stitches and for anyone who likes low-cost crafts with a purpose. I’m always looking for easy ways to make our kitchen table homework station feel a little more inviting, and a handmade pencil cup like this adds such a fun, personal touch.
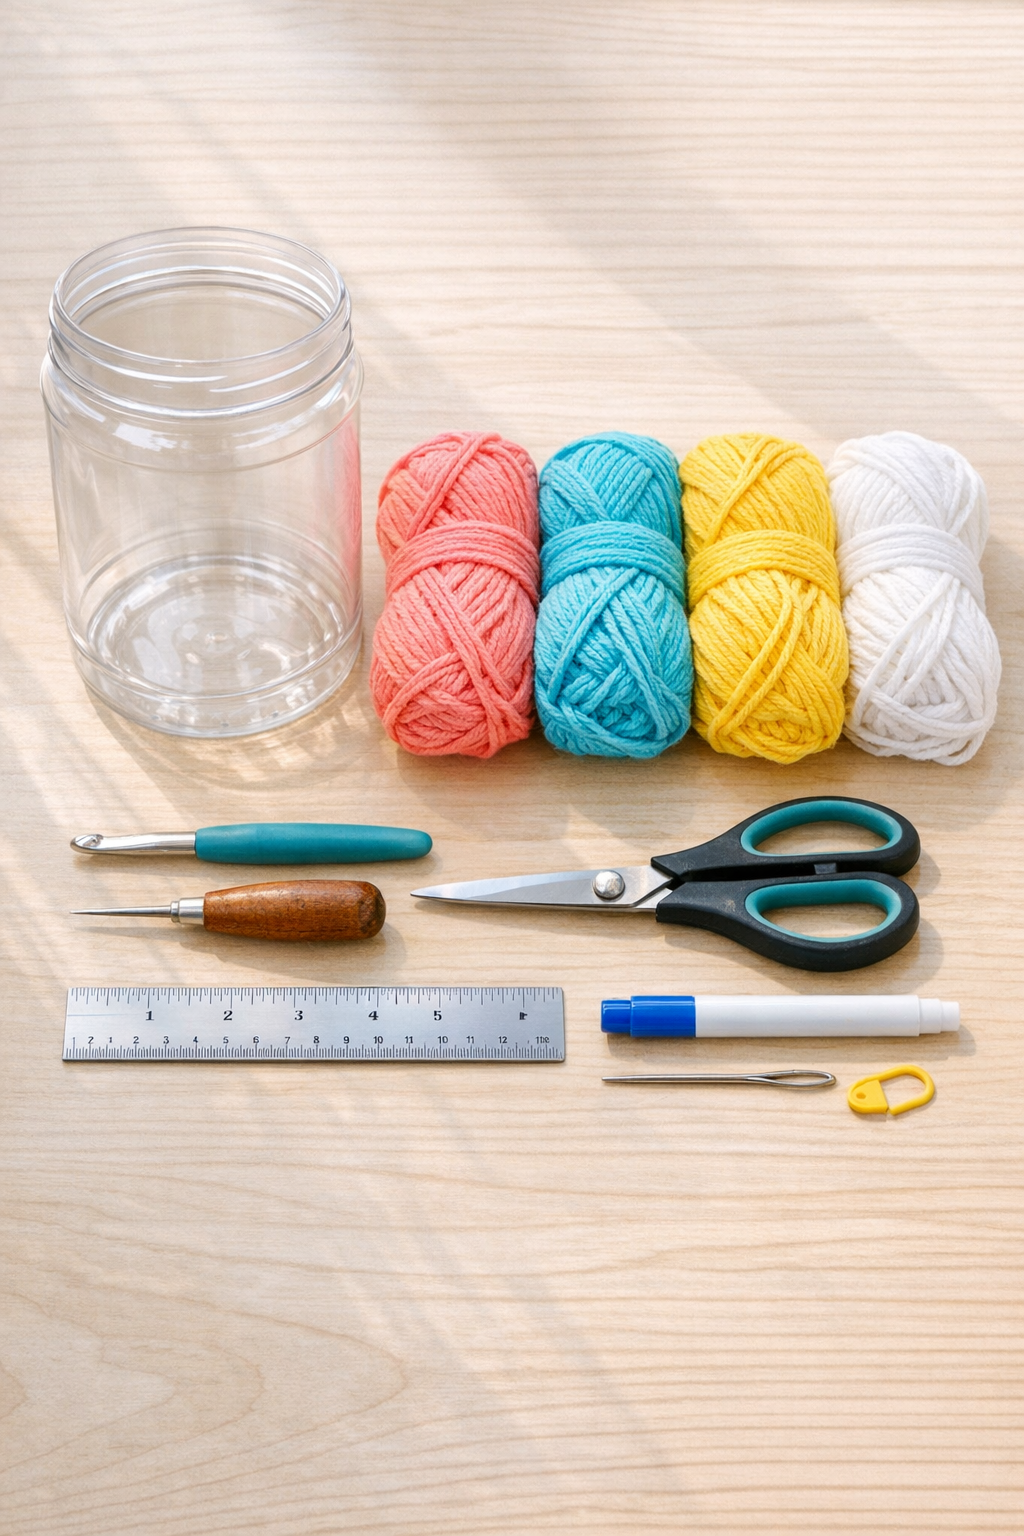
Materials
1 empty plastic peanut butter jar, 16 oz size, cleaned and label removed
Instructions
1. Wash and dry the peanut butter jar thoroughly, then remove any sticky residue from the outside so the yarn sits neatly against the plastic.
2. Lightly sand any rough plastic edges around the top if needed, and make sure the rim is smooth to the touch.
3. Use the ruler and marker to mark a row of dots around the jar about 1/2 inch below the top rim, spacing them roughly 3/8 inch apart.
4. Carefully punch a hole at each marked dot, making each opening just large enough for the crochet hook to pass through without cracking the jar.
5. Tie the first yarn color on the inside of the jar through one hole, then pull up a loop with your hook and single crochet through each hole all the way around.
6. Slip stitch to join the first round, then chain 1 and work 1 single crochet into each stitch around to build the sides upward.
7. Change yarn colors every 2 to 3 rounds if you want stripes, carrying the yarn tails neatly inside and weaving them in with the yarn needle every few rounds.
8. Keep crocheting until the yarn covering reaches the bottom edge of the jar, checking now and then that the stitches sit snugly without puckering.
9. For the last round, work slip stitches evenly around the bottom edge area to help the cover lie flat and tidy, then fasten off with a 6-inch tail.
10. Thread the tail onto the yarn needle, weave in all ends securely on the inside, and trim any extra yarn so pencils will slide in easily.
Variations & Tips
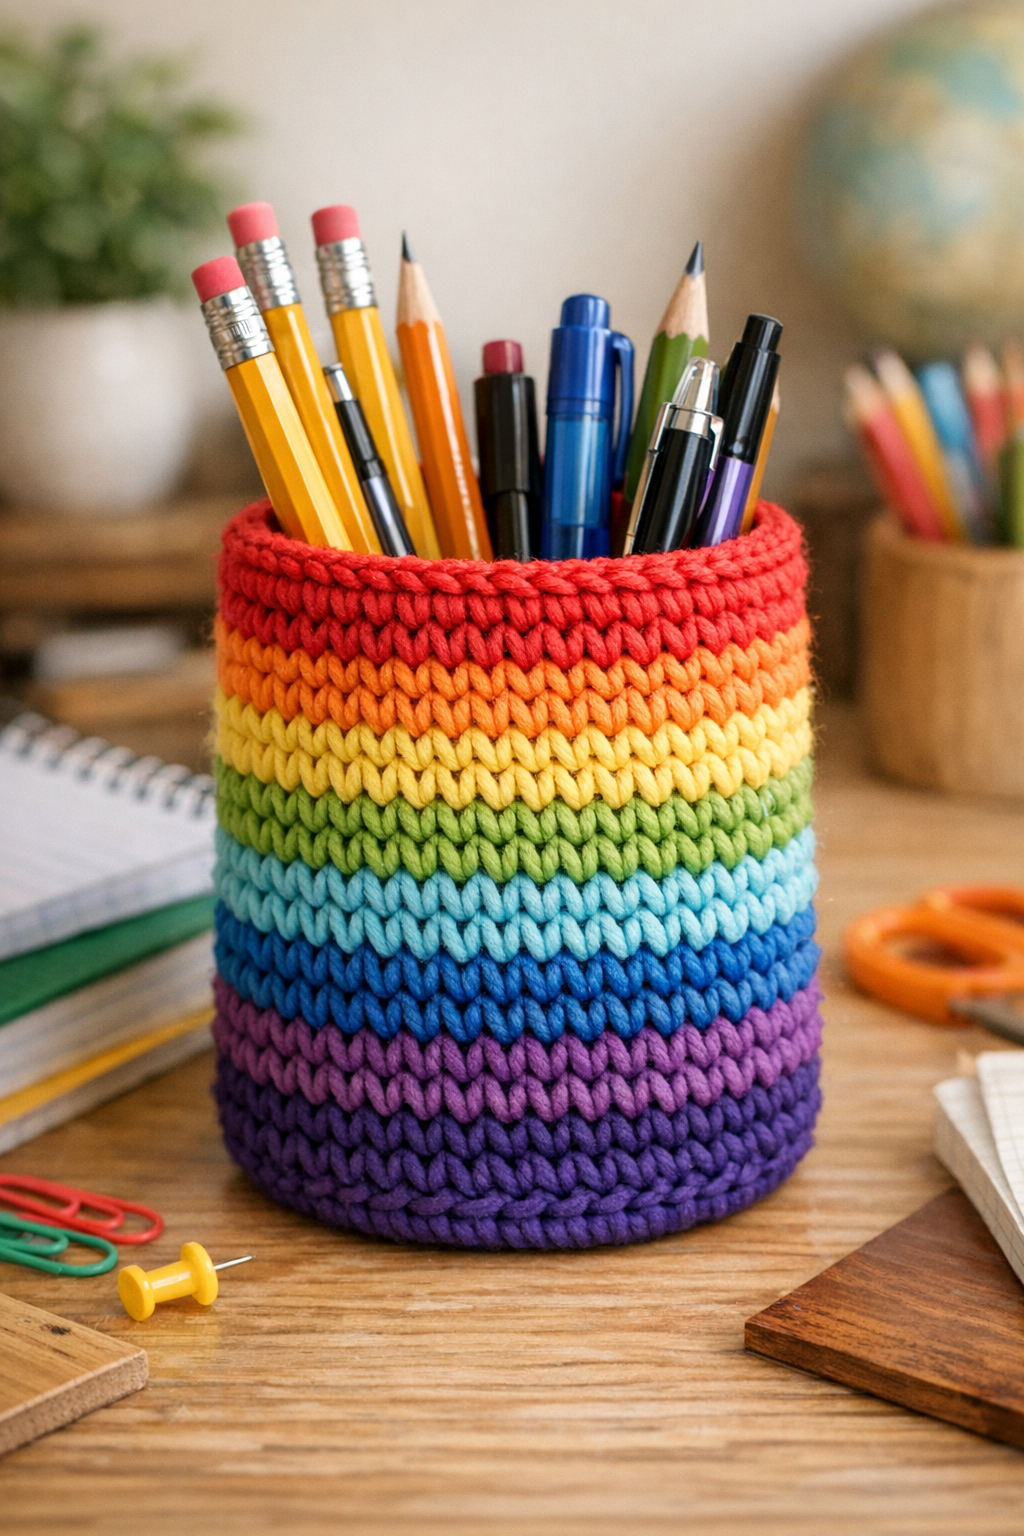
Color plan: For a back-to-school look, I like using two bright colors plus one neutral, such as teal, yellow, and white. It makes the cup playful without looking too busy on a desk.
For picky decorators: If your child prefers simpler colors, make the whole cover in one favorite shade or do just a narrow stripe near the top. That way it still feels special and personal.
Jar size tip: A 16-ounce peanut butter jar is a great size for pencils, markers, or crochet hooks, but the same method works with other smooth plastic jars as long as you adjust the number of holes.
Hole spacing: Try to keep the holes evenly spaced, because that first round sets up the whole project. If I rush this part, I always notice it later in the stripes.
Yarn choice: Cotton yarn works best because it holds its shape nicely and does not get fuzzy as quickly with daily use. I would skip stretchy yarns for this one.
Desk-friendly finish: If you want the bottom to slide less, add a small circle of felt inside the base after you finish. It gives the cup a quieter landing on hard desks, which is especially nice during homework hour.