
There’s something mighty satisfying about making a simple summer gadget from things you can pick up at the discount store, and this floating pool bar is one of those projects that feels clever the minute you set it in the water. We’re turning a plastic storage bin lid into a sturdy little floating tray, then cushioning and buoying it with colorful pool noodles so it can hold drinks, snacks, or a pair of sunglasses while everybody cools off.
I’ve always loved practical projects like this—the kind that don’t ask for fancy tools or a whole Saturday afternoon. If you’ve got a backyard pool, or even just like adding a little fun to a family swim day, this is an easy make that’s beginner-friendly, inexpensive, and useful right away.
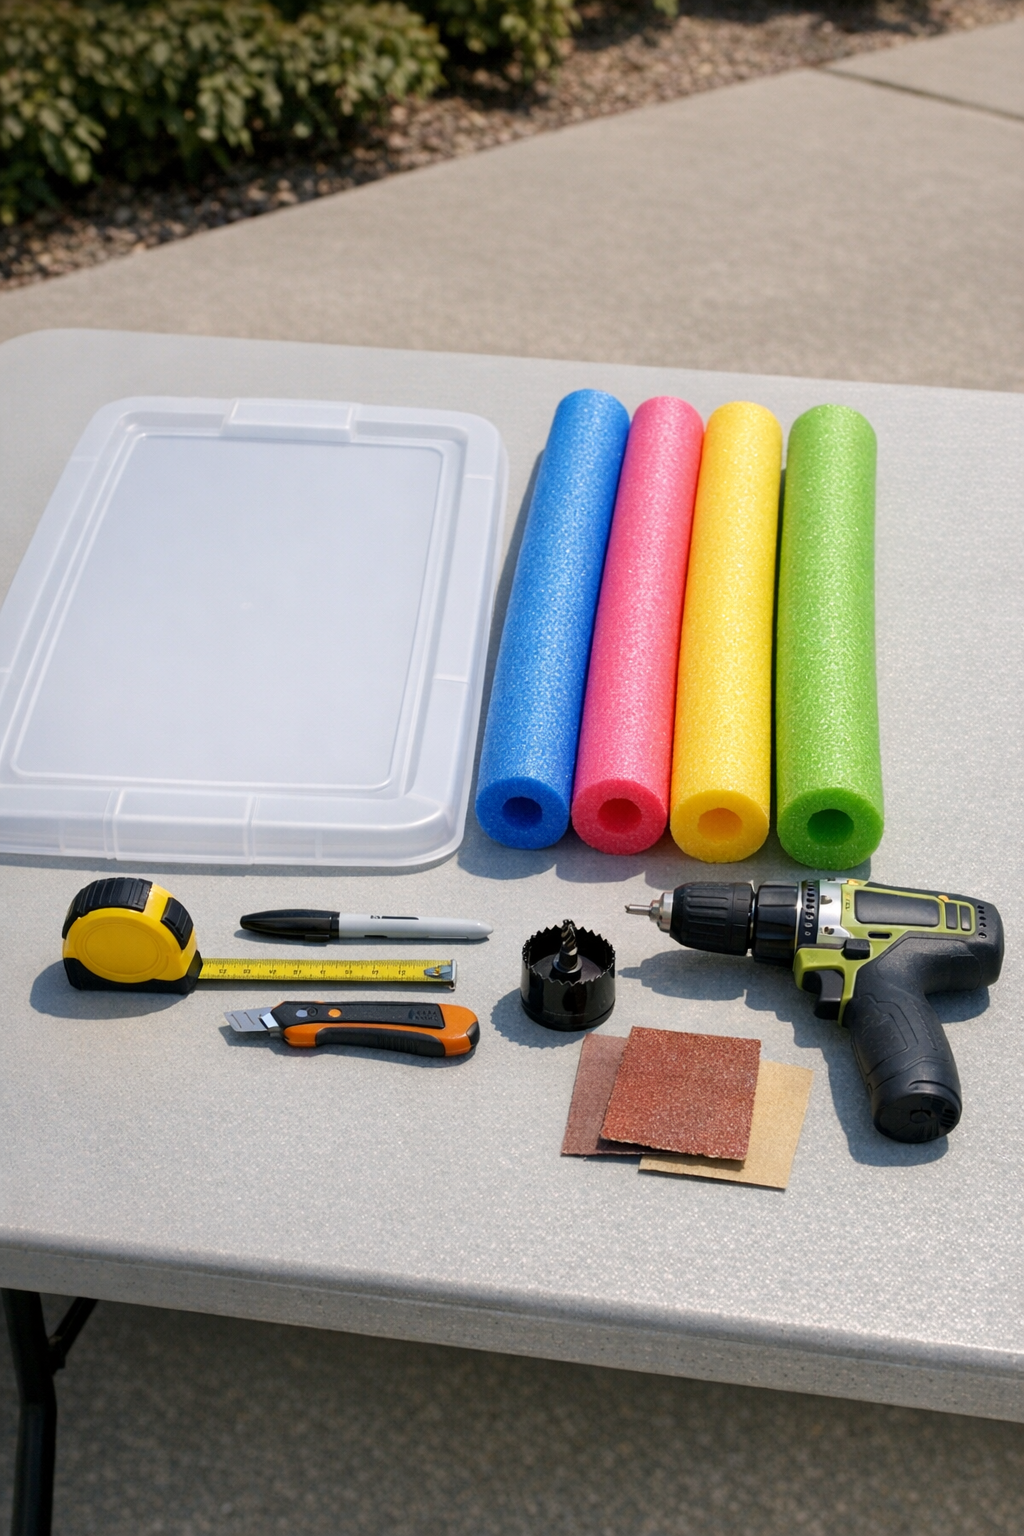
Materials
Instructions
1. Wash and dry the plastic lid so you’re working on a clean surface, then set it upside down on a sturdy table. Pick the flattest side to be the top of your floating bar.
2. Measure and mark four cup holder locations, keeping each hole at least 2 inches in from the edge so the lid stays strong. If you want a snack bowl opening, mark that in the center.
3. Drill the cup holder holes with the hole saw, going slowly so the plastic doesn’t crack. Cut the center hole the same way, or use a jigsaw if your lid shape calls for it.
4. Sand the cut edges lightly until they feel smooth to the touch. This helps cups slide in more easily and keeps the project safer for bare hands.
5. Measure the outer edge of the lid and cut pool noodle pieces to fit around all four sides. If your lid has rounded corners, trim the noodle ends at slight angles so they meet neatly.
6. Slice each noodle piece lengthwise down one side only, creating a channel that can slip over the lid edge. Don’t cut all the way through; you want each piece to clamp around the plastic.
7. Press the noodle pieces firmly onto the lid edge, working your way around until the whole perimeter is covered. Check that the foam sits evenly so the bar will float level in the pool.
8. For a sturdier build, add a thin bead of waterproof construction adhesive inside each noodle slit before pressing it on. You can also secure the noodles with zip ties spaced every 6 to 8 inches if needed.
9. Let any adhesive cure according to the package directions, then test the float in shallow water before loading it up. If one side dips, trim or reposition the noodle sections until the lid sits balanced.
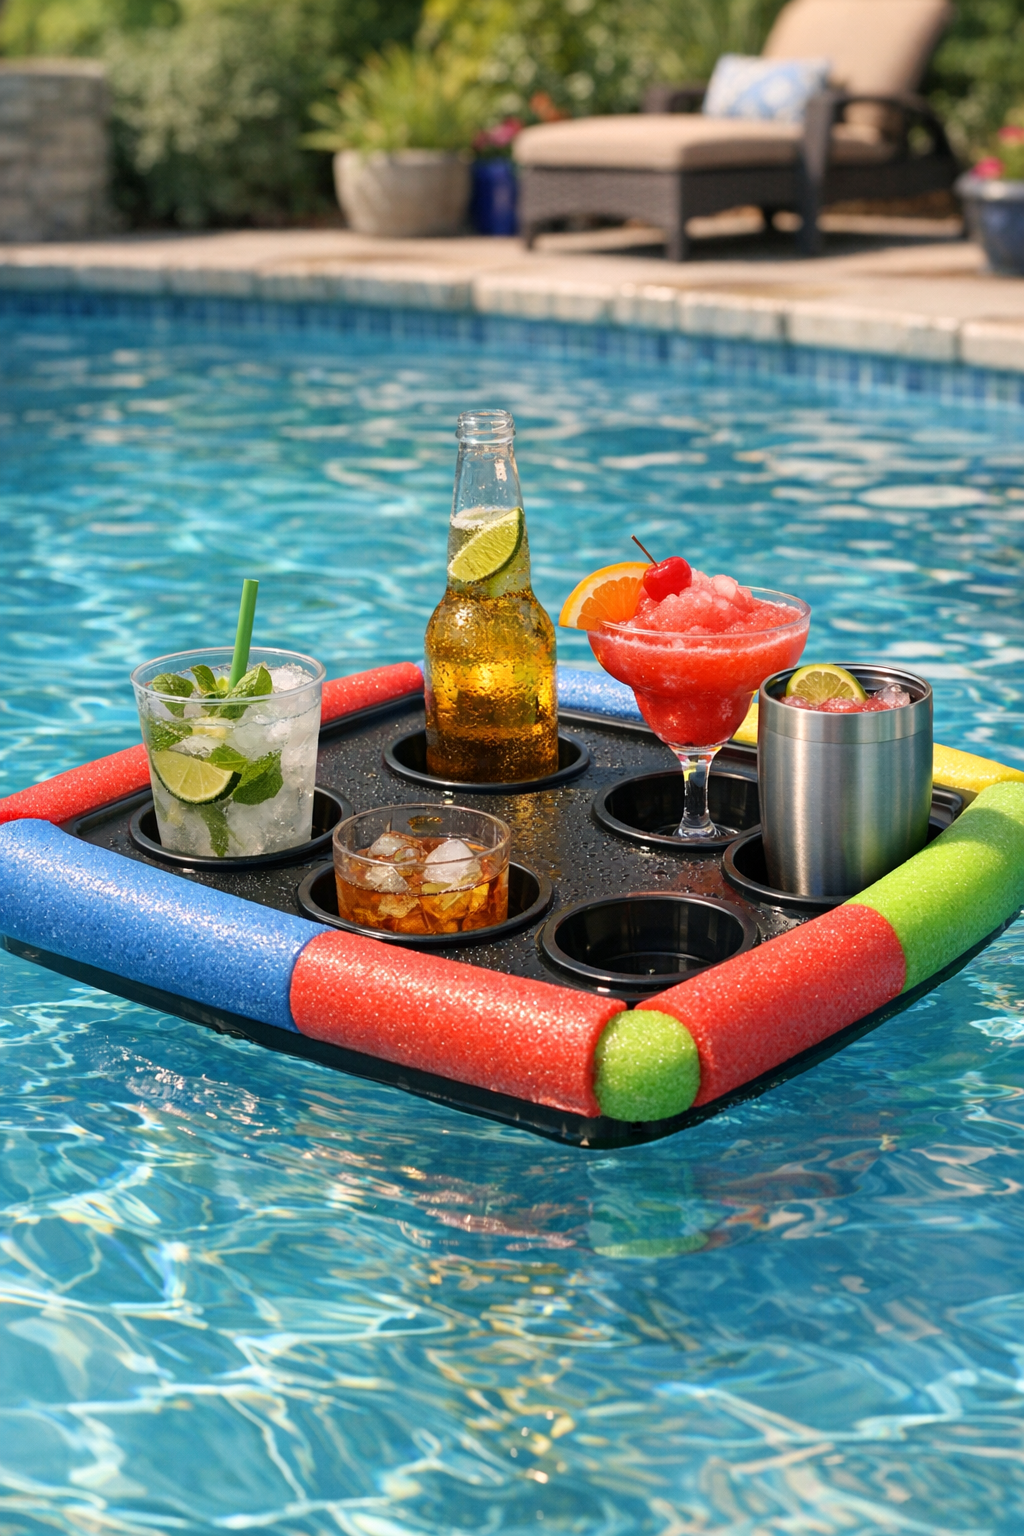
10. Set cups, cans, or small bowls into the holes and enjoy your floating pool bar. Keep the weight modest and evenly spaced so it stays steady while drifting.
Variations & Tips
Use a larger lid: If you want room for more drinks or a dip bowl, start with a bigger tote lid and add extra noodle flotation to match the added size.
Make it kid-friendly: I like using wider spacing between the holes so little hands can grab cups without tipping the whole tray.
Choose snug cup sizes: Test one of your usual tumblers before cutting all the holes; a good fit keeps drinks from wobbling when the water moves.
Add color on purpose: Matching noodle colors makes it look polished, but mixing bright shades gives it that cheerful, old-fashioned summer feel that reminds me of community pool days.
Keep it lightweight: Don’t overload the tray with heavy glassware or big bowls. Plastic cups, canned drinks, and small snack dishes work best and float more safely.
Store it flat: When swim season is over, dry it well and store it out of direct sun so the foam lasts longer and the lid doesn’t warp.