
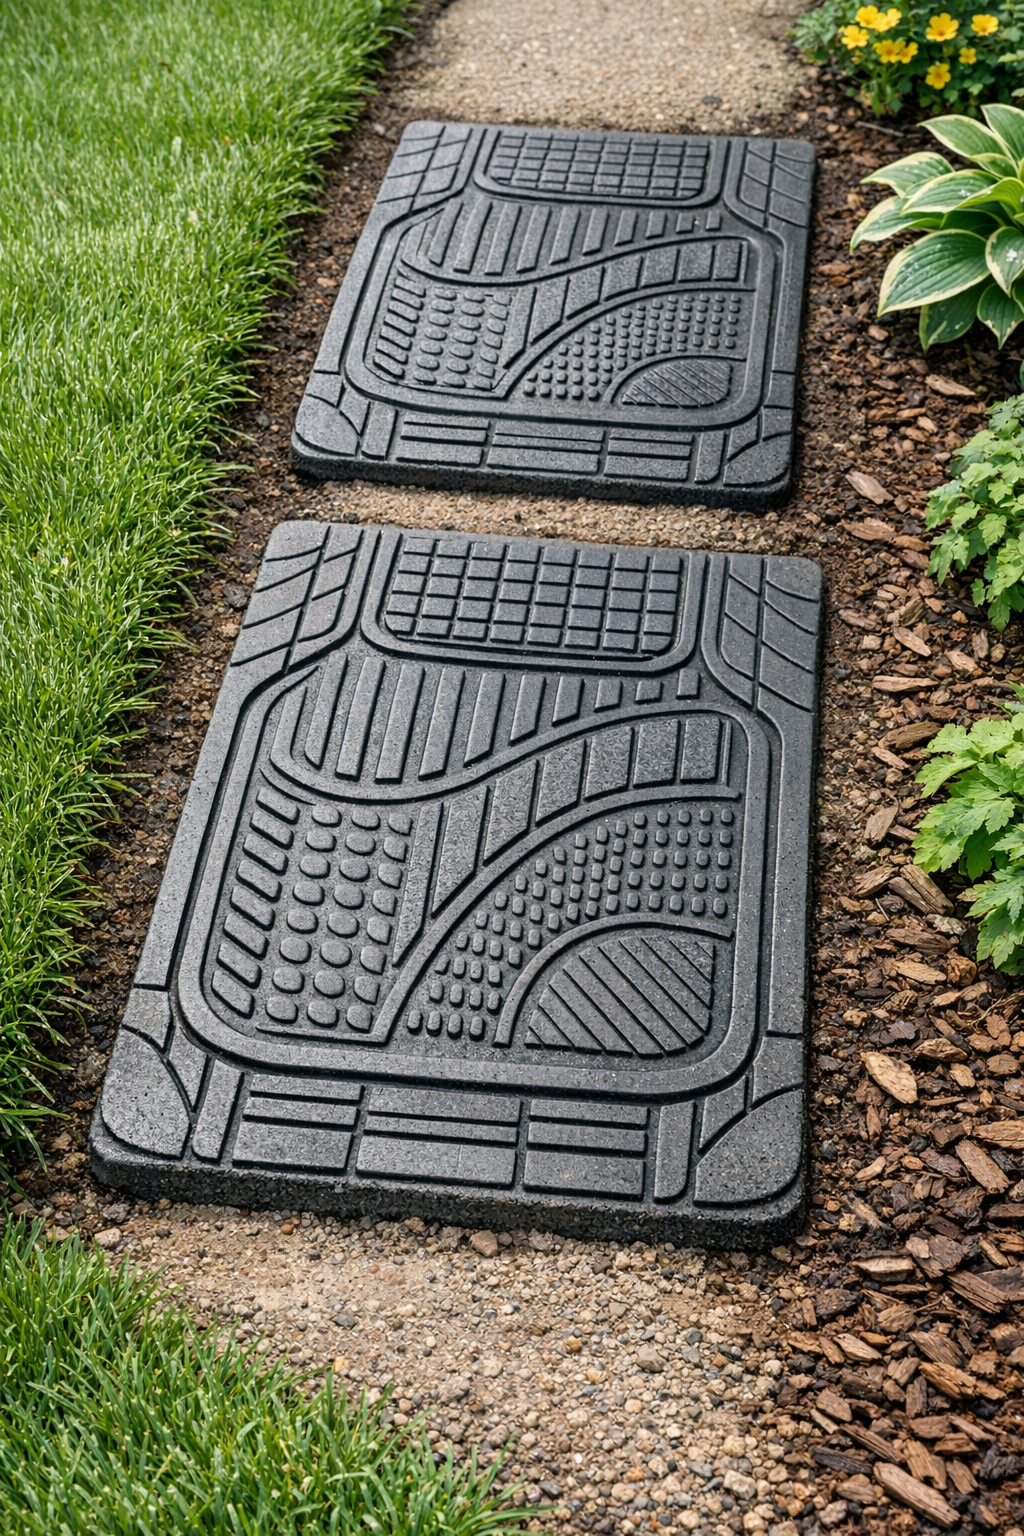
I love a project that makes a yard look more finished without sending me to the garden center for pricey hardscaping pieces, and these embossed patio treads are exactly that kind of win. By using rubber car floor mats as a mold and wet cement as the casting material, you can make sturdy stepping treads with a really pretty raised pattern that looks far more expensive than it is.
This is a great weekend DIY if you want a cleaner path through grass, gravel, or a garden bed, and it is especially good for beginners because the process is straightforward. I’m always looking for practical upgrades I can squeeze in between work deadlines and normal life, and this one gives that satisfying “big visual payoff for reasonable effort” feeling.
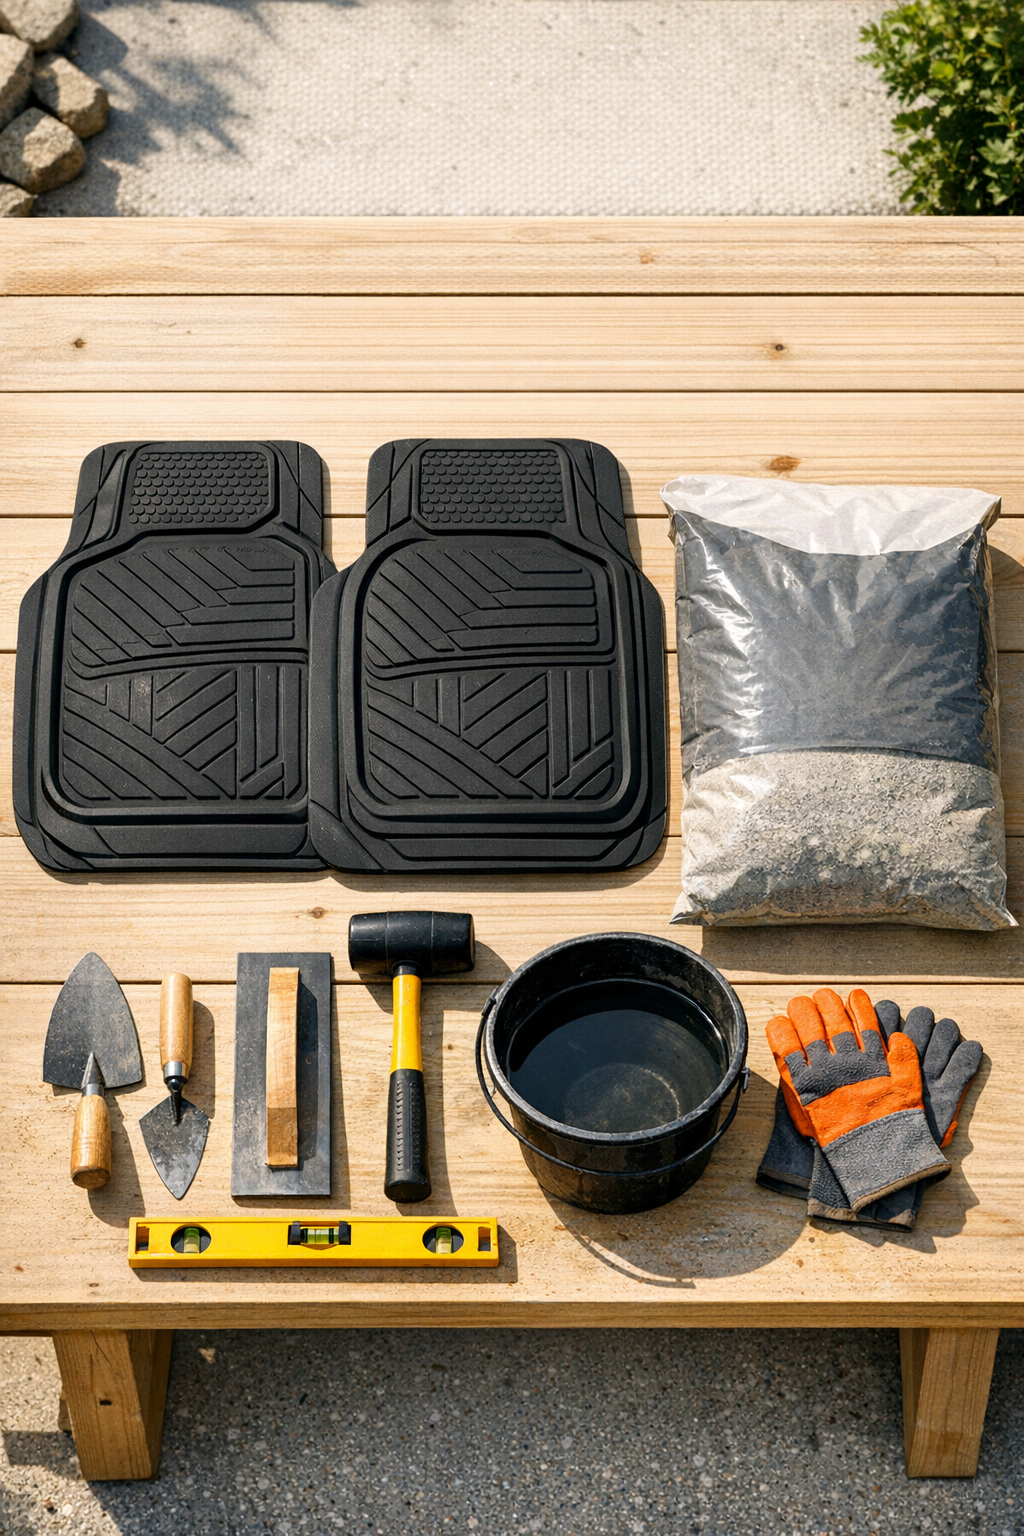
Materials
2 rubber car floor mats, standard front-seat size, approximately 17 x 27 inches each
Instructions
1. Set up a flat, level work area outdoors or in a garage, and spread out the plastic drop cloth to protect the surface. Place the rubber car mats pattern-side up so the cement can capture the embossed design.
2. Lightly coat the surface of each mat with nonstick spray or a thin wipe of oil to help the cement release later. Keep the coating light so it does not pool in the pattern.
3. Mix the cement in a bucket or mixing tub according to the package direction, adding water a little at a time until it reaches a thick brownie-batter consistency. It should be wet enough to spread but firm enough to hold shape on the mats.
4. Divide the cement evenly between the two mats and spread it over each one to about 1 1/2 inches thick. Press the mix into the pattern first, then smooth the top so each tread is solid and even.
5. Tap the sides of the mats gently against the work surface or shake them slightly to release trapped air bubbles. If needed, smooth the top again with a trowel or scrap board after the mix settles.
6. Let the cement sit undisturbed until it firms up enough to hold its shape, then leave it to cure fully for 24 to 48 hours. If the weather is hot or windy, loosely cover the treads with plastic so they cure more evenly.
7. Once fully hardened, carefully peel the rubber mats away from the cement to reveal the embossed pattern. Lift the finished treads with both hands because they will be heavy.
8. Place the treads in your yard, patio edge, or garden path on compacted soil or gravel so they sit level and stable. Press them into place and check that they do not rock before using them.
Variations & Tips
For a cleaner shape: If your mats have curved edges you do not love, you can stop the cement a little short of the outer edge to create a more uniform rectangle or oval-like tread.
For stronger treads: Make each piece at least 1 1/2 inches thick so it holds up better over time. Thin pieces are more likely to crack when moved or placed on uneven ground.
For easier placement: I like to dry-fit where each tread will go before I make too many of them. It saves you from ending up with a beautiful stack of pavers and no actual path plan.
For a more finished path: Set the treads into a shallow bed of sand or compacted gravel if your yard stays muddy. That helps with drainage and keeps the pieces from wobbling.
For pattern success: Deep-grooved rubber mats usually create the best embossed look. The more defined the mat texture, the more dramatic the final tread will be.
For curing conditions: Avoid making these on a freezing day or in extreme heat. Mild weather gives cement a much better cure, which means stronger and longer-lasting treads.