
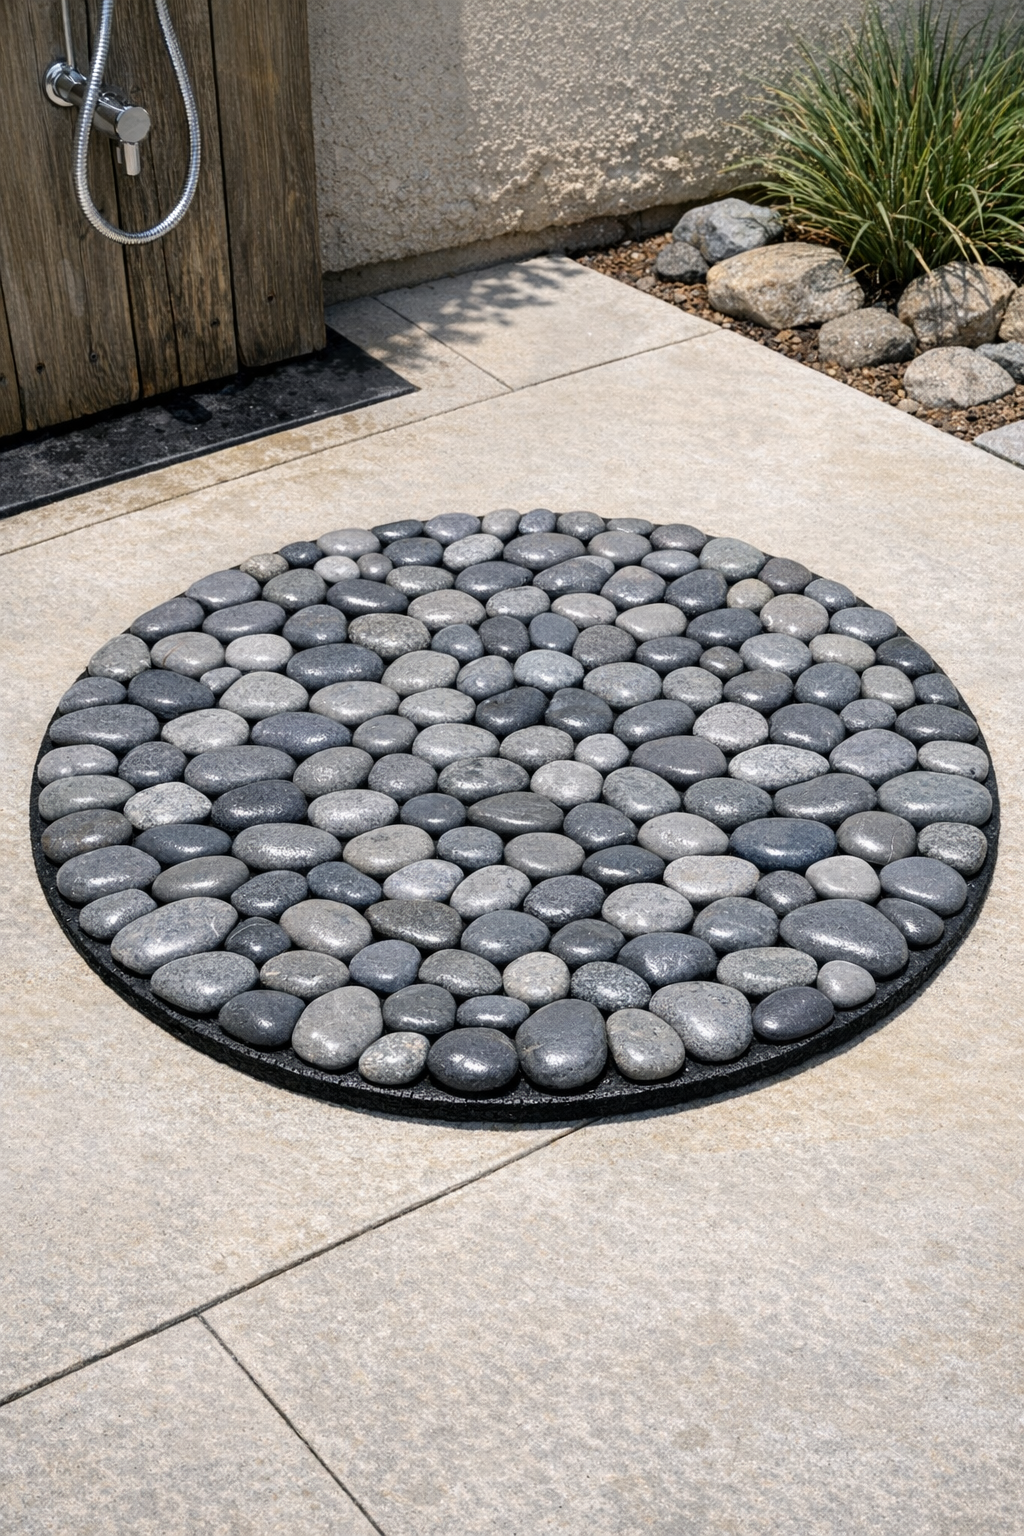
I love a patio project that feels a little indulgent but is still practical, and this stone-covered shower mat is exactly that. By gluing smooth gray river rocks onto a round rubber welcome mat, you can create a backyard shower floor that looks custom, feels great underfoot, and helps keep bare feet out of mud and puddles.
This is an especially good project for anyone adding an outdoor rinse station near a pool, garden, sauna, or beach-style shower. I’m always drawn to materials that echo nature, and river rock has that timeless, spa-like quality. The trick here is choosing the right adhesive, laying the stones tightly, and leaving enough drainage so the finished mat holds up outdoors.
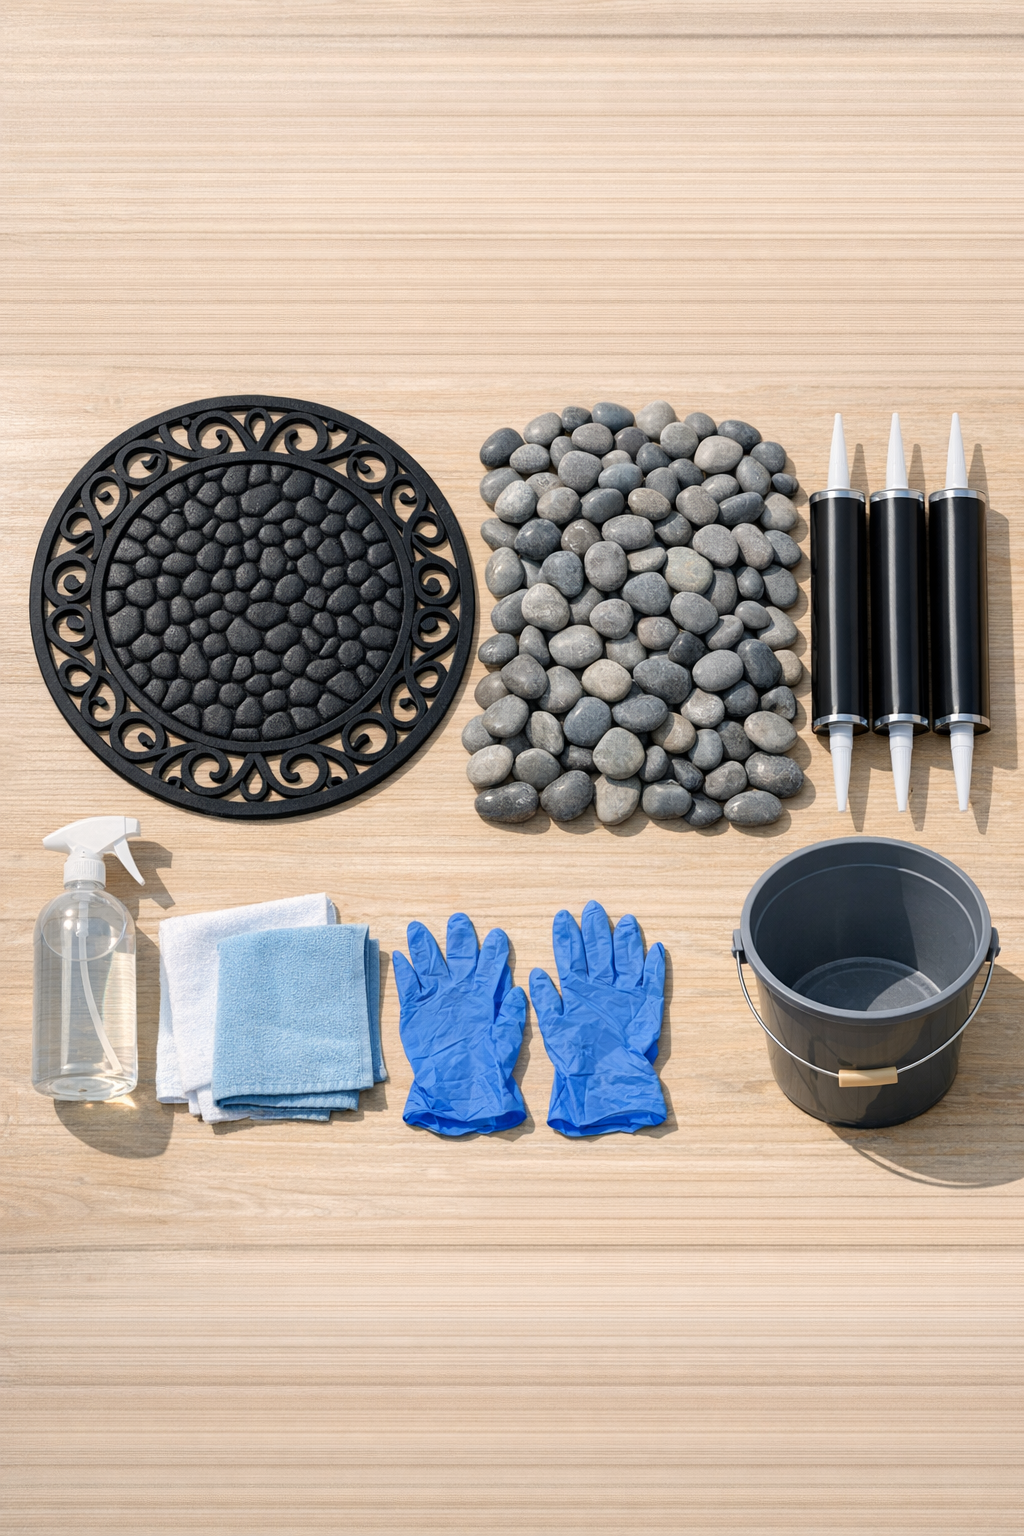
Materials
1 round rubber welcome mat, 18 to 24 inches in diameter
Instructions
1. Wash the rubber mat with warm soapy water and a scrub brush to remove dirt, oils, and any powdery residue, then let it dry completely.
2. Wipe the top of the mat with rubbing alcohol and a clean cloth so the adhesive can bond well to the rubber surface.
3. Rinse the river rocks if they are dusty, then spread them out on a towel and let them dry fully before you begin gluing.
4. Place the mat on cardboard or a drop cloth, and if you want a clean border, mark a 1/2-inch edge with painter’s tape around the outer rim.
5. Dry-fit the stones first, starting in the center and working outward, so you can balance sizes and shapes and keep the spacing tight without covering every drainage opening.
6. Once you like the layout, lift a small section of stones, apply exterior construction adhesive in short beads, and press the stones back into place one at a time.
7. Continue gluing in small sections, rotating the mat as you work and mixing stone sizes so the surface looks natural and feels even underfoot.
8. Check the edges as you go, choosing flatter rocks around the perimeter so the finished mat has a tidy outline and sits more evenly on the patio.
9. Press down on each stone firmly for a few seconds to seat it in the adhesive, and wipe away any glue that squeezes up between stones before it cures.
10. Leave the mat flat and undisturbed to cure for the full time recommended on the adhesive packaging, usually 24 to 48 hours.
11. After curing, test for loose stones by pressing across the surface with your hand, and reglue any pieces that shift.
12. Set the finished mat in your backyard shower area on a level surface with good drainage, then spray it lightly with water to rinse off dust before using it.
Variations & Tips
Color mix: If you want a softer, more natural look, blend light gray, charcoal, and beige river rocks instead of using a single tone. I find a subtle mix often looks more like a custom spa feature.
Adhesive choice: Use an adhesive labeled for exterior, waterproof, and rubber-compatible applications. In my kitchen work and home projects alike, I’ve learned that the right binder matters just as much as the visible ingredients.
Drainage matters: Do not pack stones so tightly that you seal every opening in the mat. A few visible gaps help water move through instead of pooling on top.
Comfort underfoot: Pick flatter, smoother stones for the center where you’ll stand the most. Save the more irregular pieces for the outer ring.
Size adjustment: This same method works on a larger rectangular rubber mat if your outdoor shower footprint is bigger. Just increase the stone weight and adhesive amount to match the surface area.
Cleaning tip: Hose the mat off regularly and scrub it occasionally with mild soap to prevent grime buildup. Letting it dry in the sun helps keep it fresh between deeper cleanings.
Cold-weather storage: If you live somewhere with freeze-thaw cycles, store the mat indoors during the harshest part of winter to extend its life. That’s a habit we Midwesterners know pays off with just about any outdoor project.