
This project turns a basic plastic gutter downspout and a bag of cement into sturdy, ridged landscape edging that looks surprisingly polished once it’s set in the garden. I love this kind of weekend build because it gives you that high-end, custom-landscaping look without needing fancy molds or a garage full of tools.
As someone who’s usually squeezing projects in between work and figuring out dinner, I really appreciate DIYs that are simple but still make a big visual impact. If you want edging for a flower bed, walkway, or small garden border that feels substantial and stays put, this is a very doable project for beginners.
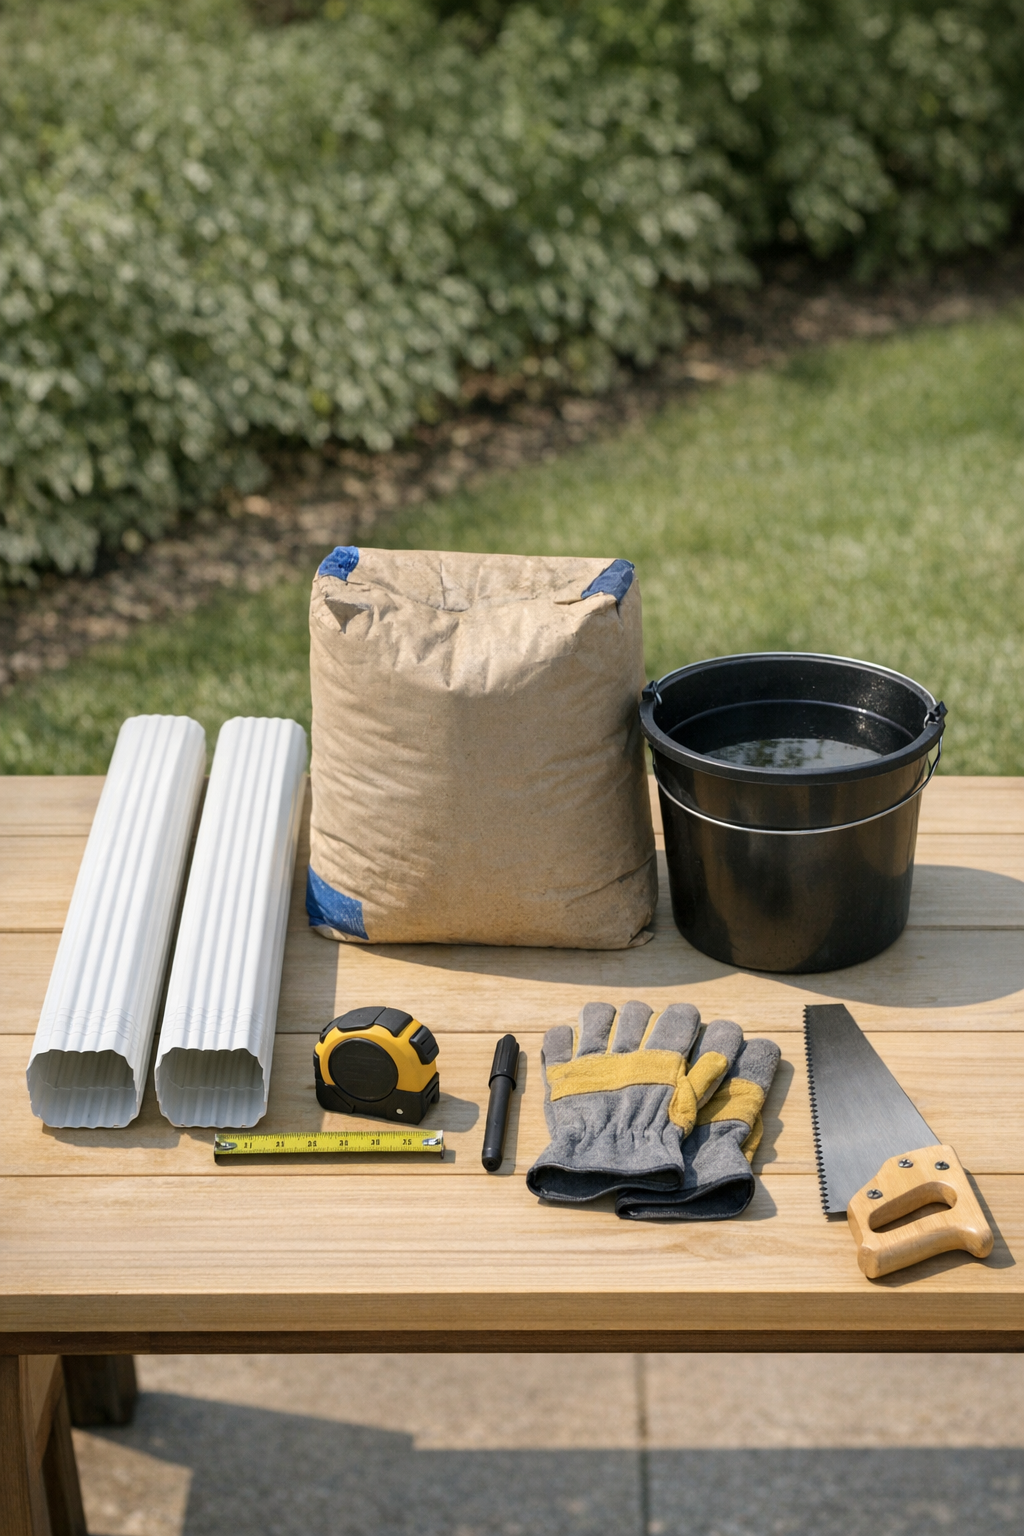
Materials
Instructions
1. Measure and mark the downspouts into edging sections that fit your space; 12-inch to 18-inch lengths are easy to handle and create a nice repeating pattern.
2. Cut the downspouts at your marks with the hand saw, keeping the cuts as straight as possible so the finished pieces sit evenly in the ground.
3. Set the cut pieces upright on your tarp or cardboard, and make sure each one is stable before you start filling.
4. Mix the cement in the bucket according to the bag directions until it reaches a thick, scoopable consistency similar to stiff oatmeal.
5. Scoop the wet cement into each downspout section a little at a time, tapping the sides lightly as you go to help settle the mix and reduce air pockets.
6. Use the scoop or scrap stick to pack the cement firmly into the corners and all the way to the top so each piece cures dense and strong.
7. Smooth the tops with the stick if needed, then leave the filled molds undisturbed to cure for at least 24 to 48 hours, depending on the cement and weather.
8. Once fully hardened, carefully peel or cut away the plastic downspout from each cement form to reveal the ridged texture.
9. Dig a shallow trench along your garden bed or walkway, making it just deep enough to bury the bottom 2 to 3 inches of each piece for stability.
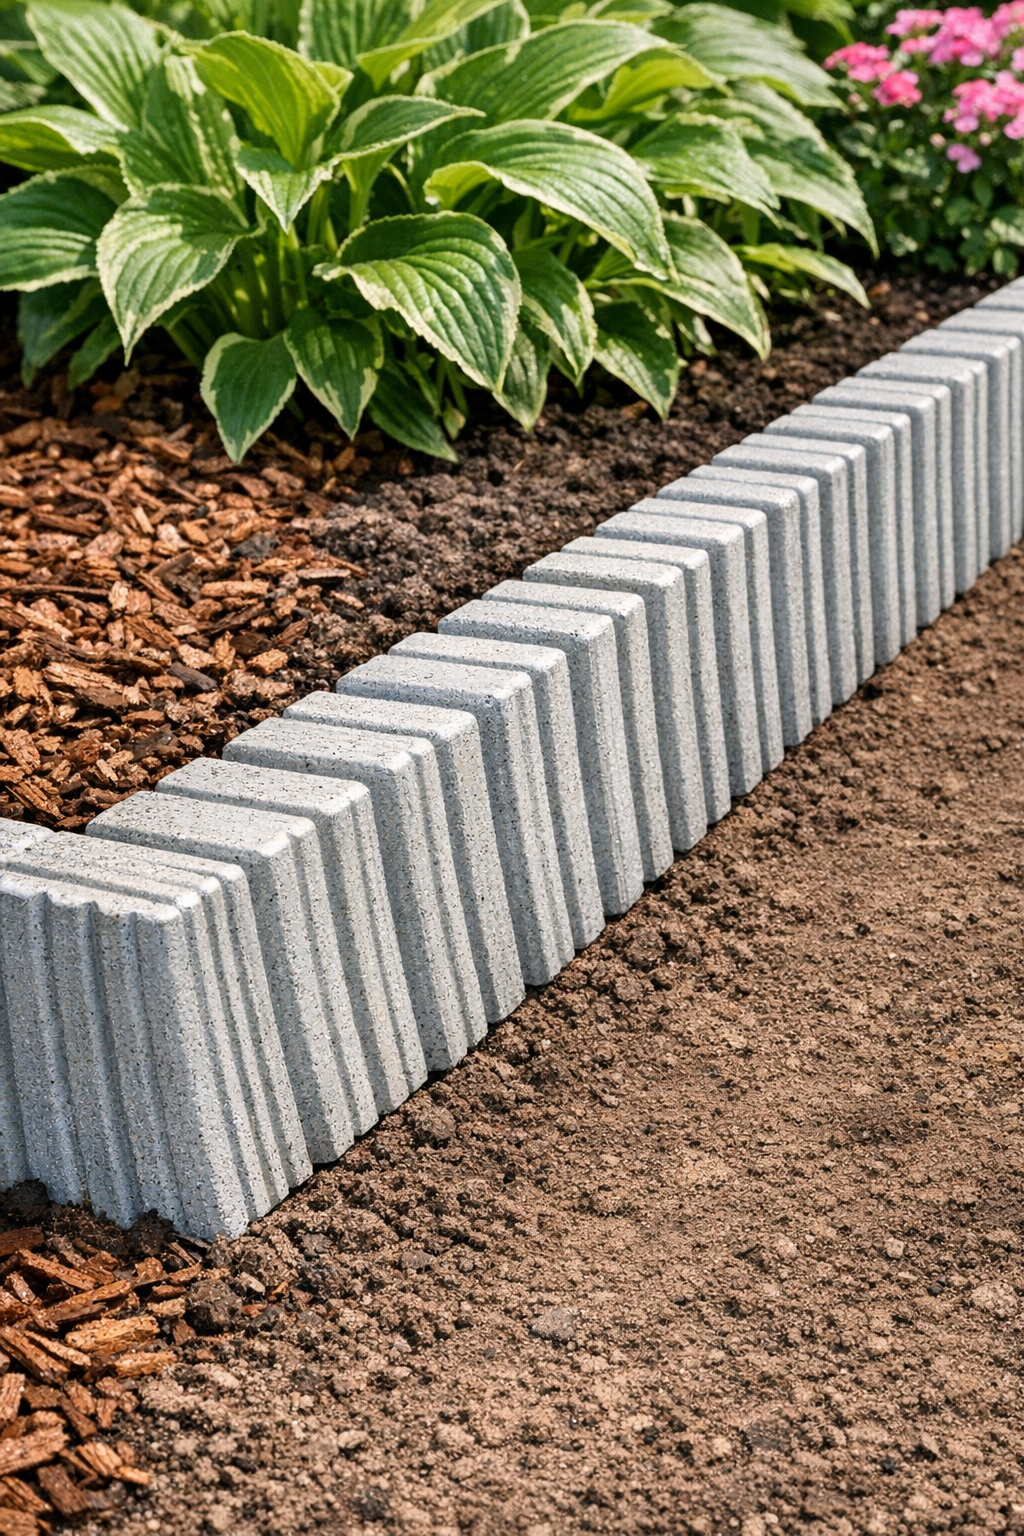
10. Stand the cement sections side by side in the trench with the ridges facing outward, then backfill with soil and press firmly around the bases to lock them in place.
Variations & Tips
Shorter border pieces: Cut the downspouts into 8-inch to 10-inch sections if you want a more scalloped, decorative look around small flower beds.
Taller edging: Use 18-inch to 24-inch sections for spots where you want more of the ridged pattern visible above the soil, but bury enough of each piece to keep it steady.
Smoother release: If the plastic feels stubborn when unmolding, make a careful lengthwise cut with the saw or utility blade and peel it away in strips instead of forcing the cement piece.
Cleaner finish: Lightly sand any rough edges after curing if you want the tops to look more refined; I usually do this if the edging is going near our front walkway where everything is more visible.
Batching tip: Mix the cement in small batches if you’re working alone so it doesn’t start setting before all the molds are filled; this is the kind of practical shortcut that saves a lot of stress on a busy afternoon.
Layout tip: Dry-place the cured pieces along the bed before digging the trench so you can adjust spacing and see exactly how the repeating ridges will look.
Color option: Once fully cured, you can leave the cement natural for a clean modern look or use an outdoor masonry stain to blend it with your landscaping.