
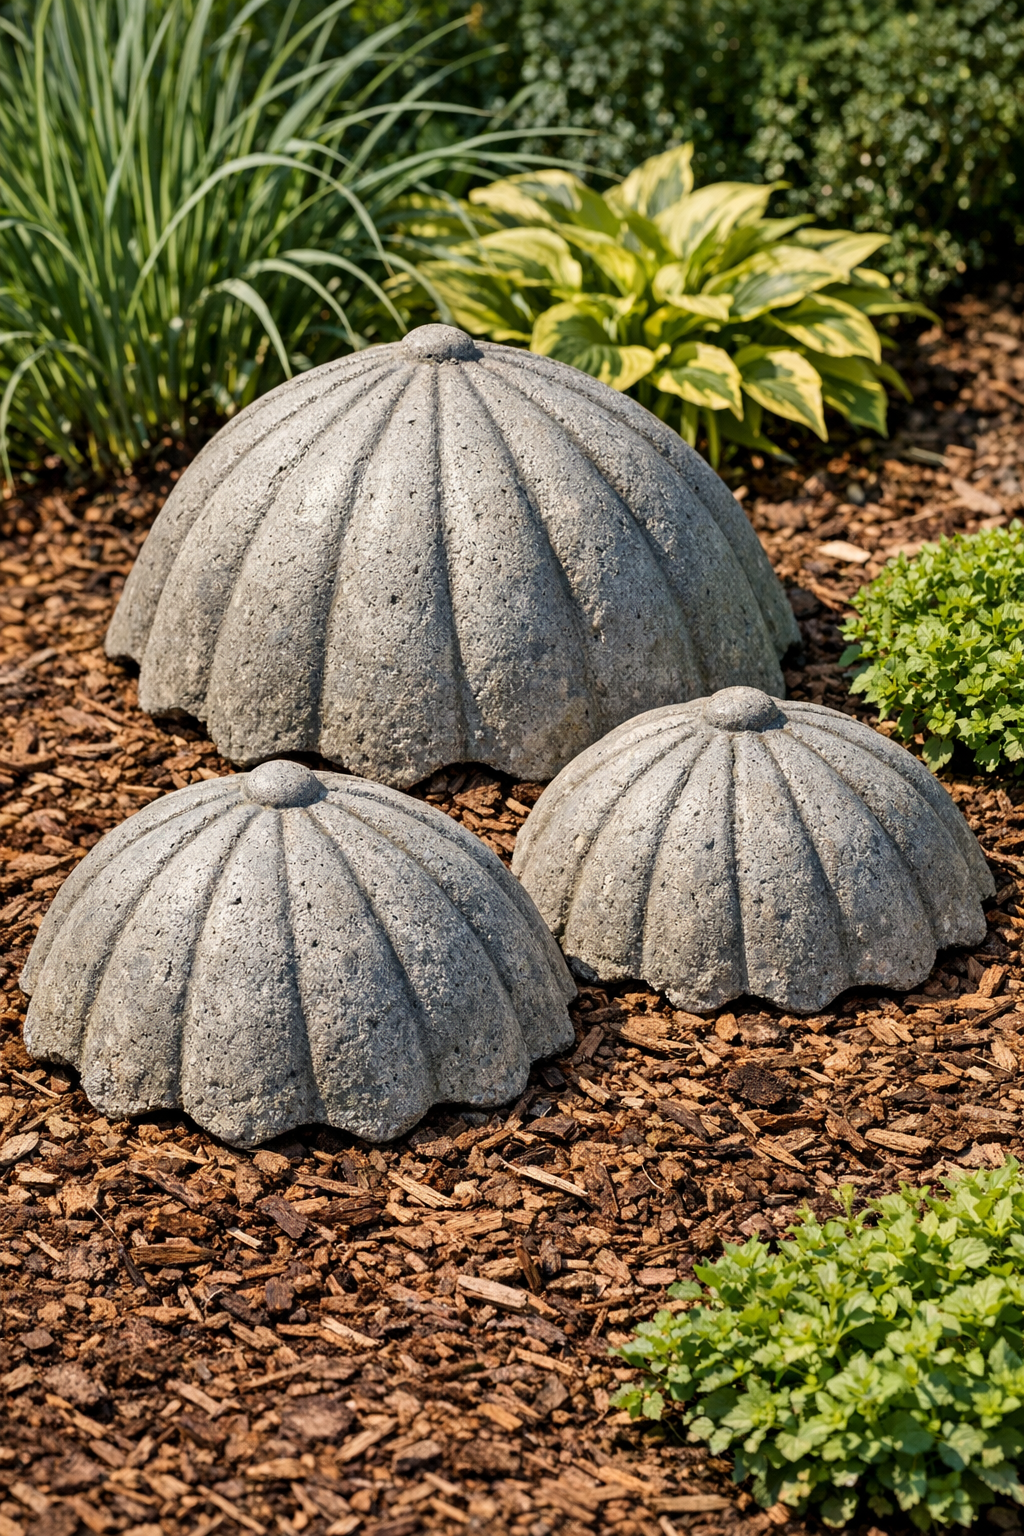
I’m always drawn to garden pieces that look as if they’ve been there for years, and these heavy scalloped domes have that same old-world charm without requiring special molds or expensive supplies. By using an inverted nylon umbrella as the form, thick cement naturally takes on those lovely scalloped ridges, giving you a sturdy decorative dome that works beautifully in flower beds, along a path, or tucked between hostas and ornamental grasses.
What I like most about this project is how simple the setup is. If you’re comfortable mixing cement to a thick, workable consistency and don’t mind a little mess, this is very doable for a beginner. The finished pieces look surprisingly substantial, and because the umbrella creates the shape for you, the process is more about patience and good prep than difficult technique.
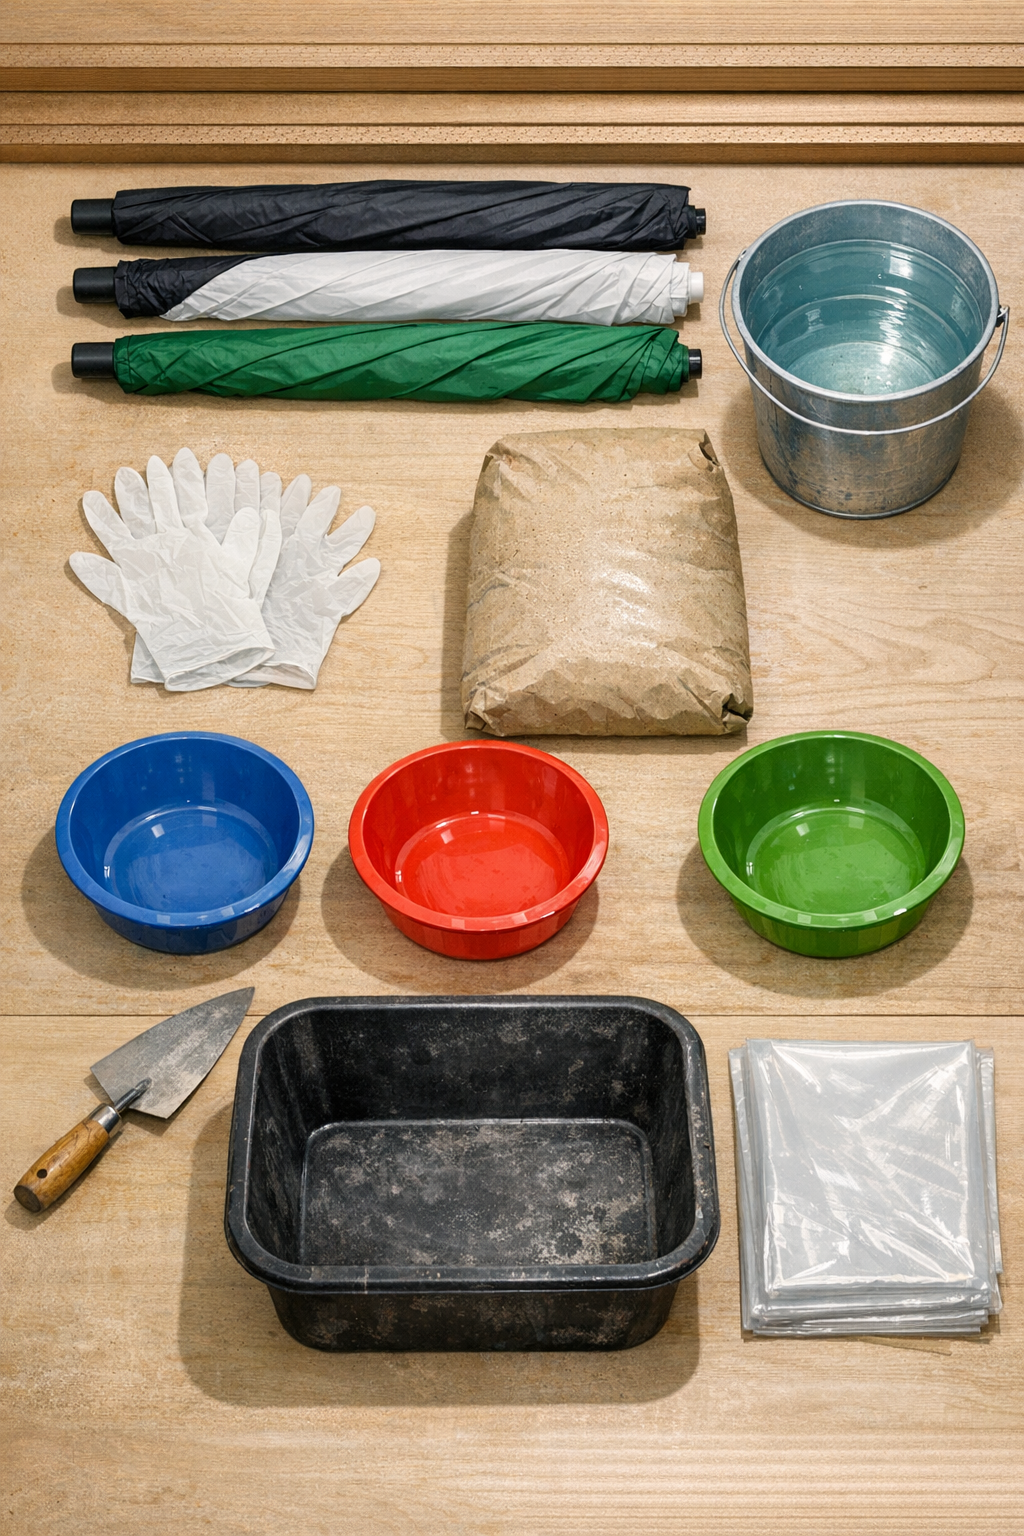
Materials
3 nylon umbrellas, 36 to 42 inches wide each
Instructions
1. Choose a flat, shaded work area and spread out the plastic drop cloth so the cement stays clean and easy to manage.
2. Open each nylon umbrella fully, then invert it so the canopy forms a bowl shape and set each one over a support bowl or bucket to hold its curve.
3. Lightly coat the inside of each umbrella canopy with a thin film of petroleum jelly or cooking oil so the cement releases more easily after curing.
4. Pour the cement mix into the mixing tub, then add water a little at a time until it becomes thick like stiff oatmeal and holds its shape on the trowel.
5. Scoop cement into the first umbrella, starting at the center and pressing it outward toward the edges so the fabric stays evenly supported.
6. Build the cement layer to about 1 1/2 inches thick across the dome, smoothing the top lightly while keeping the thickness as even as possible.
7. Repeat the filling process for the other two umbrellas, checking that each dome sits level on its support so one side does not slump.
8. Cover the filled umbrellas loosely with plastic wrap or large plastic bags and let them cure undisturbed for 24 to 48 hours.
9. Once the cement is firm, gently peel back the nylon umbrellas and lift each dome free, supporting it underneath with both hands.
10. Set the domes in a shaded spot and allow them to continue curing for another 3 to 5 days before moving them into the garden permanently.
Variations & Tips
Size choice: Larger umbrellas make broader, lower domes, while smaller umbrellas create a more compact accent piece. I prefer matching all three for a cohesive grouping.
Cement thickness: If the mix is too wet, it will slide and pool in the center. A thick mix is the key here; when I test it, it should stay mounded instead of pouring.
Surface finish: For a more rustic stone look, leave the top slightly textured from the trowel. For a cleaner finish, smooth it gently with a damp gloved hand before curing.
Placement tip: These are heavy once cured, so I decide on the garden location before final placement. They look especially nice half-nestled into mulch or gravel.
Umbrella release: If the nylon resists, do not yank it off. Peel slowly from the edges toward the center to keep the scalloped rim intact.
Weather note: Avoid making these in direct hot sun or during a hard freeze. Moderate temperatures help the cement cure more evenly and reduce cracking.