
This project turns a simple hanging shoe organizer and a bag of cement mix into sturdy pocketed garden blocks that look far more complicated than they are. I love a garden project that feels a little clever, and this one gives you weight, texture, and planting space all at once without needing fancy molds or special masonry skills.
If you want a vertical-style planter effect in a low, stackable block form, this is a wonderful weekend project. I especially like it for herbs, succulents, and little trailing flowers near a patio or along a walkway, and it is a nice option for anyone who wants a handmade garden accent that can stand up to Midwest weather.
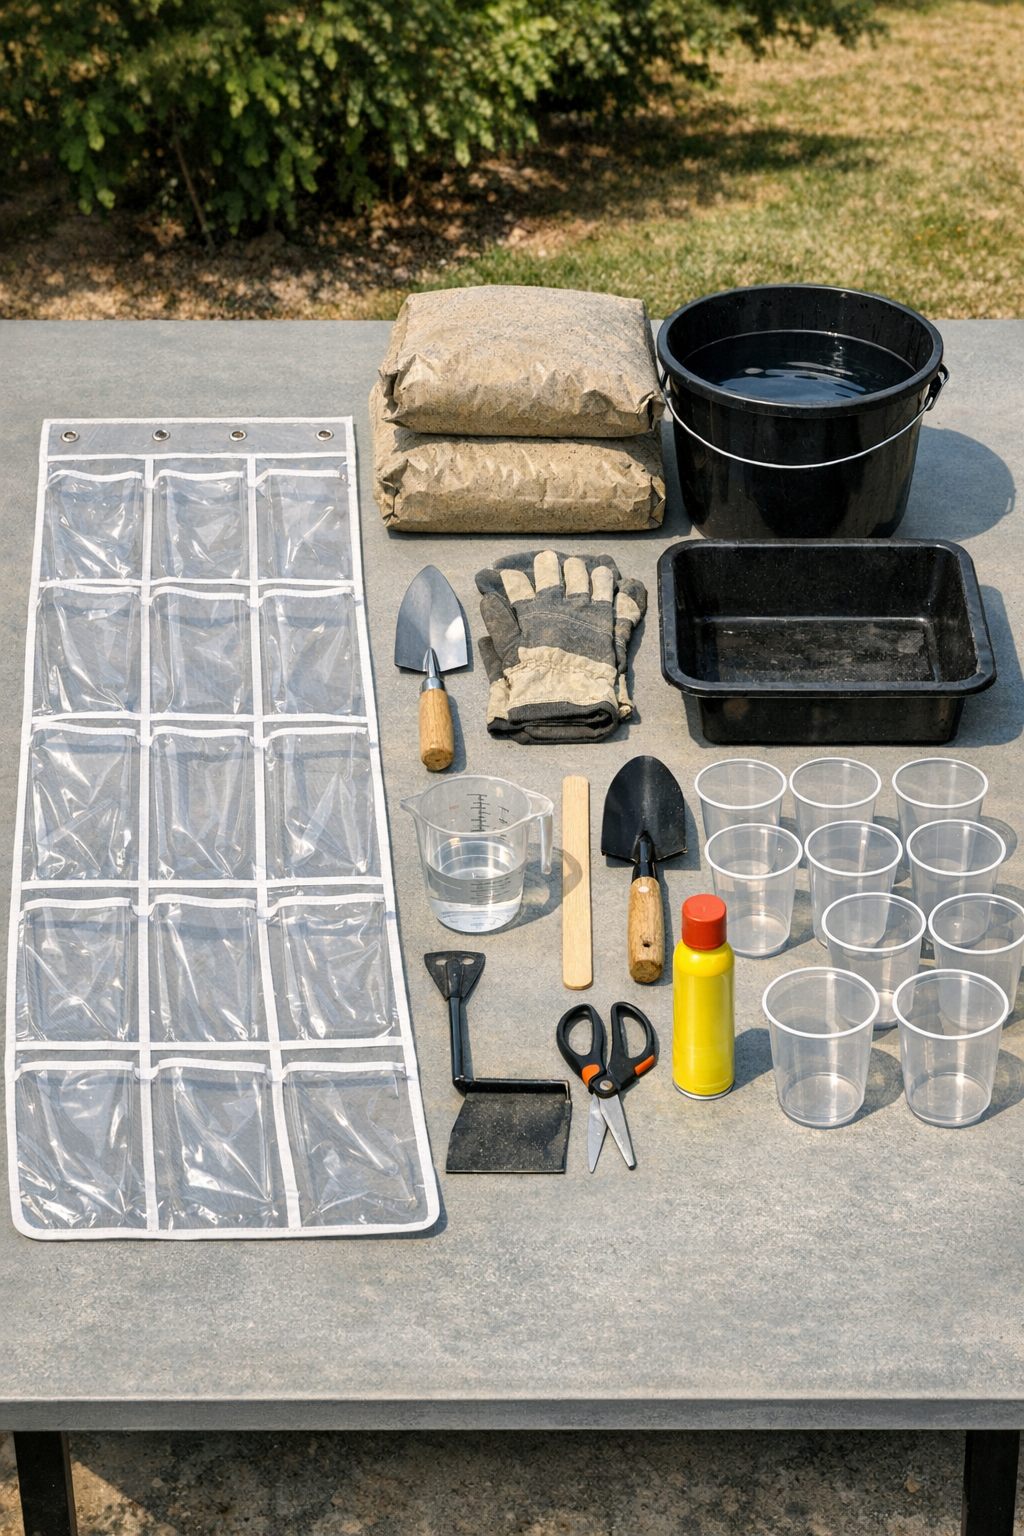
Materials
Instructions
1. Lay the drop cloth over a flat outdoor work surface, then spread the clear shoe organizer flat with the pocket openings facing upward. Smooth it out as much as possible so the finished blocks cure evenly.
2. Decide how large you want each garden block to be, then cut the organizer into sections of 3 to 6 pockets each using utility scissors. Smaller sections are easier to move once filled, and I usually find 4-pocket blocks are a very manageable size.
3. Lightly spray the inside of each pocket and the outside of each plastic cup with cooking spray. This little step makes demolding much easier later, and it is the kind of shortcut I never skip when I want a smooth release.
4. In a mixing tub, combine the concrete mix with water a little at a time until it reaches a thick oatmeal-like consistency. It should be wet enough to settle into the pocket corners but firm enough to hold a cup in place.
5. Scoop wet concrete into each pocket section, filling each pocket about three-quarters full. Tap the organizer gently against the ground after every few pockets to release trapped air bubbles.
6. Press one plastic cup into the center of each filled pocket, stopping when the cup creates a planting cavity but does not touch the bottom. Adjust the concrete around the sides with your trowel so each pocket keeps a solid wall all the way around.
7. Check that the tops of the pockets are roughly level, then let the concrete sit undisturbed until it firms up enough to hold its shape. Depending on temperature, this usually takes 30 minutes to 1 hour.
8. Carefully twist and lift out the cups once the concrete is partially set but still slightly workable. If any edge crumbles a bit, pat it back into place with gloved fingers or a trowel.
9. Leave the organizer sections to cure fully for 24 to 48 hours, depending on weather and thickness. If the day is hot and dry, lightly mist the surface once or twice so the concrete cures more evenly and stays strong.
10. Peel away or cut off the clear plastic organizer from the cured blocks, then let the blocks air-cure for another 3 to 5 days before planting. Move them gently at first, because they will keep hardening as they finish curing.
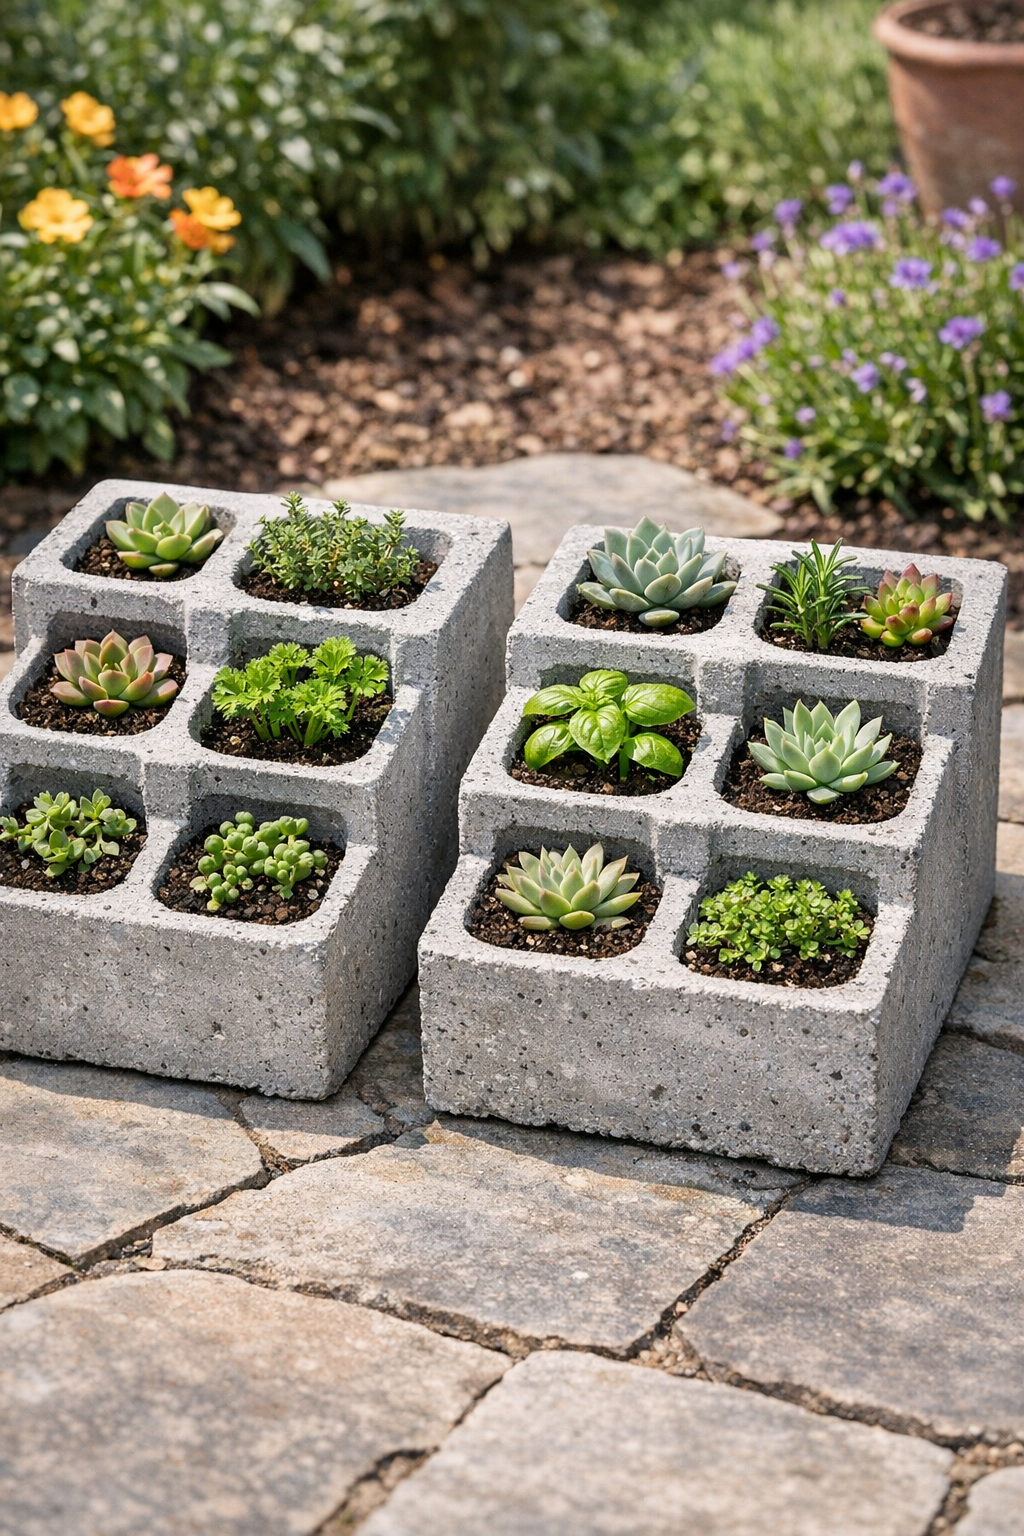
11. Fill each planting pocket with potting soil and tuck in herbs, succulents, or small annuals. I like grouping two or three finished blocks together so they look intentional and make even a small corner feel like a real garden feature.
Variations & Tips
For picky plant preferences: If your family likes practical plants more than decorative ones, use the pockets for basil, thyme, parsley, or leaf lettuce instead of flowers. That way the project earns its keep at dinnertime too.
Block size option: For easier lifting, make 3-pocket sections instead of larger panels. These smaller blocks are simpler to place around a garden bed and much less intimidating if you are working alone.
Pocket depth tip: Do not press the cups all the way to the bottom of the pockets. Leaving a solid concrete base under each cavity gives the block better strength and helps it last longer outdoors.
Finish choice: If you prefer a softer look, lightly sand rough edges after the blocks are fully cured. You can also leave them rustic, which is honestly my favorite style in a relaxed backyard garden.
Drainage reminder: Add just a small amount of gravel at the bottom of each planting cavity before the soil if you are worried about drainage. This helps especially with succulents and other plants that dislike soggy roots.
Cold-weather advice: Avoid making these on a freezing day or during heavy rain. Concrete cures best in mild conditions, and a calm dry afternoon makes the whole process easier and less messy.