
I love a backyard project that looks surprisingly polished without sending me into a full weekend-long home improvement spiral, and these smooth garden bricks absolutely fit that category. Using inexpensive canvas pencil pouches as simple molds and cement as the heavy lifter, you can make sturdy, modern-looking garden bricks that work beautifully for edging, stepping accents, or even just tidying up a messy planting area.
This is the kind of project I’d tackle after work when I want something productive but not complicated. If you’re new to concrete DIYs, this is a very approachable place to start because the supplies are simple, the shaping is basically built in, and the finished bricks have a clean, soft look that feels much more expensive than it is.
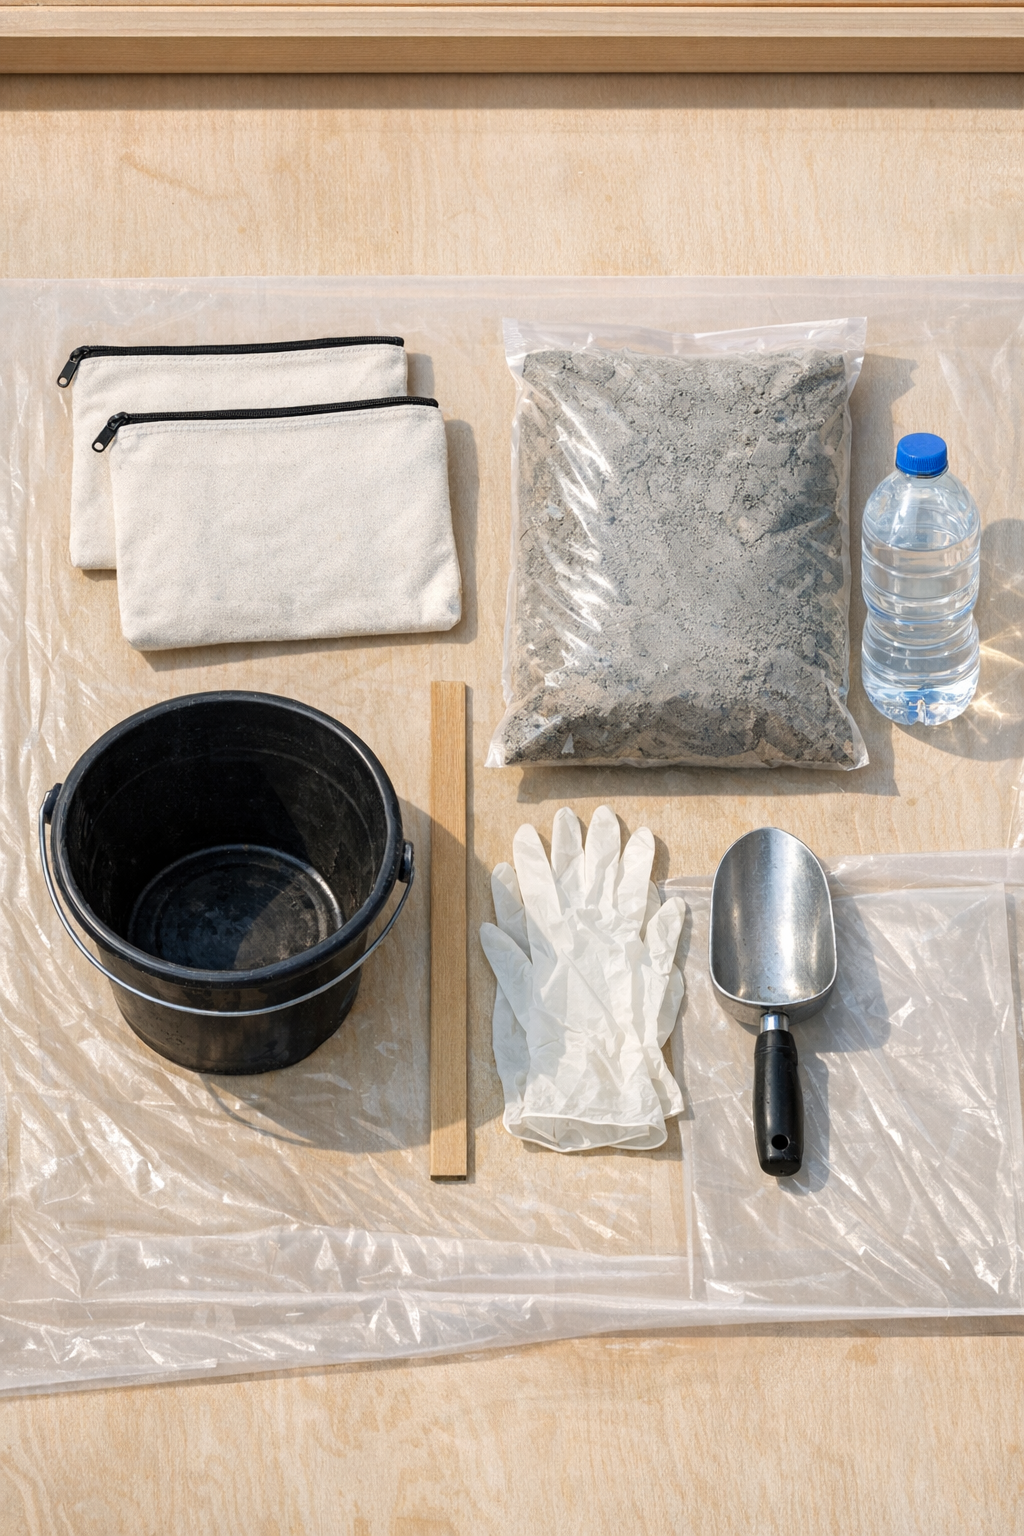
Materials
2 canvas pencil pouches, approximately 8 inches x 4 inches each
Instructions
1. Set up your workspace on a flat outdoor surface or in a garage with the plastic drop cloth underneath, then put on gloves before opening the cement.
2. Open each canvas pencil pouch fully and check that the seams are intact, because loose stitching can let wet cement push through once the bags are filled.
3. Slip a quart-size zip-top plastic bag inside each pencil pouch, pressing it into the corners so it acts as a smooth inner liner and makes the finished brick easier to remove.
4. Pour 8 cups of cement mix into the bucket, then add 2 cups of water a little at a time and stir until the mixture is thick like stiff peanut butter and holds its shape without being dry.
5. Add up to 1/2 cup more water only if needed, mixing thoroughly after each splash, because a mix that is too wet can weaken the bricks and make the pouches bulge unevenly.
6. Scoop the cement into the first lined pouch until it is about 3/4 full, then tap the pouch gently on the table to settle the mix and push out trapped air.
7. Fill the second pouch the same way, aiming for both pouches to have a similar thickness so the finished bricks look like a matching set.
8. Zip or fold the tops closed as much as possible, then shape each filled pouch with your hands into a smooth rectangular brick, pressing the cement firmly into the corners and flattening both broad sides.
9. Leave the pouches flat and undisturbed for 24 hours, then turn them over once and let them continue curing for another 24 to 48 hours until fully hard.
10. Unzip or cut away the pencil pouches and peel back the plastic liners, then set the bricks in a dry spot for 3 to 5 more days to finish curing before using them in the garden.
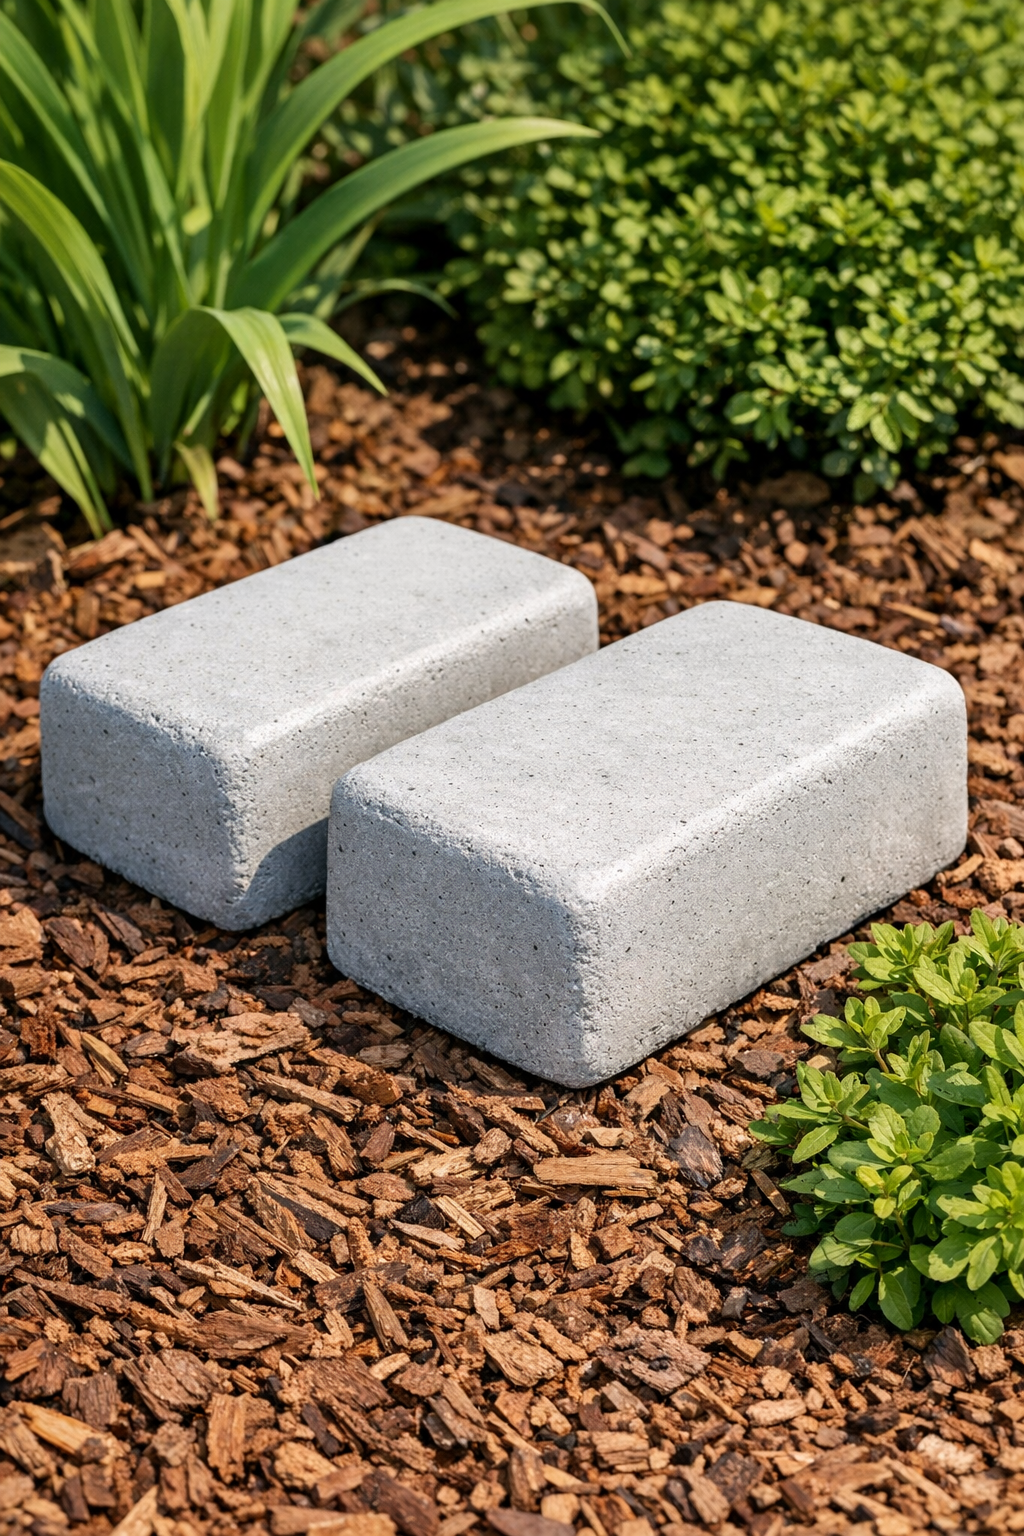
Variations & Tips
For a cleaner finish: If your canvas is thin or textured, definitely use the plastic bag liners. I’ve learned the hard way that skipping a simple liner can make unmolding messier than it needs to be.
For heavier bricks: Fill the pouches a bit fuller and make the bricks thicker, but keep both pieces the same depth so they sit evenly in the garden.
For a softer shape: Round the corners gently with your hands while the cement is still fresh. That small detail gives them a smoother, more finished look once cured.
For easier placement: Set the bricks into slightly damp soil or mulch rather than placing them on hard, uneven ground. They’ll look more intentional and stay put better.
For durability: Let the bricks cure the full recommended time before exposing them to heavy rain or weight. It’s tempting to use them right away, but patience really pays off with cement projects.
For budget flexibility: If you want a larger grouping, make several matching bricks in batches instead of mixing one huge bucket at once. That’s usually how I fit projects like this into a busy week without ending up with cement hardening on me mid-project.