
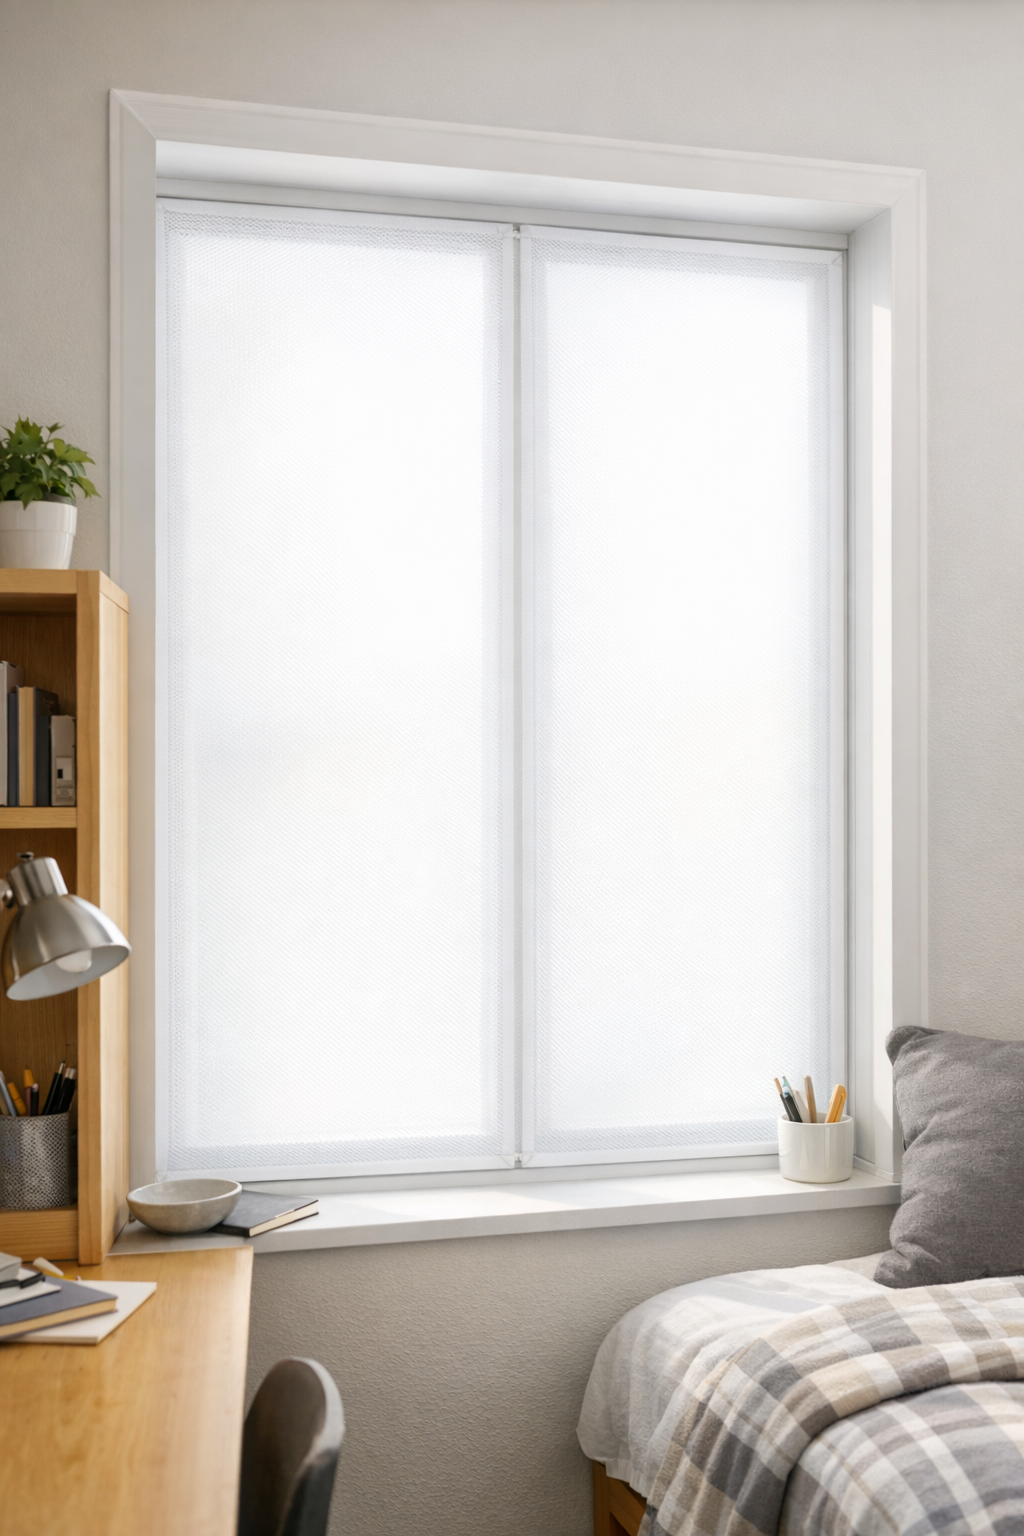
If you have a dorm room window that feels a little too exposed, this is one of those simple fixes that looks far more polished than the materials would suggest. I love a project like that, especially when it uses something inexpensive and easy to find. In this tutorial, I’m turning plastic mesh laundry bags into soft, frosted window panels that give you privacy while still letting light come through.
This is a wonderful project for students, renters, or anyone who needs a temporary window solution without drilling hardware or spending much money. The “secret item” is parchment paper, which lets you safely flatten and smooth the plastic mesh with an iron so it becomes more fabric-like and translucent. It’s quick, surprisingly satisfying, and the finished panels have a clean, simple look that works beautifully in a dorm room.
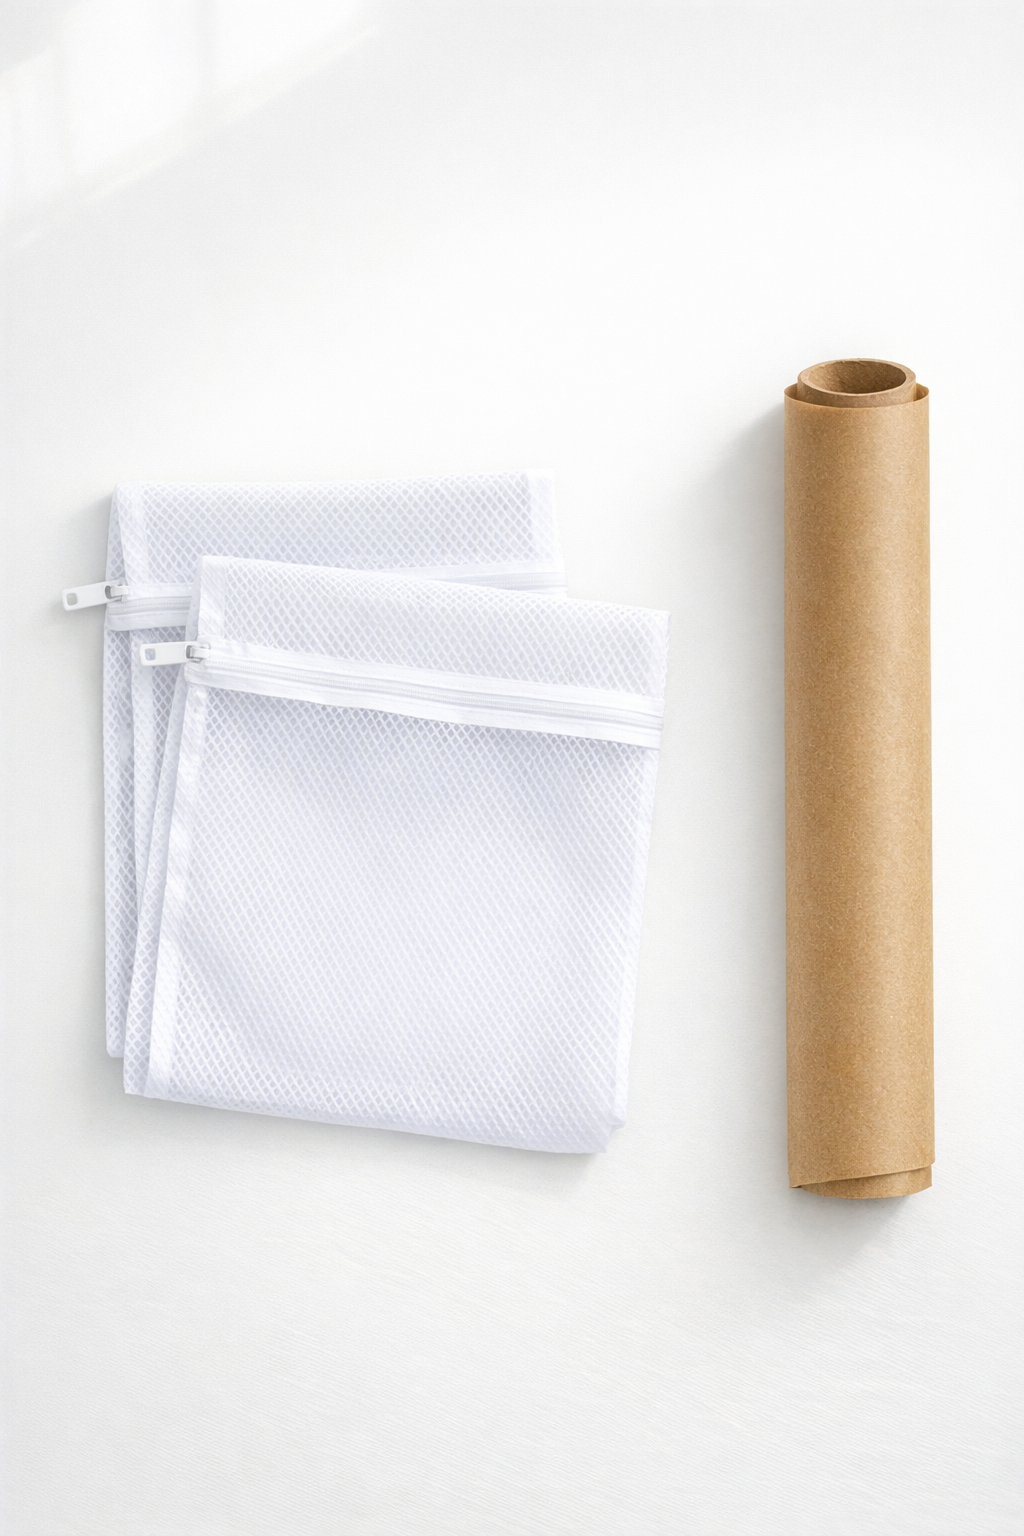
Materials
2 white plastic mesh laundry bags, standard size about 24 x 36 inches each
Instructions
1. Wash and dry the window area so the finished panels will sit flat and look neat once hung.
2. Cut away any zipper pulls, cords, or thick seams from each laundry bag so you are left with the flattest usable mesh panels possible.
3. Open one laundry bag along one side seam if needed, then spread it into a single flat layer on your ironing surface.
4. Place a sheet of parchment paper under the mesh and another sheet on top, fully covering the plastic so it never touches the iron directly.
5. Set your iron to a low heat setting with steam turned off, then press lightly for 5 to 8 seconds at a time, lifting and moving instead of sliding.
6. Check the mesh after each press; stop as soon as it softens, flattens, and starts to look slightly frosted and fused but not browned or overly shiny.
7. Repeat the pressing process across the entire bag until the full panel is evenly flattened, then let it cool completely before moving it.
8. Iron the second laundry bag the same way so you have a matching pair of frosted panels for the window.
9. Trim both cooled panels to fit the window height and width you need, keeping the edges as straight and even as possible.
10. Hang or attach the finished panels using your preferred renter-friendly method, overlapping the edges slightly if you want fuller coverage.
Variations & Tips
For better privacy: Iron a second layer of mesh behind the first if you want the panels more opaque. I’d test a small piece first so you can find the level of light filtering your room needs.
For picky decorators: If plain white feels too basic, look for laundry bags in soft gray or cream for a slightly different look while keeping that calm dorm-room feel.
To avoid melting: Keep the iron on low and never let it rest in one spot too long. In my kitchen and craft projects alike, I’ve learned that gentle heat wins every time when you want control.
For straighter panels: Measure the window before trimming and cut one panel first, then use it as a template for the second so both sides match.
For easy removal: Use a temporary hanging method that peels away cleanly at move-out. That makes this project especially practical for dorms and other small spaces where permanent changes are off-limits.