
I love a project that turns something lightweight and a little unexpected into something genuinely useful, and this one absolutely fits that category. In this tutorial, I’m making weather-proof roof patching sheets by ironing plastic pool floats together with just two other basic items. It’s a clever upcycling project that can be handy for temporary outdoor repairs, shed roof patches, utility covers, or keeping in the garage for those “I need this right now” moments.
As someone who is usually squeezing DIY time in between work and figuring out dinner, I appreciate projects that don’t ask for a giant tool collection or a whole weekend. If you’re comfortable working carefully with heat and want a budget-friendly patch material for small non-structural fixes, this is a practical one to try.
Materials
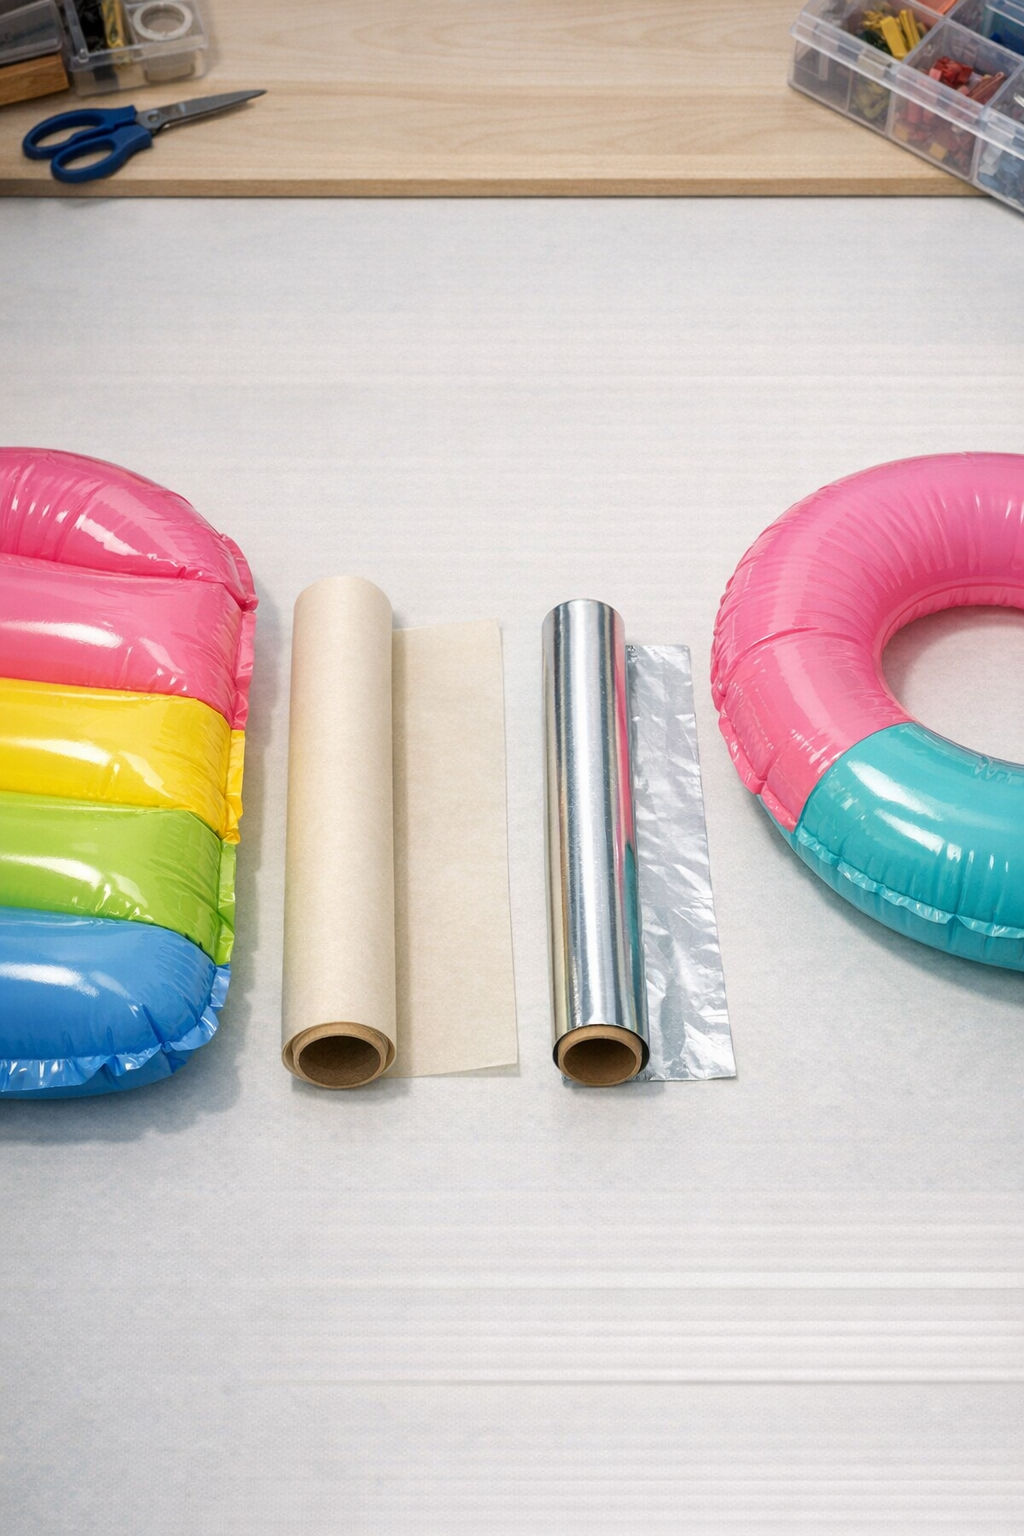
2 vinyl plastic pool floats, standard size about 27 x 54 inches each
Instructions
1. Clean and dry the pool floats completely so no dirt, chlorine residue, or moisture gets sealed into the plastic.
2. Cut away the valve areas and curved sealed edges, then trim the flat plastic into rectangular panels as large as possible.
3. Stack two to four layers of the plastic panels, overlapping seams by at least 1 inch if you need to build a larger sheet.
4. Place a sheet of parchment paper under the plastic stack and another sheet over the top so the iron never touches the vinyl directly.
5. Lay aluminum foil over the parchment to help spread the heat evenly and protect your ironing surface.
6. Set your iron to a low or synthetic setting with steam turned off, then press one corner for 3 to 5 seconds to test how quickly the plastic softens.
7. Lift and check the test area; if the layers are bonding without shrinking badly or scorching, continue pressing the rest in short passes, working from the center outward.
8. Reposition the iron instead of dragging it hard across the surface so the layers stay aligned and the sheet fuses evenly.
9. Let the sheet cool flat for 2 to 3 minutes, then peel back the parchment and inspect the bond along every edge and overlap.
10. If any sections separate, cover them again and press those areas for another few seconds until the sheet feels like one thicker piece.
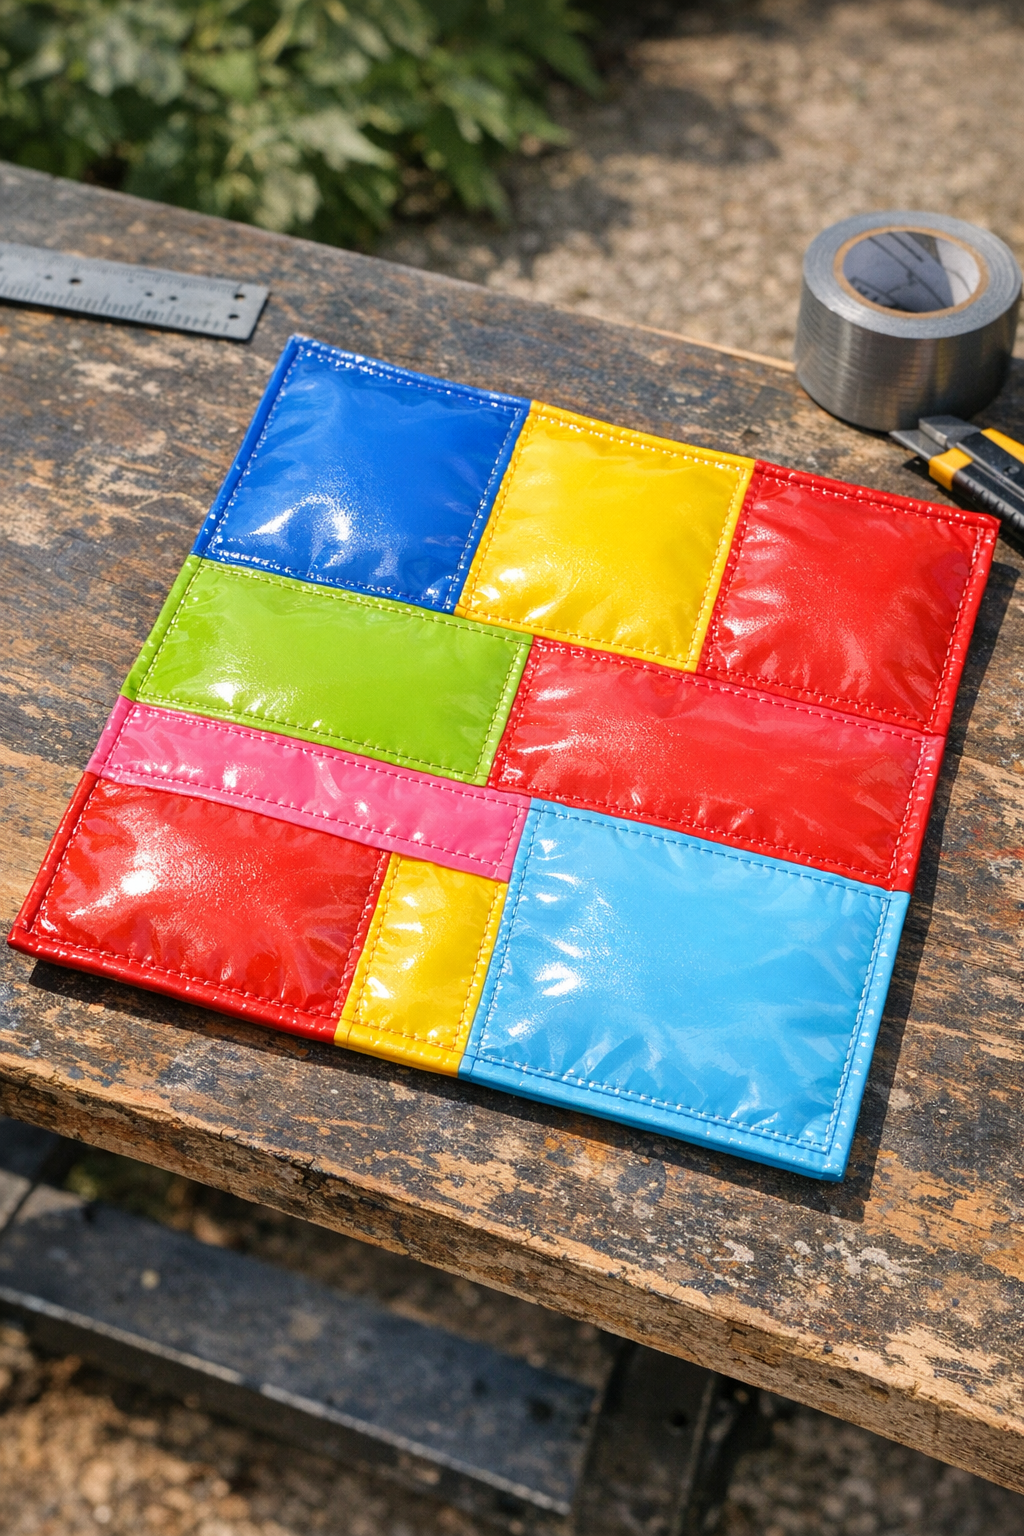
11. Trim the finished patching sheet to the size you want, leaving square corners and straight edges for easier placement on a roof repair.
12. Store the finished sheets flat in a dry spot until you’re ready to use them as temporary weather-proof patches on small outdoor surfaces.
Variations & Tips
Use more layers for strength: For a tougher patch sheet, fuse 4 layers instead of 2, especially if you want it for a shed roof, utility bin lid, or other outdoor surface that gets regular weather exposure.
Keep it temporary: I treat this as a temporary or emergency patch material, not a permanent structural roof repair. It’s great to have on hand, but I’d still use proper roofing materials for a long-term fix.
Test heat first: Every pool float plastic is a little different, and I’ve learned the hard way that starting too hot can ruin a whole piece fast. Always make a small test press before doing the full sheet.
Work with ventilation: Fuse the plastic in a well-ventilated area and keep the iron temperature low. If the plastic starts smoking or curling aggressively, stop and lower the heat immediately.
Make standard sizes: If you’re prepping these ahead, cut a few common sizes like 6 x 6 inches, 8 x 10 inches, and 12 x 12 inches. That’s the kind of small convenience my future busy self is always grateful for.
Flatten while cooling: If the sheet wants to curl, place it between parchment layers under a flat baking tray or board while it cools. That helps it set up smoother and makes storage much easier.