
If you want an outdoor side table that looks custom and costs far less than a store-bought stone piece, this little backyard build is such a satisfying one to make. The idea is simple: take a large plastic bucket, use it as the hidden core, and glue smooth river rocks all the way around it until you have a sturdy, rustic table with loads of texture and charm.
I love projects like this because they make a patio or garden corner feel finished without needing fancy tools or woodworking skills. If you enjoy easy weekend DIYs and do not mind a bit of patient stacking, this is a very doable project for beginners, and it is especially nice if you want something durable and natural-looking for a porch, deck, or backyard sitting area.
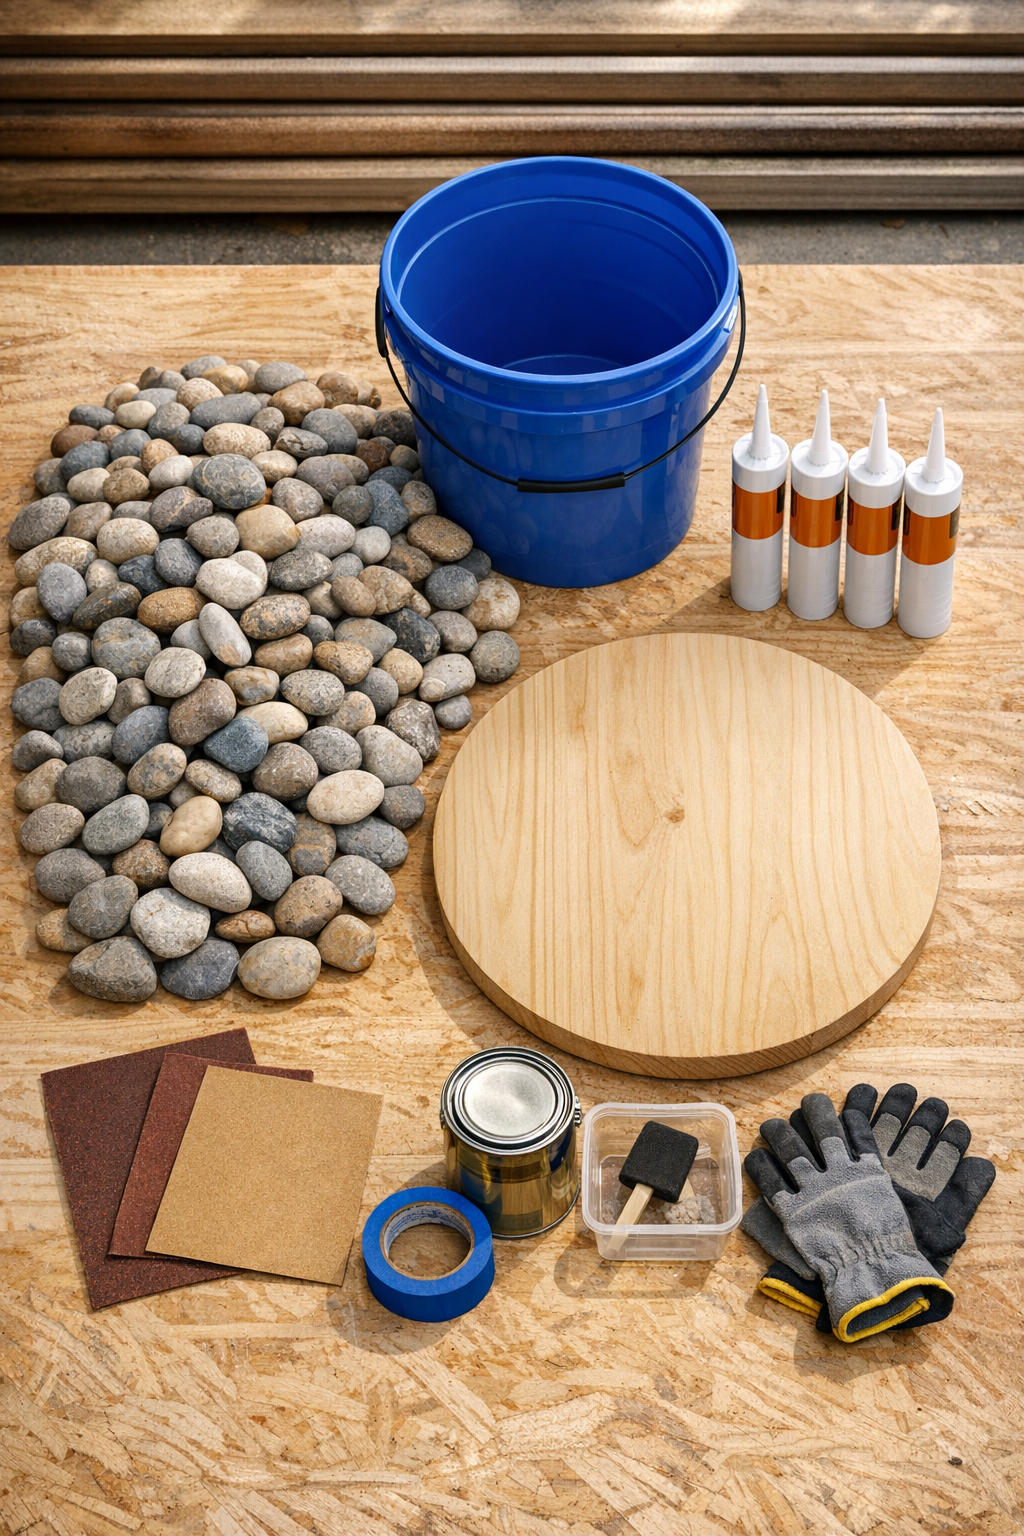
Materials
200 smooth heavy river rocks, about 2 to 4 inches wide each
Instructions
1. Wash the river rocks with water and let them dry completely, then wipe the bucket clean so the adhesive will grip well. Any dirt or dust left behind will make the stones more likely to slip.
2. Lightly sand the outside of the plastic bucket from top to bottom, then wipe away the sanding dust. This roughened surface helps the glue hold much better than slick plastic.
3. If your bucket has a handle, remove it if possible; if not, tape it flat against the bucket so it stays out of the way. Set the bucket upside down or upright on your drop cloth, whichever feels steadier for you.
4. Sort the rocks by size and shape, setting flatter pieces aside for the bottom row and the top edge. I like doing this first because it saves so much frustration once the glue is open.
5. Run a thick bead of exterior construction adhesive around the lower 4 to 5 inches of the bucket. Press the first row of rocks firmly into the glue, placing them as close together as you can.
6. Use wooden shims or small supports under any rock that wants to slide while the adhesive starts to set. Work in short sections instead of coating the whole bucket at once.
7. Continue building upward one row at a time, adding adhesive to the bucket and nestling each rock into place. Stagger the joints slightly so the rows look natural and feel more secure.
8. Step back every few rows to check for large gaps or bulges, and swap in smaller stones where needed. A little adjusting as you go makes the finished table look much more balanced.
9. Stop when you reach the top edge of the bucket, then use your flattest stones around the rim for a cleaner finish. Let the adhesive cure fully according to the package directions before moving on.
10. Sand the edges and top surface of the round wood piece until smooth, then wipe it clean. Brush or wipe on the outdoor clear sealer and let it dry fully.
11. Apply a generous ring of adhesive around the top rim area of the rock-covered bucket and set the wood top in place. Center it carefully, then press down evenly so it bonds well.
12. Seal any visible gaps between the top stones and the underside of the tabletop with clear waterproof adhesive or exterior caulk. Let the whole table cure completely before setting drinks, plants, or decor on it.
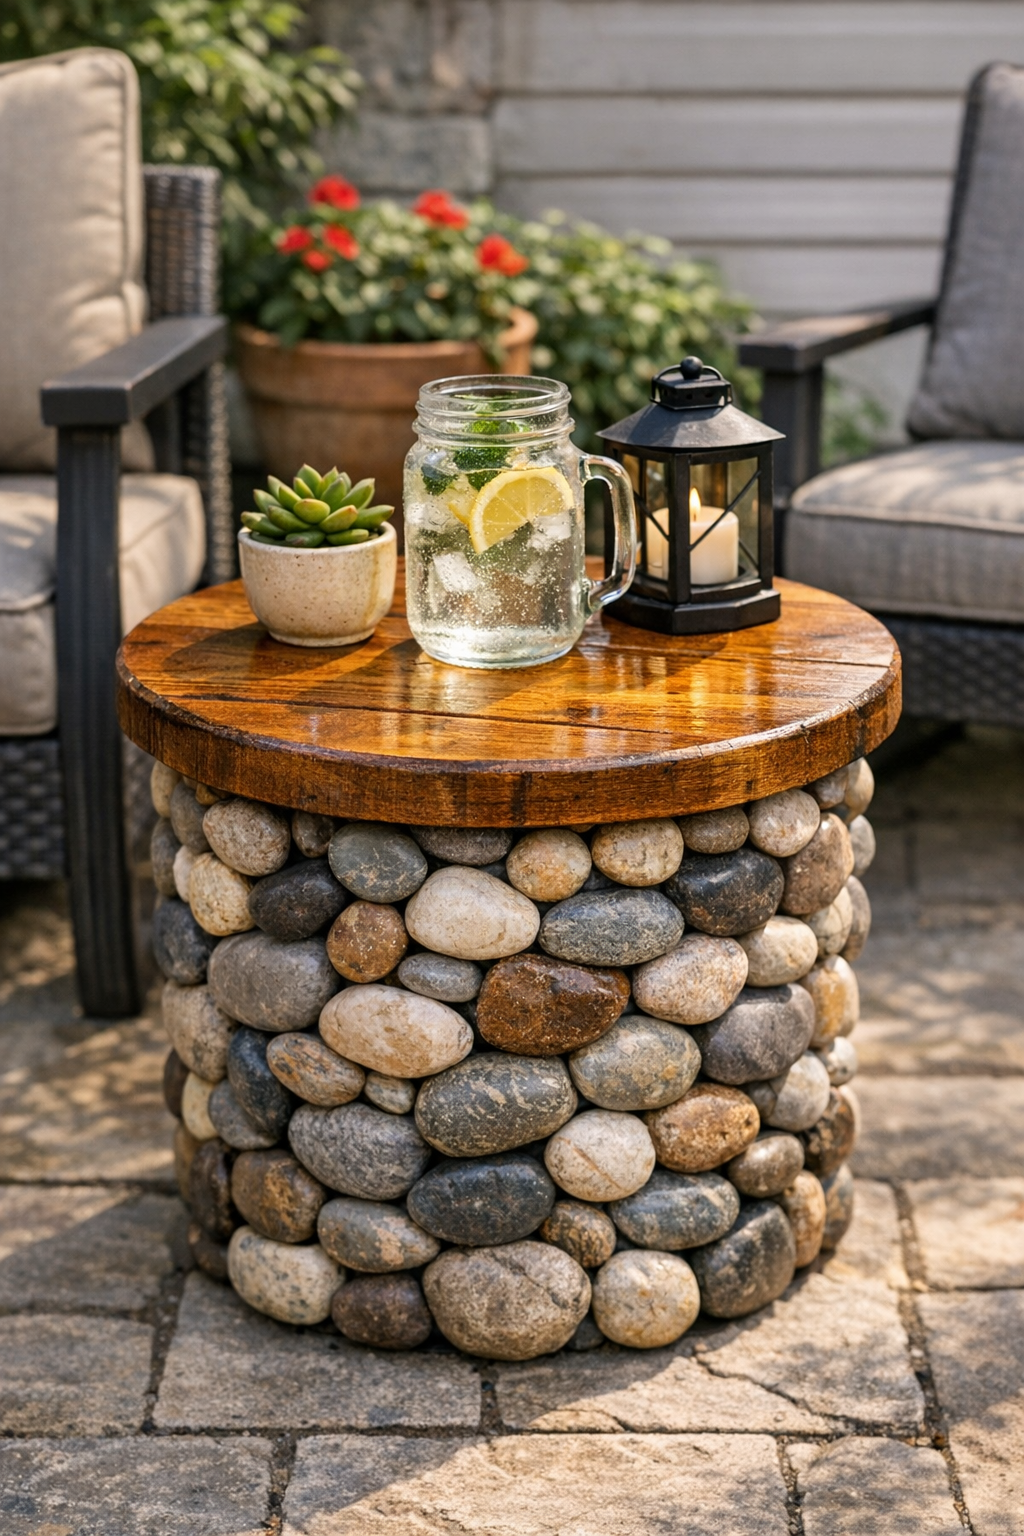
Variations & Tips
For a more natural look: Mix tan, gray, and soft brown river rocks instead of using stones that all match exactly. That little bit of color variation makes the table feel more like something you would spot in a garden center.
If your rocks are extra rounded: Choose the flattest side of each stone to face inward against the bucket. Very rounded rocks can still work, but they need more patience and sometimes a bit more support while drying.
For picky decorators: In my house, everyone has an opinion about outdoor spaces, so I keep the top simple and neutral. A stained wood top, a painted top, or even a concrete paver top can change the style without rebuilding the base.
To make it heavier: Add a little sand or gravel inside the bucket before attaching the tabletop. This is a smart option if the table will sit in a windy backyard.
For drainage and outdoor use: If the table will stay outside year-round, drill a few small holes in the bucket bottom before you begin so water does not collect inside. That one small step can help the piece last longer.
Best gluing tip: Do not rush and cover the entire bucket with adhesive at once. Working in small sections is slower up front, but it saves a lot of slipping, sliding, and cleanup later.