
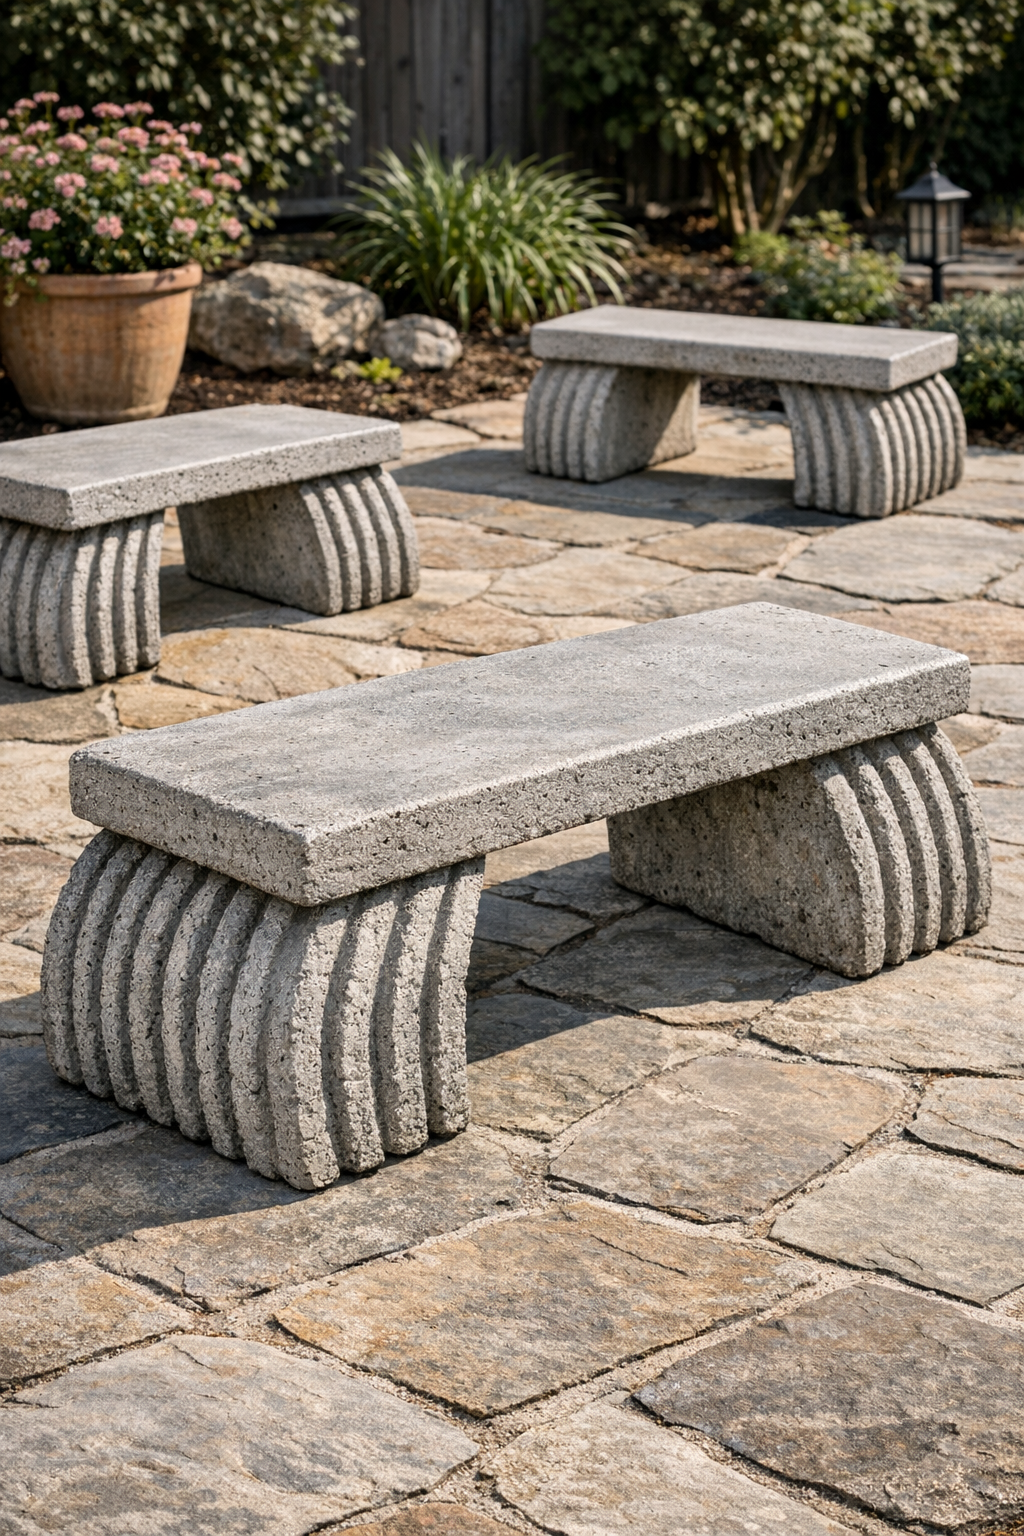
There is something deeply satisfying about making a piece for the yard with your own two hands, especially one that looks far fancier than the humble materials it started from. This patio bench project uses deflated plastic pool floats, cement, and a simple support form to create heavy ribbed benches with a sculptural look. The finished pieces have that sturdy, old-farmhouse permanence I have always loved, the kind of thing that seems like it has belonged in the garden for years.
I especially like this project for folks who want outdoor seating without carpentry or fancy tools. If you can mix cement and work a little patiently, you can make these benches. The pool floats create those handsome curved ribs, and once the cement sets, the result is a solid bench that feels surprisingly high-end for such everyday supplies.
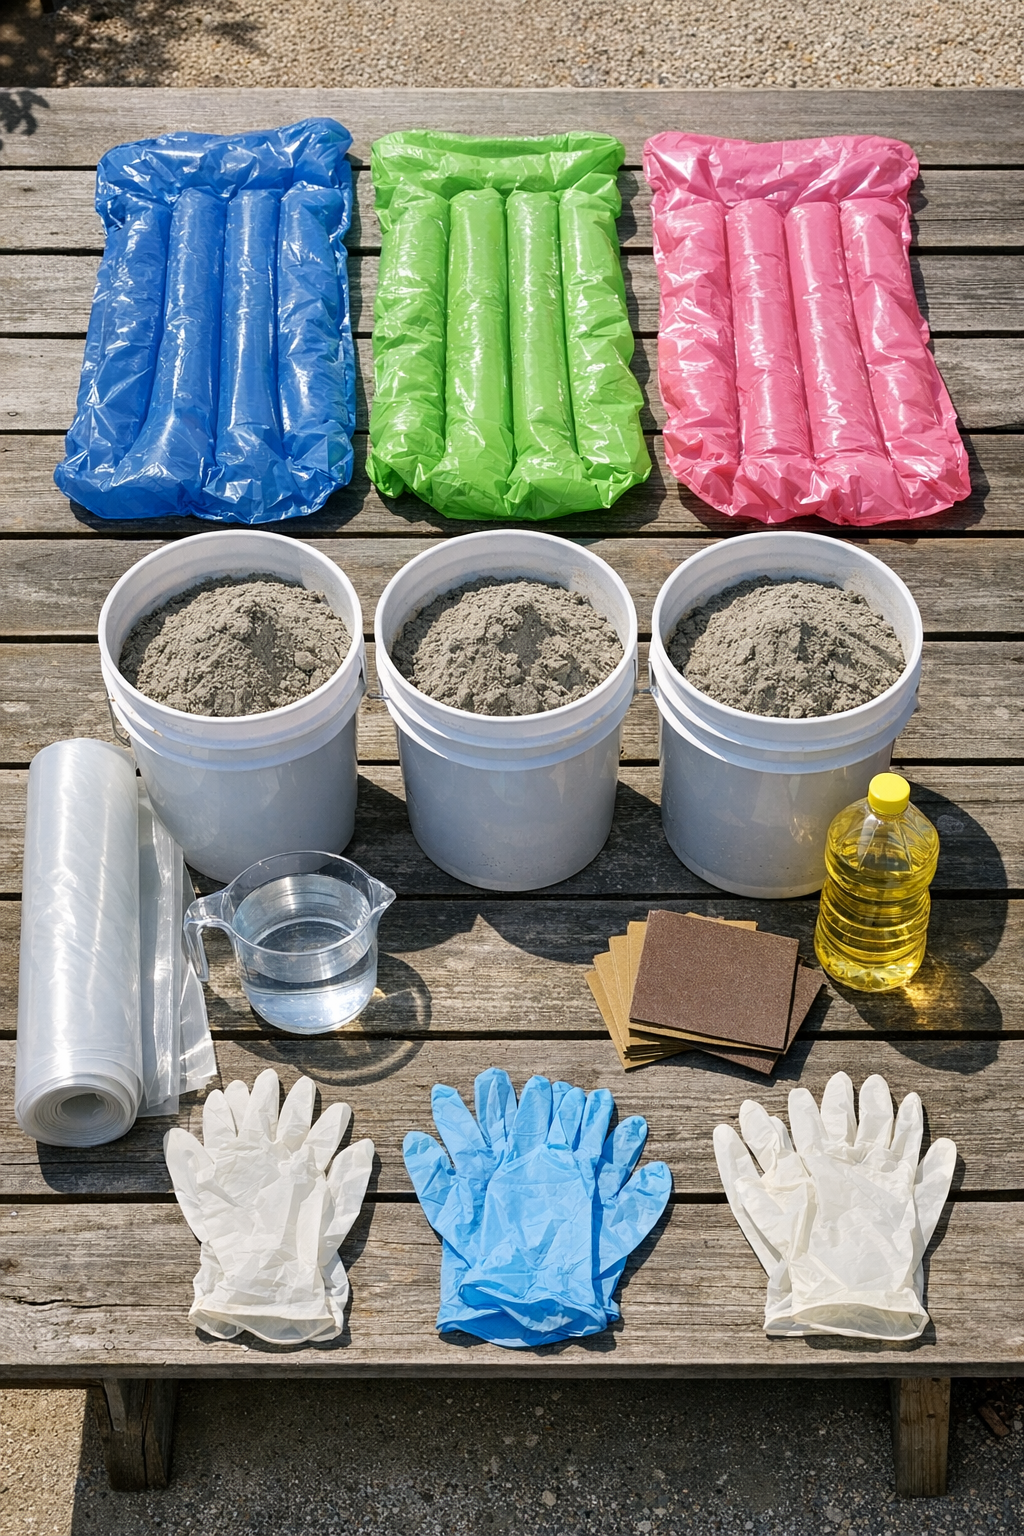
Materials
Instructions
1. Spread the plastic sheeting over a flat outdoor work area and weigh down the corners so it will not shift while you work.
2. Lay the three deflated pool floats on the plastic and check that each one is free of holes, with the air caps tightly closed.
3. Pour a shallow bed of play sand under each float to help cradle it and keep it from rolling while you shape the bench.
4. Rub a thin coat of cooking oil over the outside of each float so the cement will release more cleanly once cured.
5. Mix the first batch of cement in a bucket, adding water a little at a time until it reaches a thick peanut-butter consistency that will hold on a curved surface.
6. Wearing gloves, press a 1-inch-thick layer of cement over the top and sides of the first float, leaving the bottom open and keeping the ribbed shape visible.
7. Set one wooden board gently across the top center of the cement-covered float and press it just enough to create a flat seating area without squashing the ribs.
8. Add more cement around the edges of the flattened seat area and smooth the transitions with your gloved hand so the top looks intentional and even.
9. Repeat the mixing and cementing process for the other two floats, aiming for the same thickness and overall shape on each bench.
10. Wrap a few short bands of duct tape loosely around each form if needed to help the wet cement stay in place while it begins to firm up.
11. Let the benches rest undisturbed until the cement is firm enough to hold its shape, usually 2 to 4 hours depending on weather.
12. Carefully remove the wooden boards and gently peel away any duct tape before the cement fully hardens.
13. Allow the benches to cure for 24 hours, then turn each one slightly and pull out or deflate and remove the pool float from the open underside.
14. Set the benches in a shaded spot and let them cure for another 5 to 7 days, lightly misting once or twice a day if the weather is very hot and dry.
15. Sand any sharp edges or rough spots with 80-grit sandpaper, then move the finished benches into place on the patio or in the garden.
Variations & Tips
Make them longer or shorter: Choose pool floats in the exact finished length you want, but remember a longer bench will be heavier and may need a slightly thicker cement layer for strength.
Use a richer finish: If you like a more polished garden look, rub the cured bench with a concrete sealer made for outdoor use after the full curing period.
Keep the ribs crisp: Do not make the cement too wet. A thick mix holds those pretty float ridges much better, and that texture is what makes these benches special.
Work in mild weather: I have learned over the years that cement behaves best when it is not rushed by blazing sun or a cold snap, so aim for a dry day between about 60 and 75 degrees.
Add a softer seat: These benches are sturdy and handsome, but cement is still cement. A simple outdoor cushion or folded quilted pad makes them much more comfortable for long visits on the patio.
Test one first: If this is your first time shaping cement over a form, make a single bench before committing to all three. It is an easy way to get the feel of the mix and the timing before making a full set.