
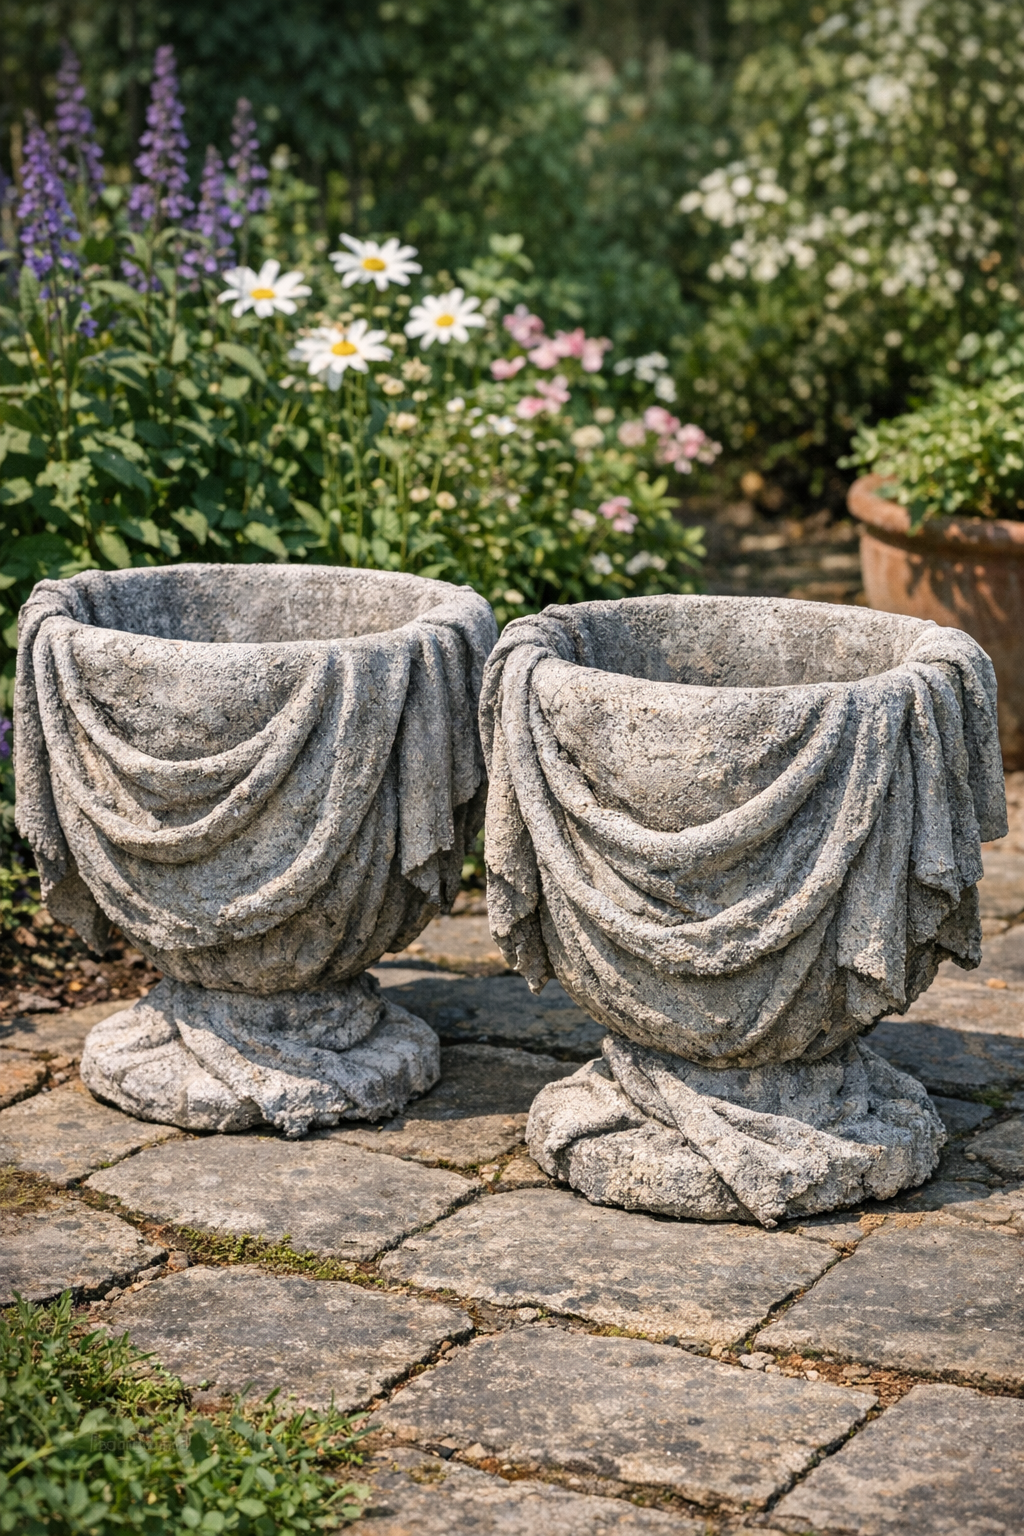
There is something especially satisfying about turning humble castoffs into pieces that look like they belong in an old garden with a story behind it. These heavy draped garden urns are made by soaking rough burlap potato sacks in a cement mixture, then letting them cure over a form so they harden into those beautiful, folded shapes that look a little like aged stone or weathered cloth frozen in time.
I’m especially fond of projects like this because they remind me of the kind of make-do creativity I grew up around here in the Midwest, where a feed sack, a bucket, and a bit of know-how could become just about anything. If you enjoy rustic garden décor, want a sturdy planter with plenty of character, or simply love a good transformation project, this one is easy to follow and very rewarding.
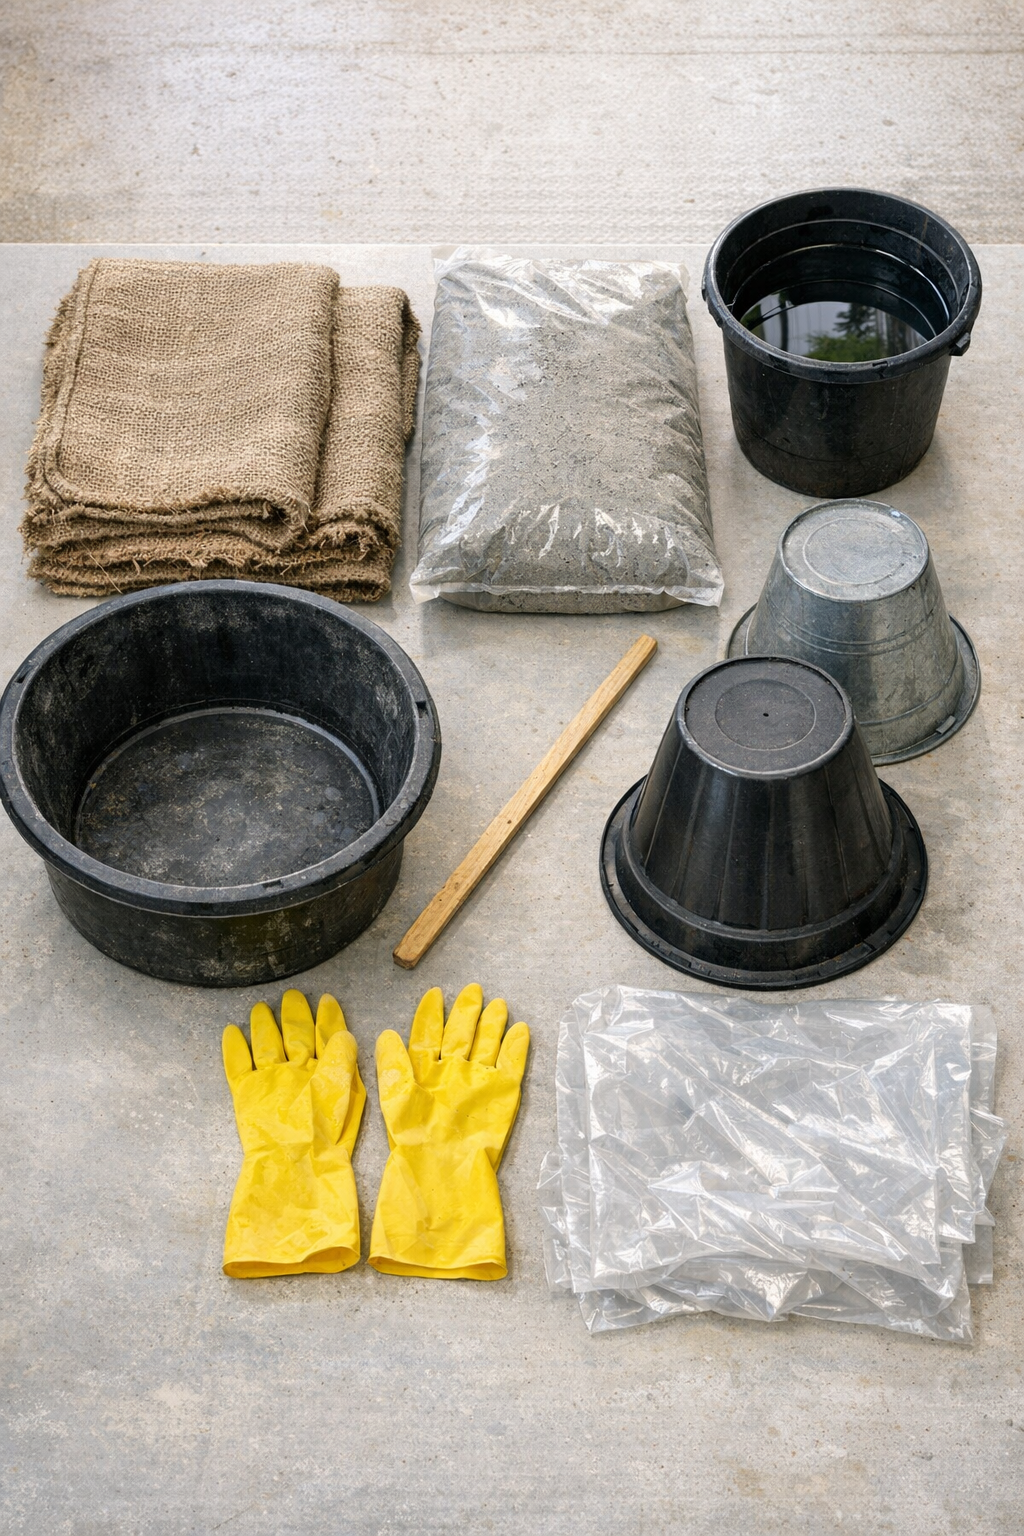
Materials
2 rough burlap potato sacks, approximately 24 x 36 inches each
Instructions
1. Choose a flat outdoor or garage work area, and cover it with a plastic drop cloth because cement splashes are messy and harden quickly.
2. Set each shaping form upside down on top of bricks or wood blocks so the burlap can drape freely past the edges without sticking to the ground.
3. Coat the outside of the forms lightly with cooking spray or petroleum jelly so the hardened cement burlap will release more easily after curing.
4. Put on rubber gloves, then mix the cement and water in your tub until it reaches a thick pancake-batter consistency that will soak into the burlap but still cling to the fibers.
5. Submerge one burlap potato sack into the cement mixture and work it through the fibers with your hands until every part is completely saturated.
6. Lift the sack out slowly, let the excess drip back into the tub for a few seconds, and smooth out any sections that are folded over too tightly.
7. Center the soaked sack over one upside-down form and drape it evenly, tugging gently to create deep, natural-looking folds all the way around.
8. Repeat the soaking and draping process with the second sack, shaping the folds by hand so both urns have balanced but slightly different character.
9. If any area looks thin or dry, scoop extra cement mixture onto that spot and press it in gently, especially around the rim and upper sides for strength.
10. Leave the urns undisturbed to cure for 24 to 48 hours, depending on humidity, until they feel fully hard and no longer cool or damp to the touch.
11. Carefully lift each hardened piece off its form, turn it upright, and trim away any loose strands or ragged edges with sturdy scissors if needed.
12. Let the urns continue curing for another 3 to 5 days before planting, then add a nursery pot inside or drill a drainage hole if you plan to plant directly in them.
Variations & Tips
Different forms: Old mixing bowls, nursery pots, buckets, or even short pedestal stands all give a different urn shape. I like using two forms that are similar in size but not perfectly identical, because the finished pair looks more natural in the garden.
Stronger finish: For extra durability, brush on a thin layer of cement slurry after the first cure to reinforce weak spots and deepen the stone-like look.
Drainage option: If you want to plant directly into the urn, make one drainage hole in the bottom once the cement is firm but not rock-hard. If you’d rather keep things simple, just set a plastic nursery pot inside.
Color ideas: These are lovely left natural gray, but once fully cured, you can dry-brush them with diluted white, charcoal, or mossy green outdoor paint for an aged garden finish that reminds me of old farmstead ornaments.
Cold-weather tip: In cooler weather, allow more curing time and keep the pieces out of rain during the first couple of days so the cement can set properly.
Best burlap choice: Loose, rough burlap sacks drape better than tightly woven decorative fabric. The more open texture gives those handsome folds and helps the cement soak in all the way.
Placement tip: These urns are heavy once cured, so set them where you want them before filling. I’ve learned it is much easier to move an empty one than a finished planter full of soil and flowers.