
There’s something deeply satisfying about turning cast-off materials into something sturdy and useful for the garden. These heavy ringed garden bases are made by filling flat rubber inner tubes with a cement mix, plus one simple secret ingredient: pea gravel. That little addition gives the bases extra strength, weight, and a less fussy finish, which is just the sort of practical trick I’ve come to love over the years.
I think these are especially handy if you need stable bases for planters, garden posts, lightweight yard décor, or outdoor stands that tend to tip when the wind comes sweeping across the yard. I like projects like this because they’re not fancy, but they solve a real problem and hold up beautifully outdoors.
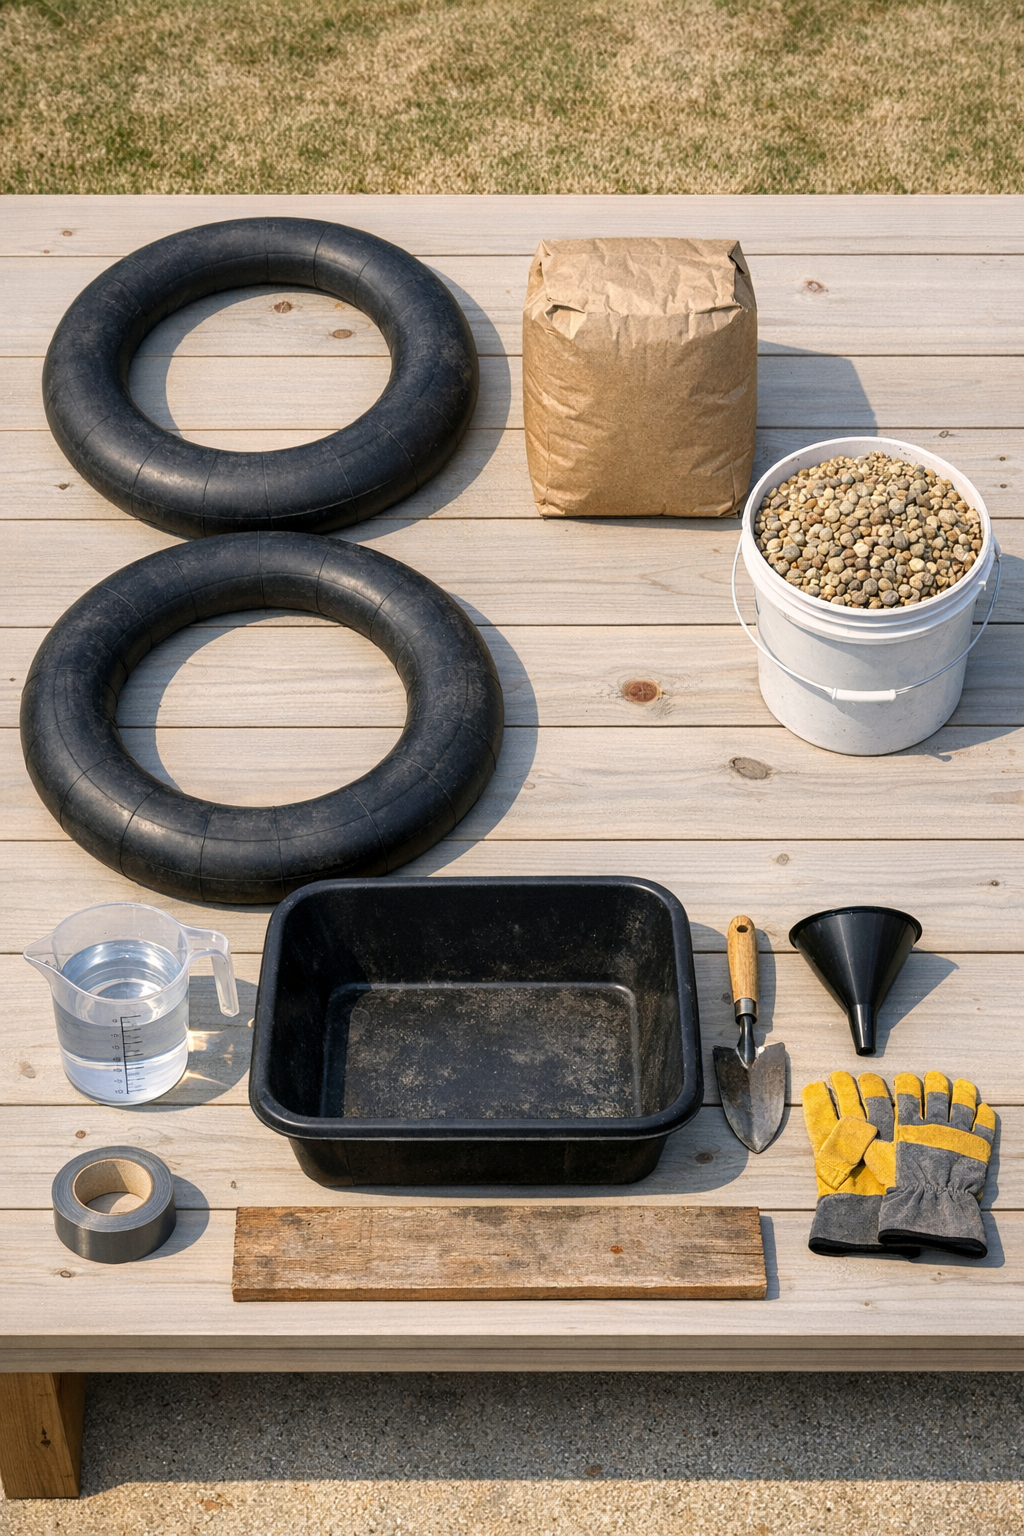
Materials
Instructions
1. Spread the tarp on a flat outdoor surface and lay your two inner tubes on top to check that they sit evenly without twists. If needed, press them flat with your hands so the ring shape is even all the way around.
2. Wrap duct tape around each tube’s valve stem area to seal any tiny gaps and help prevent leaks while filling. Leave just enough access to guide the mix in through the opening.
3. In your mixing tub, combine the 50 pounds of concrete mix with the pea gravel, stirring it dry first so the gravel is distributed evenly. This is the secret ingredient that makes the finished bases extra weighty and tough.
4. Add water a little at a time and mix until the concrete is thick but still scoopable, like stiff oatmeal. You want it wet enough to move through the funnel, but not so thin that it separates inside the tube.
5. Lift one section of the first inner tube and set the funnel into the valve opening or cut opening if your tube has been prepared that way. Scoop the concrete mixture in a little at a time, using the board to gently nudge and settle the mix around the ring.
6. Continue filling the first tube until it feels uniformly packed and forms a full, rounded ring, using about half the mix. Pat and shift the tube gently on the tarp so the material settles without large hollow spots.
7. Tape the opening securely once filled, then repeat the process with the second inner tube using the remaining concrete mixture. Try to keep both rings close in thickness so they match as a pair.
8. Let the filled tubes rest flat for 24 to 48 hours, depending on weather, until the concrete hardens fully. If the day is hot and dry, lightly mist the outside area around them after several hours to slow overly fast drying.
9. Once fully cured, check each ring for firmness by pressing along the sides; they should feel solid and heavy all the way around. Trim away any loose tape if needed and brush off dried concrete crumbs.
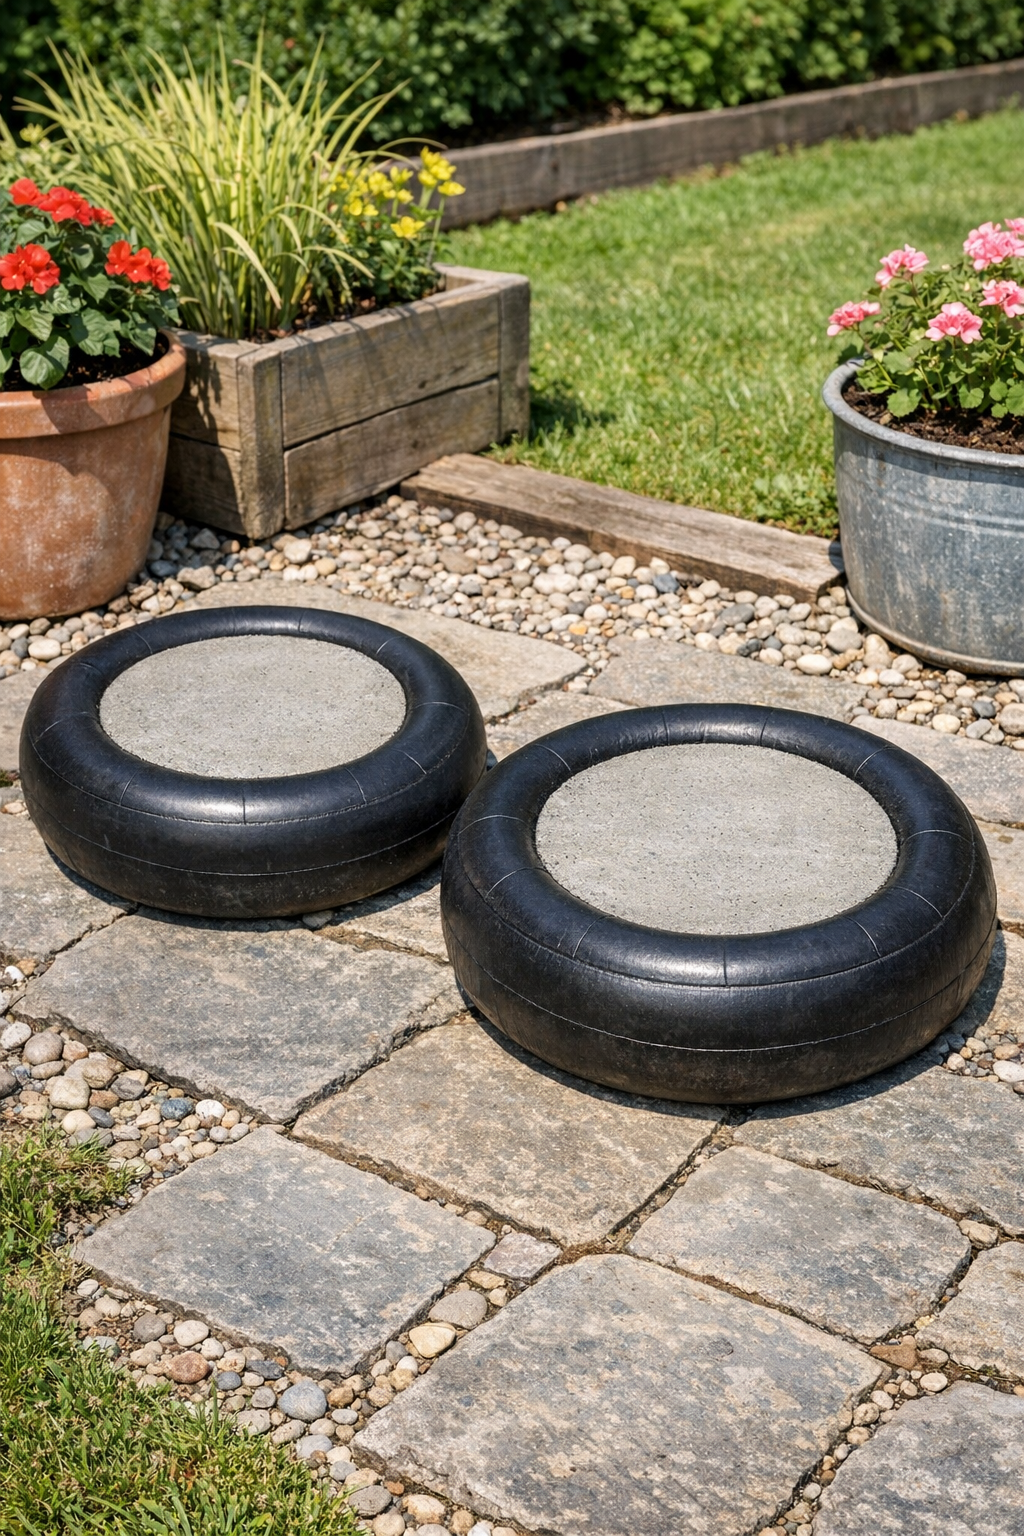
10. Set your finished bases in the garden wherever you need steady support, whether under planters, around slim posts, or beneath lightweight outdoor decorations. Their low profile and weight make them wonderfully practical without calling attention to themselves.
Variations & Tips
For smoother filling: If the concrete feels too stubborn to move through the funnel, mix in just a small splash of water at a time. Too much at once will weaken the shape and make the gravel sink.
For larger bases: Use wider inner tubes and increase the concrete proportionally if you need support for bigger planters or taller garden pieces. I always make a test fit first so I know the finished ring will suit the item it’s meant to hold.
For a tidier finish: Wipe the rubber clean before the mix sets completely around the opening area. It’s a small thing, but it makes the finished pieces look more intentional and less like a last-minute fix.
For extra stability: Press the finished rings slightly into mulch or gravel when placing them in the garden. That helps them sit level, especially on our uneven country ground.
Material note: Pea gravel is my preferred secret ingredient because it adds dependable weight and reduces shrinkage cracks in the cement. It’s an old-fashioned practical addition, and sometimes those are still the best kind.