
If you love the look of carved wood trim on furniture but do not love the price, this is one of those wonderfully scrappy little projects that feels like a real win. In this tutorial, I’ll show you how to make a flexible faux wood trim using just thick window caulk and one simple pantry-style ingredient: cornstarch. When kneaded together, they form a moldable dough that can be shaped, embossed, and wrapped onto curved or flat furniture surfaces.
I’m especially fond of this kind of project because it can dress up a plain drawer, cabinet door, mirror frame, or thrifted side table without needing fancy woodworking tools. If you enjoy budget-friendly home projects and want something that looks custom once painted, this is a very approachable afternoon DIY.
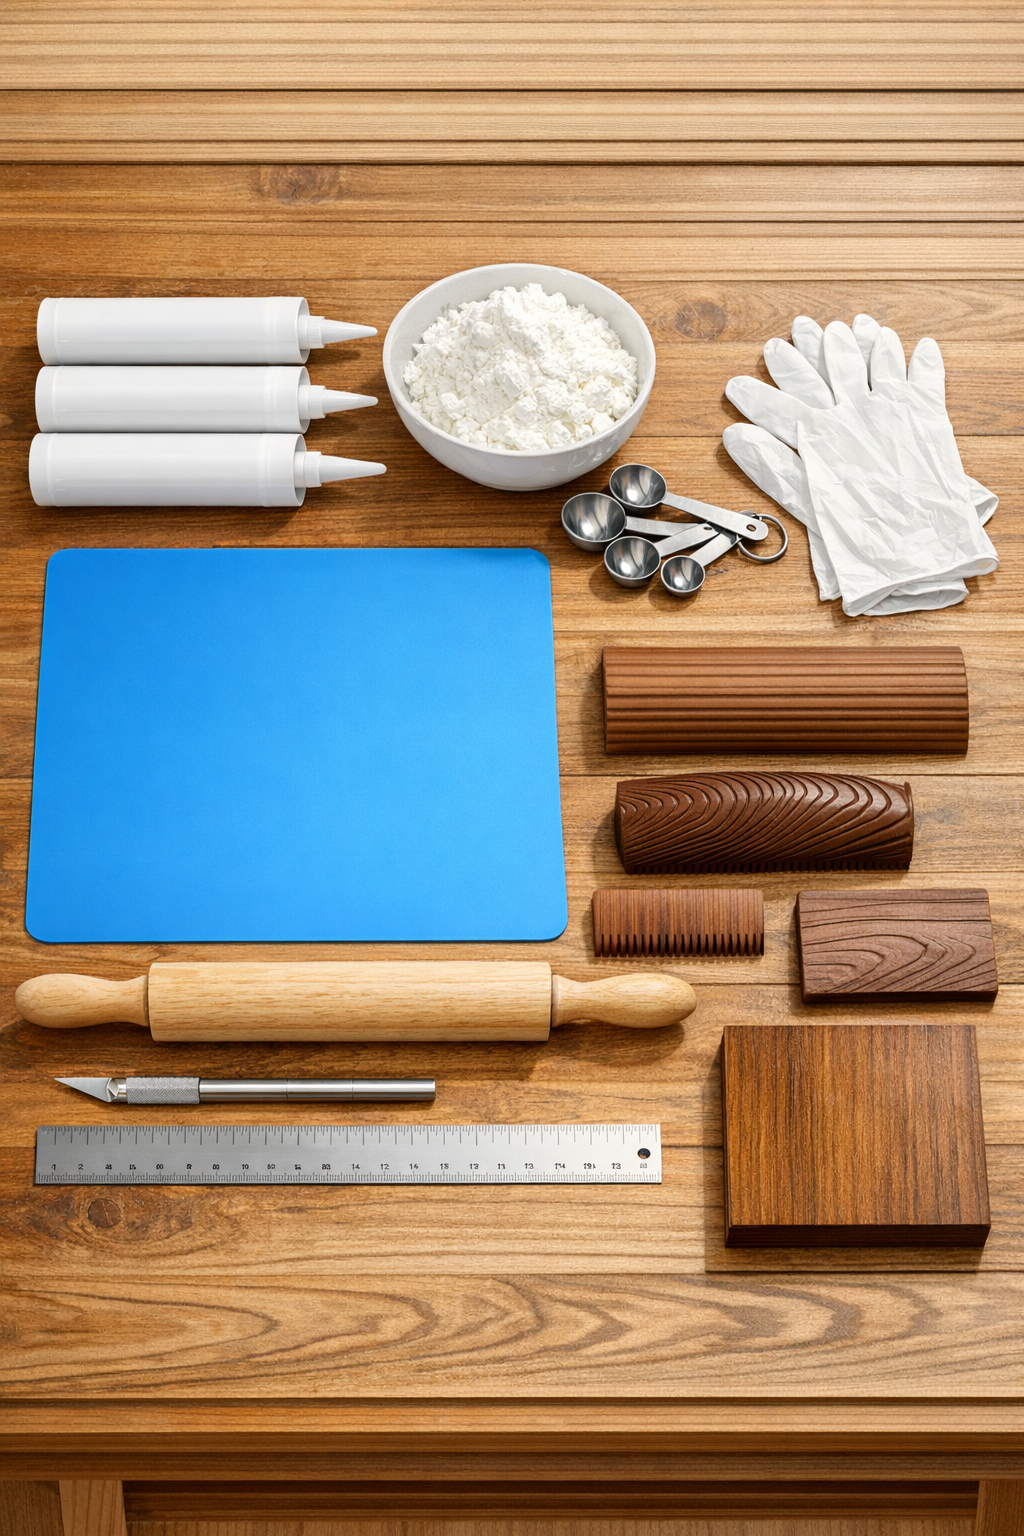
Materials
Instructions
1. Clean the furniture area where the trim will go so it is free of dust, grease, and loose finish. Let it dry fully before you start shaping the trim.
2. Put on gloves and squeeze 4 tablespoons of thick window caulk into a bowl or onto a silicone mat. Add 4 tablespoons of cornstarch to start, which gives you an easy 1:1 mixing ratio by volume.
3. Knead the caulk and cornstarch together with your gloved hands until it forms a soft, nonsticky dough. Add more cornstarch 1 teaspoon at a time if it feels too wet.
4. Dust the mat lightly with cornstarch and roll the dough into a strip about 1/8 inch thick. Use the ruler to keep the width even for a cleaner finished trim.
5. Press in wood-like texture using a wood-grain tool, a textured silicone stamp, or the bristles of a stiff toothbrush. Work gently so you create grain lines without tearing the strip.
6. Cut the strip into the exact lengths you need with a craft knife and ruler. If you want decorative ends or corner pieces, shape those now while the material is still soft.
7. Lightly dampen the furniture surface with a fingertip of water, then press the trim in place. Use gentle pressure along the full length so it grips and conforms to curves or corners.
8. Smooth the edges with a damp finger or the back of a spoon so the trim looks blended into the furniture. If a section sags, support it with wax paper and light painter’s tape until it sets.
9. Let the trim cure undisturbed for 12 to 24 hours, depending on thickness and room humidity. It should feel firm and no longer cool or tacky before painting.
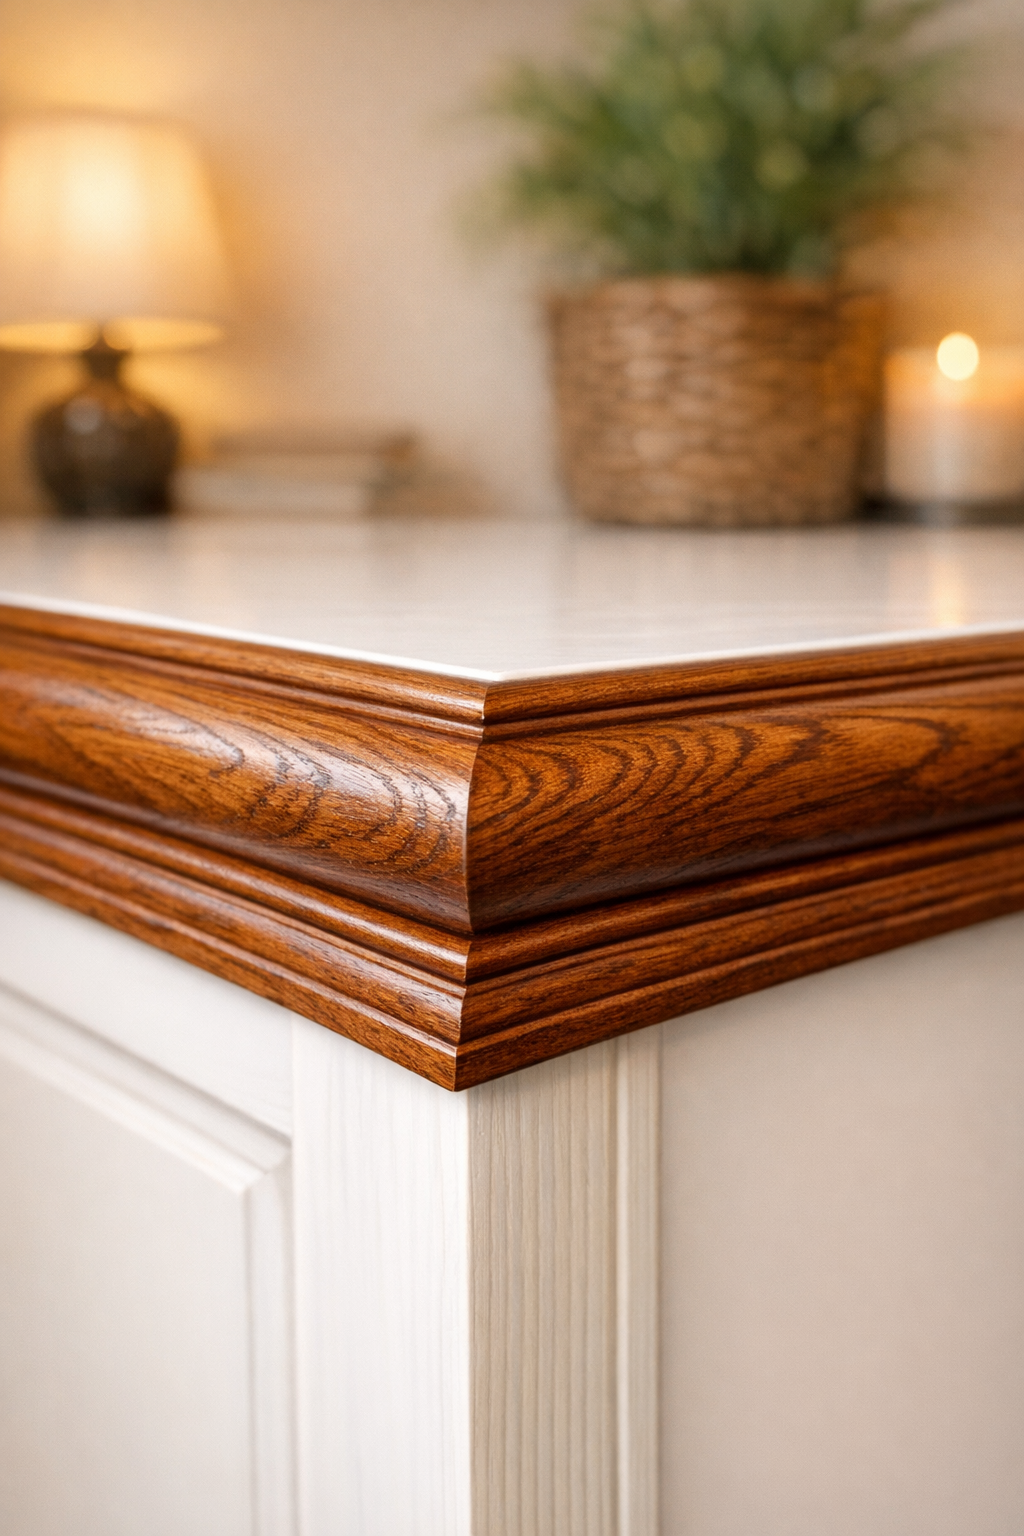
10. Paint the cured trim in brown wood tones if you want a faux wood finish, brushing a darker shade into the grooves and a lighter shade over the raised areas. Seal with clear matte sealer after the paint dries if the piece will get regular use.
Variations & Tips
For curved furniture: Make slightly narrower strips, around 3/4 inch wide, since they bend more easily around rounded drawer fronts and table aprons.
For a carved look: Press lace, silicone molds, or textured appliqué mats into the dough instead of making straight grain lines. This gives you a more ornate trim that works beautifully on mirrors and dressers.
For picky decorators: If your family likes simpler finishes the way mine usually does, keep the trim plain and paint it the same color as the furniture for a subtle tone-on-tone detail instead of faux wood.
Batch size tip: Work in small batches because the dough starts curing as you handle it. I usually mix only enough for one side or one drawer at a time.
Adhesion tip: If you are applying trim to a very slick surface, scuff it lightly with fine sandpaper first so the material has more grip.
Storage note: This mixture is best used right away, not saved for later. Once the caulk and cornstarch are combined, you will get the nicest texture and flexibility by shaping it immediately.