
If you’ve got a stack of old glossy catalogs headed for the recycling bin, this is one of those satisfying garage projects that turns them into something surprisingly sturdy. In this tutorial, I’ll show you how I make heavy-duty tool rack pegs by soaking and tightly rolling catalog pages, then mounting them with two basic garage staples so they can hold lightweight-to-moderate hand tools in a tidy, easy-to-grab way.
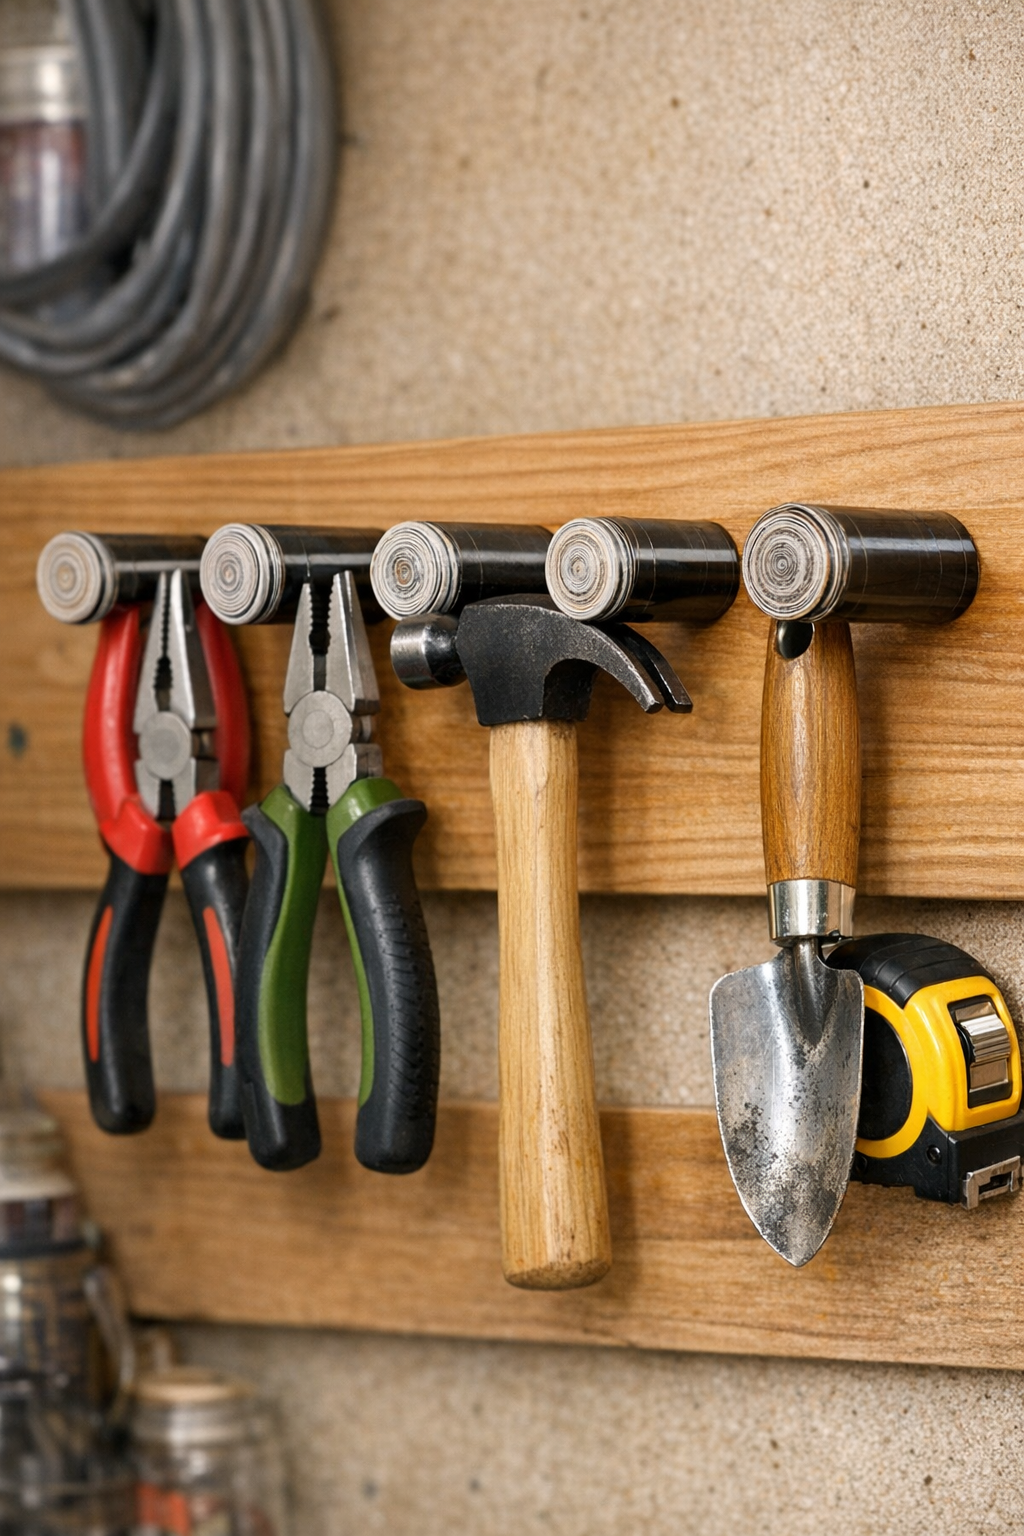
I love projects like this because they’re inexpensive, practical, and a little bit conversation-starting too. If you enjoy making useful storage from what you already have on hand, or you want a family workshop project that teaches resourcefulness, this one is a great fit. The finished pegs work especially well for things like tape measures, small hammers, pliers, garden hand tools, and extension cords.
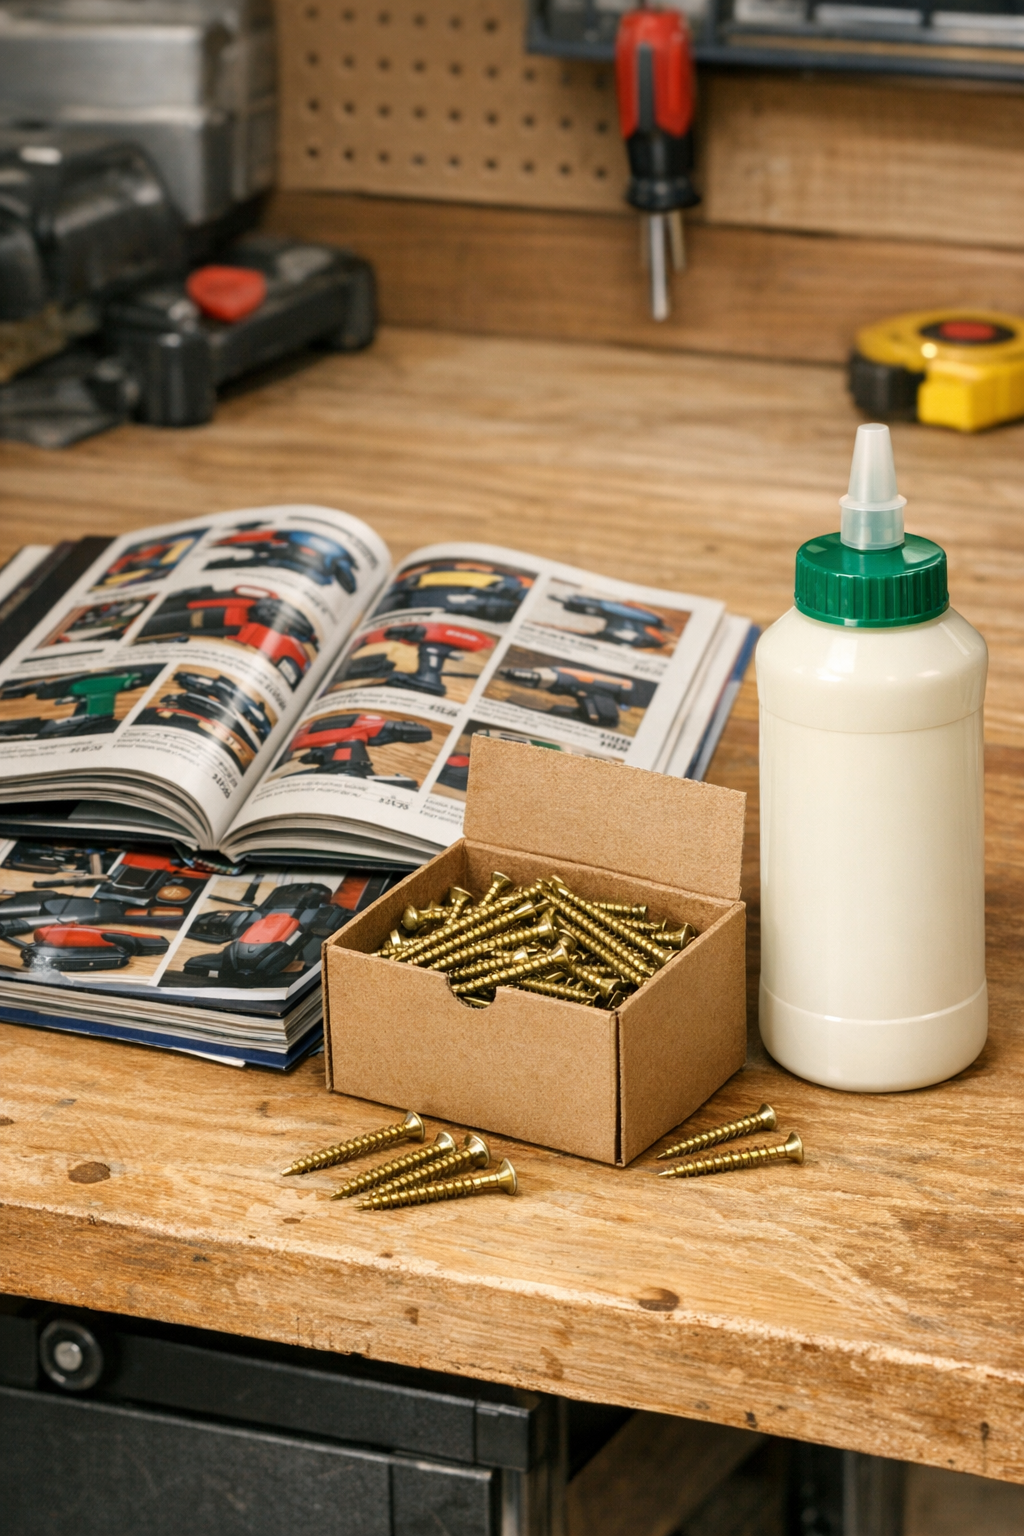
Materials
Instructions
1. Tear out the catalog covers and any thick inserts so you’re working with flexible glossy pages only. Set aside enough pages to make as many pegs as you want, using roughly 25 to 35 full pages per peg.
2. Fill a bucket or sink with warm water and soak the catalog pages for 3 to 5 minutes until they’re pliable but not falling apart. Lift them out in small stacks and let excess water drip off for a few seconds.
3. Spread a thin coat of waterproof wood glue over one page at a time, then stack and align them into a glued bundle. Keep the glue light and even so the pages bond without puddling.
4. Starting at one corner of the glued bundle, roll the pages as tightly as you can into a dense cylinder about 1 to 1 1/4 inches thick. Press and squeeze the roll in your hands for a minute so it compacts firmly.
5. Add a little more glue along the final edge and press the roll closed so it stays tight. Make enough rolls for your rack, then let them dry flat for 24 hours.
6. Once dry, trim or compress any uneven ends by hand so each peg blank feels solid and uniform. A good finished peg blank should be hard to squeeze and noticeably dense.
7. Choose a wooden wall stud, plywood tool board, or the solid side of a workbench for mounting. Mark your peg locations about 4 to 6 inches apart so larger tools have enough space.
8. Drive one 2 1/2-inch wood screw through the center of the first rolled cylinder and straight into the mounting surface, leaving about 3 to 4 inches of peg sticking out. Tighten until the paper peg feels snug and doesn’t wobble.
9. Repeat with the remaining rolls, checking that each peg is level enough for the tool you plan to hang. Test each one with a light item first, then move up to heavier hand tools after the glue-cured rolls feel fully rigid.
10. Let the mounted pegs sit another 12 to 24 hours before loading them fully. Once cured, arrange your tools by size and weight, keeping the heaviest pieces closest to screws anchored in studs or thick wood backing.
Variations & Tips
For heavier tools: Use more pages per peg and make the roll shorter and denser rather than long and skinny. In my experience, compact pegs hold up much better than oversized ones.
For picky organizers: If your family is anything like mine, everyone wants their own “easy spot” for tools. Space a few pegs closer together for small items and leave wider gaps for bulky tools so everything is simple to put back.
For extra durability: Let the glued rolls dry with good airflow for a full 48 hours before mounting if your garage is humid. A fully cured paper roll is much stronger than one that still feels cool or damp inside.
Best mounting surface: These pegs perform best when screwed into solid wood, not drywall alone. I always tell my kids that the wall is only as strong as what’s behind it, and that definitely applies here.
Good tool choices: Use these for moderate-weight hand tools, cords, shop brushes, and gardening tools. Skip very heavy power tools unless you’ve tested a thicker peg and a strong wood backer first.
Neater finish: If you want a more uniform look, make all the rolls from similar-size catalog pages and align the edges before drying. That gives the rack a tidy, almost store-bought appearance while still being made from salvaged paper.