
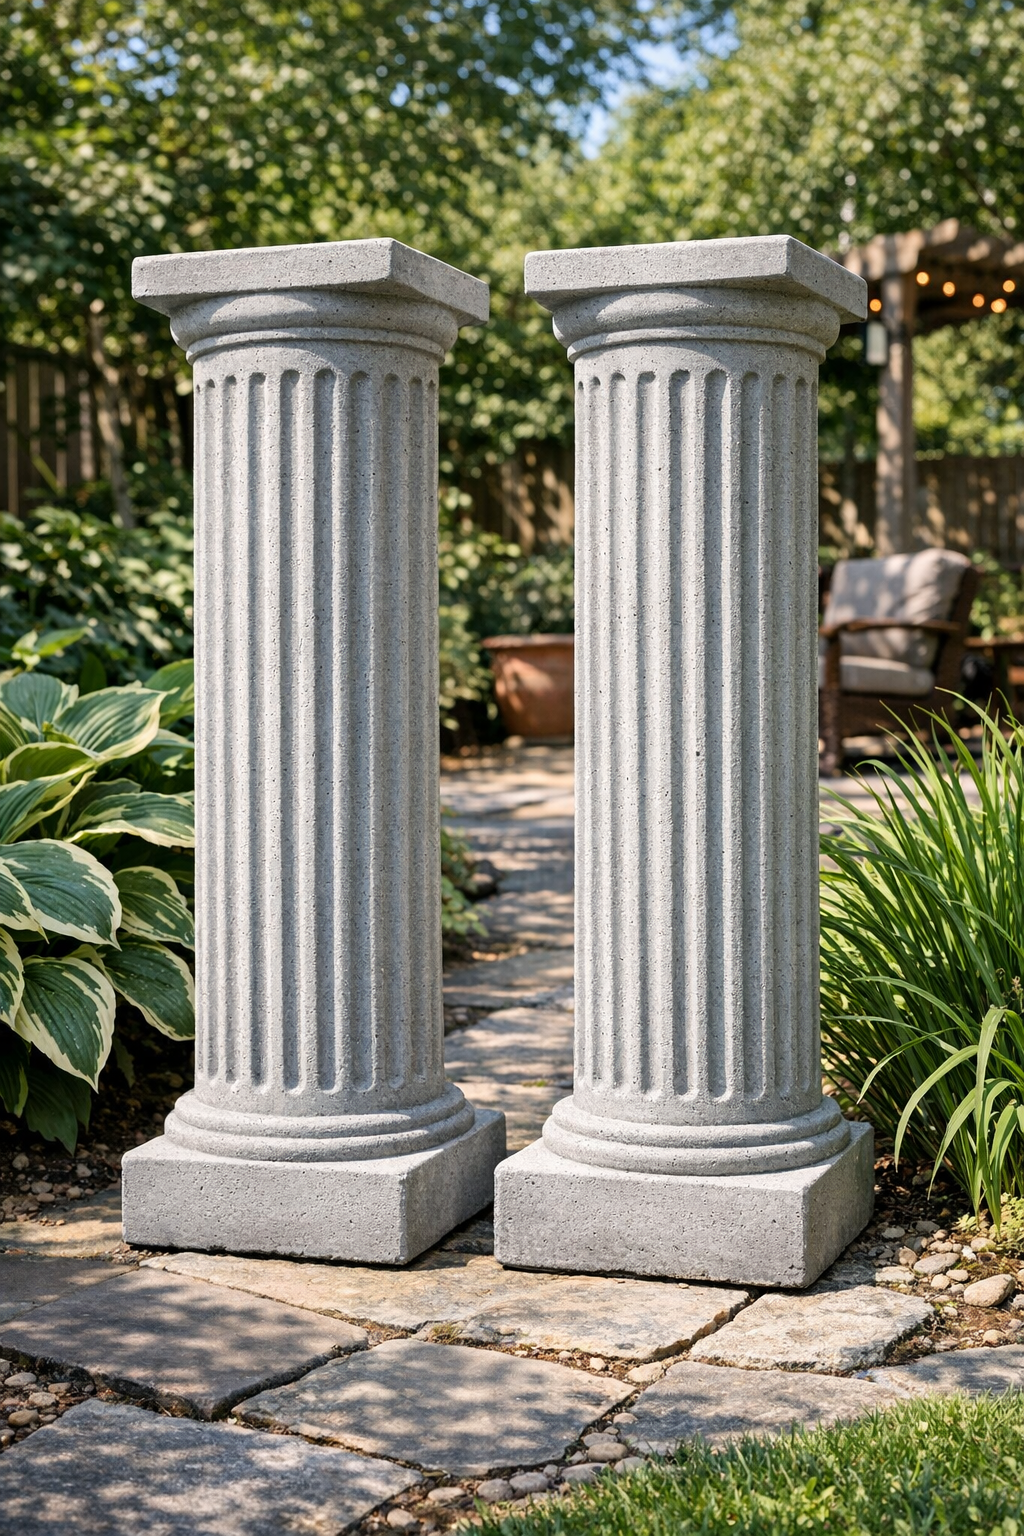
These heavy fluted garden pillars are one of those projects that look far more expensive than they really are, and I love that kind of backyard magic. By using ribbed plastic bathroom trash cans as the form, you get that classic fluted look without needing fancy molds, and the cement gives the finished pieces a solid, substantial feel that works beautifully on a porch, by a walkway, or tucked into a flower bed.
I think this is a great project for anyone who wants a big visual impact with very simple supplies. If you’ve ever wanted to add a little old-garden charm to your outdoor space on a practical budget, this is the kind of weekend project that feels especially satisfying when you step back and see the finished pair in place.
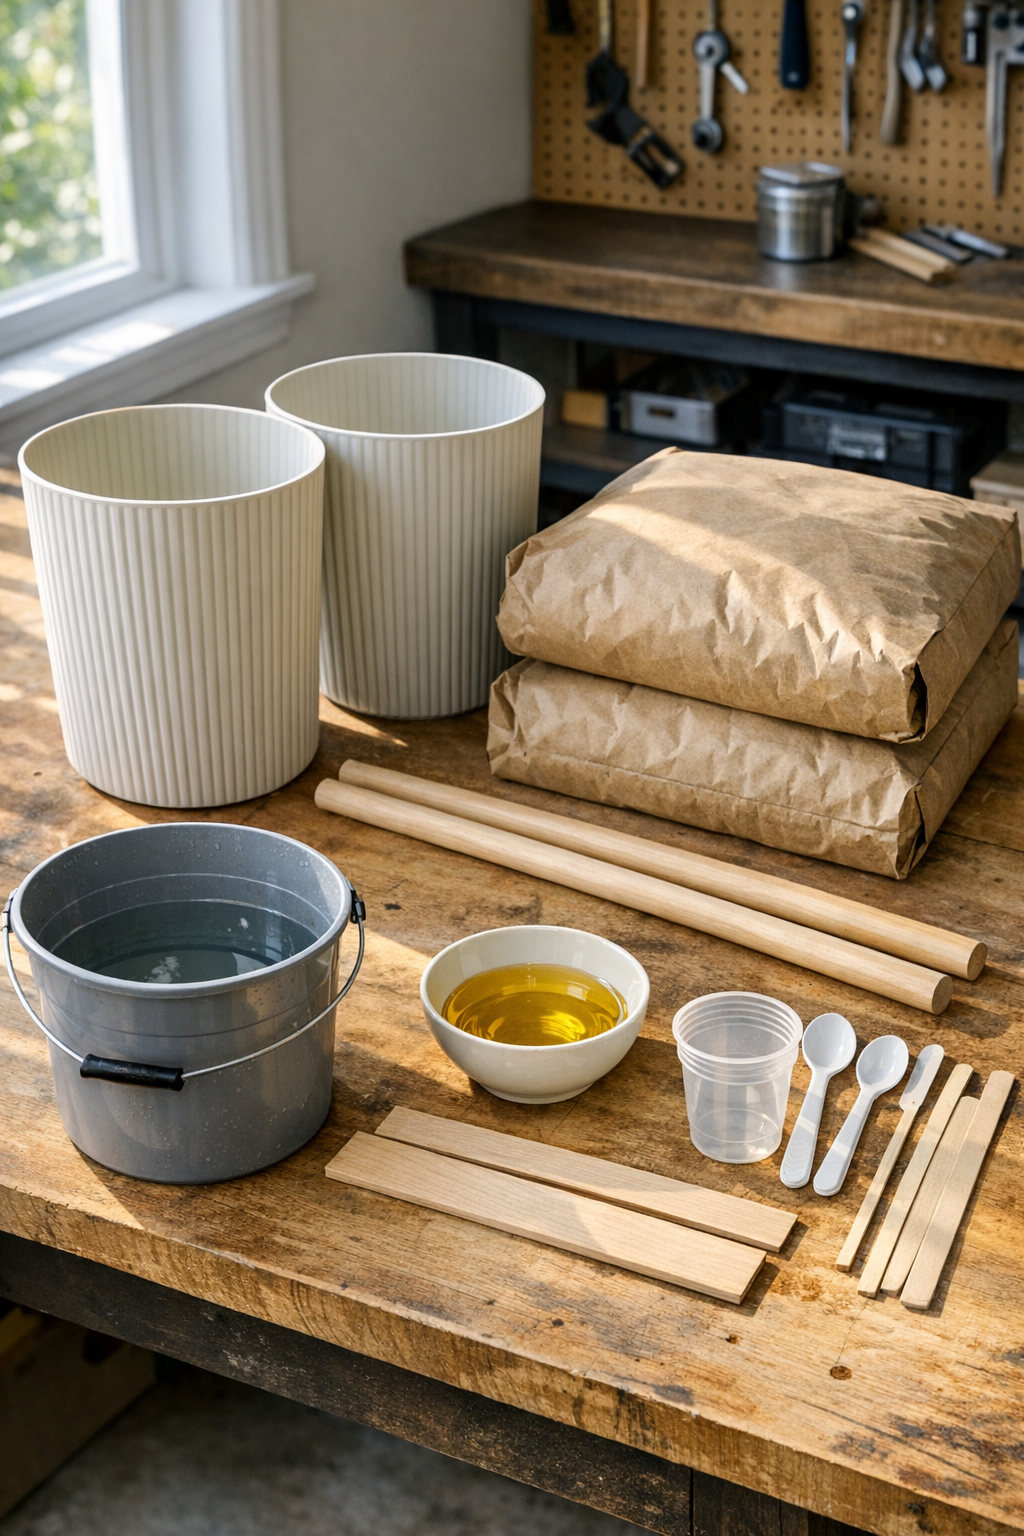
Materials
Instructions
1. Set up a flat work area outdoors or in a garage, and place the two trash cans on a level surface where they can stay undisturbed for at least 24 to 48 hours.
2. Rub a thin coat of cooking oil inside each ribbed trash can so the cured cement will release more easily later.
3. If the trash cans have any drain holes or weak seams, seal them from the outside with duct tape so wet cement cannot leak out.
4. In a bucket or wheelbarrow, mix the cement with water a little at a time until it reaches the texture of thick oatmeal; it should be wet enough to settle but stiff enough to hold the dowel centered.
5. Fill each trash can about one-third full, then tap the sides firmly several times to knock out trapped air and help the mix settle into the ribbed shape.
6. Continue filling each can to about 1 inch below the rim, pausing every few inches to tap the sides and gently jiggle the form so the pillar cures with fewer voids.
7. Press one wooden dowel or PVC pipe straight down into the center of each filled can, leaving several inches extending above the top if you want an easier way to move the pillar later.
8. Check that each dowel is centered and upright, then smooth the top surface of the cement with a scrap stick or gloved hand.
9. Let the pillars cure completely according to the cement package directions, ideally 24 hours for initial set and 48 hours before unmolding for a cleaner result.
10. To remove the forms, gently squeeze and twist the plastic cans; if needed, cut down one side of each can with heavy scissors or a utility knife and peel the plastic away.
11. Stand the pillars upright and allow them to continue curing for several more days before placing heavy items on top or leaving them out in severe weather.
Variations & Tips
For a taller look: Choose narrower, taller ribbed trash cans in the same style, but keep the walls sturdy enough to hold the weight of wet cement without bulging.
For easier unmolding: I like to use a flexible plastic can rather than a brittle one, because it twists away from the cement more cleanly and is less likely to crack unexpectedly.
For a smoother finish: Tap the mold well during filling and lightly shake it side to side; this simple step helps release hidden air pockets and gives the fluting a crisper look.
For picky decorators: If your family has very different style opinions like mine does, keep the pillars plain natural gray at first, then dry-brush with white, taupe, or stone-colored outdoor paint later so everyone can weigh in on the final look.
For using them safely: These pillars get heavy fast, so build them close to where they’ll be displayed or move them with help once fully cured.
For styling outdoors: A pair looks especially pretty flanking steps, supporting lightweight planters, or marking the entrance to a garden bed with a little formal charm.