
Cracked plastic pencil boxes are one of those odd little items that usually end up in the trash, but they can be turned into surprisingly useful frosted window panels for a shed. When the plastic is carefully flattened with heat and paired with a simple frame and fastener, it becomes a lightweight, shatterproof insert that lets in soft light while still giving you privacy.
I love projects like this because they solve two problems at once: they reuse something headed for the bin, and they make an outbuilding more functional without the cost of glass. If you need inexpensive shed windows, greenhouse-style light panels, or a safer alternative to brittle panes in a workshop, this is a practical weekend project.
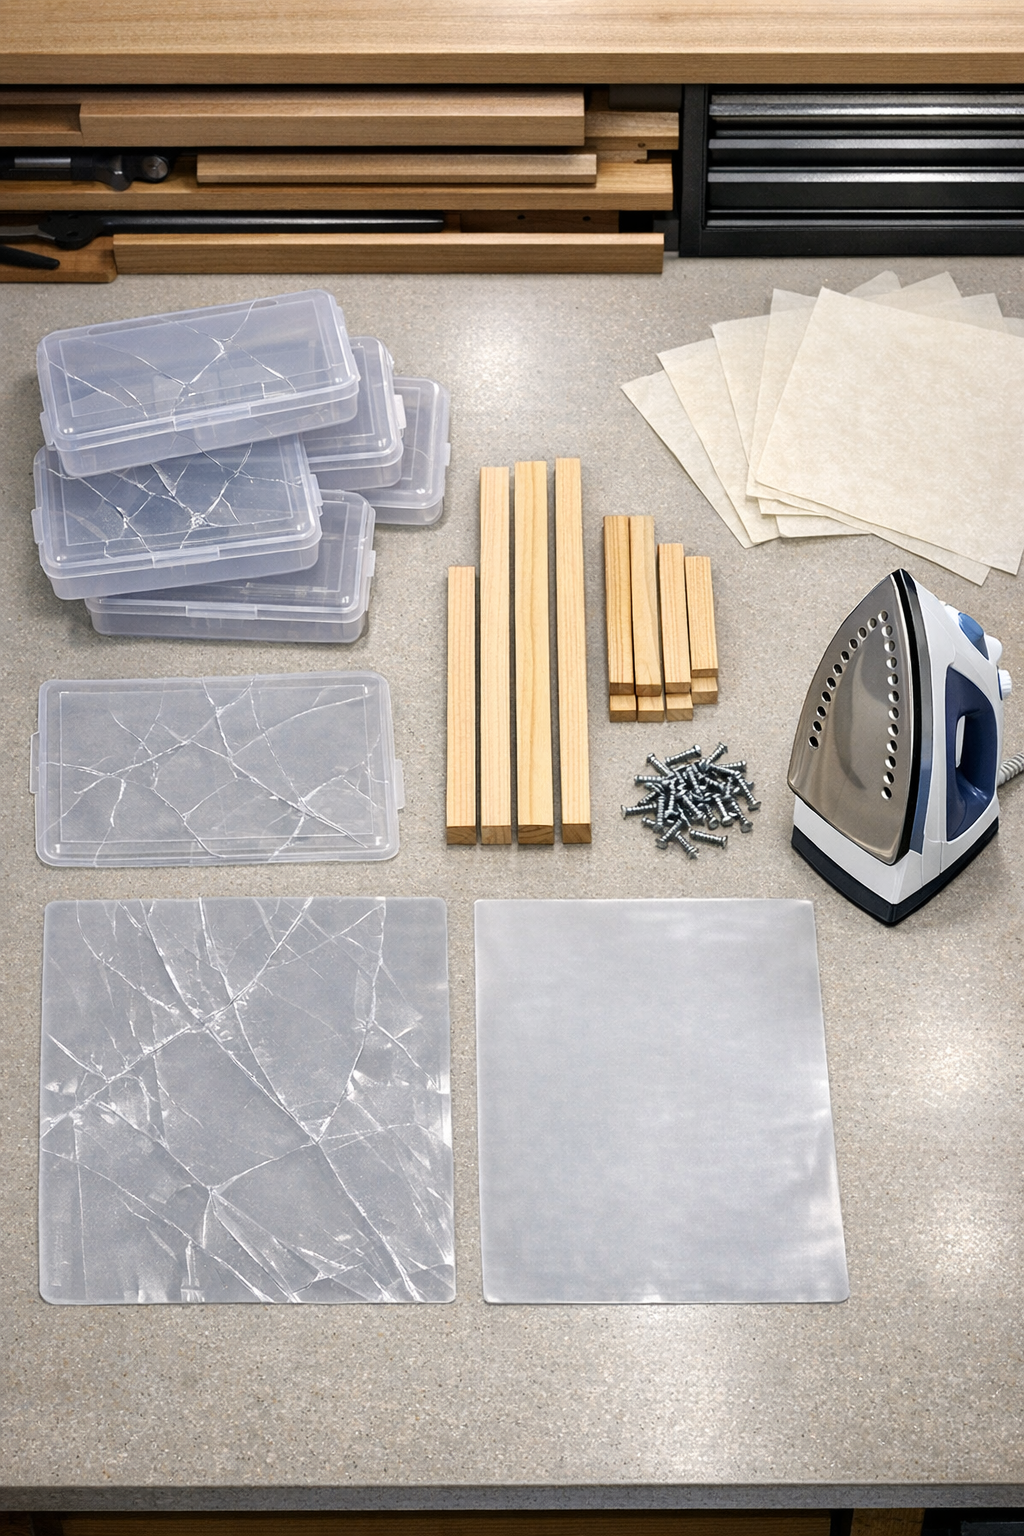
Materials
Instructions
1. Wash the pencil boxes with warm soapy water, remove any stickers, and let them dry fully so no residue gets baked into the plastic.
2. Cut away hinges, latches, and raised edges with scissors or a utility knife so each box can open out into the flattest possible sheet.
3. Place one plastic piece between two sheets of parchment paper, then press it with a dry household iron set to low or synthetic in short passes until it softens and flattens.
4. Let each sheet cool under a heavy book or flat board for several minutes so it stays smooth instead of curling back.
5. Repeat the ironing process for all the pencil box pieces, then trim them into matching rectangular panels sized to fit your planned window openings.
6. Build two simple rectangular frames from the 1 x 2 wood strips, screwing the corners together so each frame matches the combined size of three flattened plastic panels.
7. Sand the frames smooth, then prime and paint them if you want a cleaner finished look and better outdoor durability.
8. Lay the flattened plastic panels across the back of each frame with a slight overlap, then run a thin bead of exterior adhesive along the wood where each panel will sit.
9. Press the panels into the adhesive and secure the edges with the 1/2 inch pan-head screws, spacing the screws about every 4 to 5 inches so the plastic stays flat.
10. Seal around the panel edges with a thin line of clear silicone to help keep out drafts and moisture, then let the assembly cure fully.
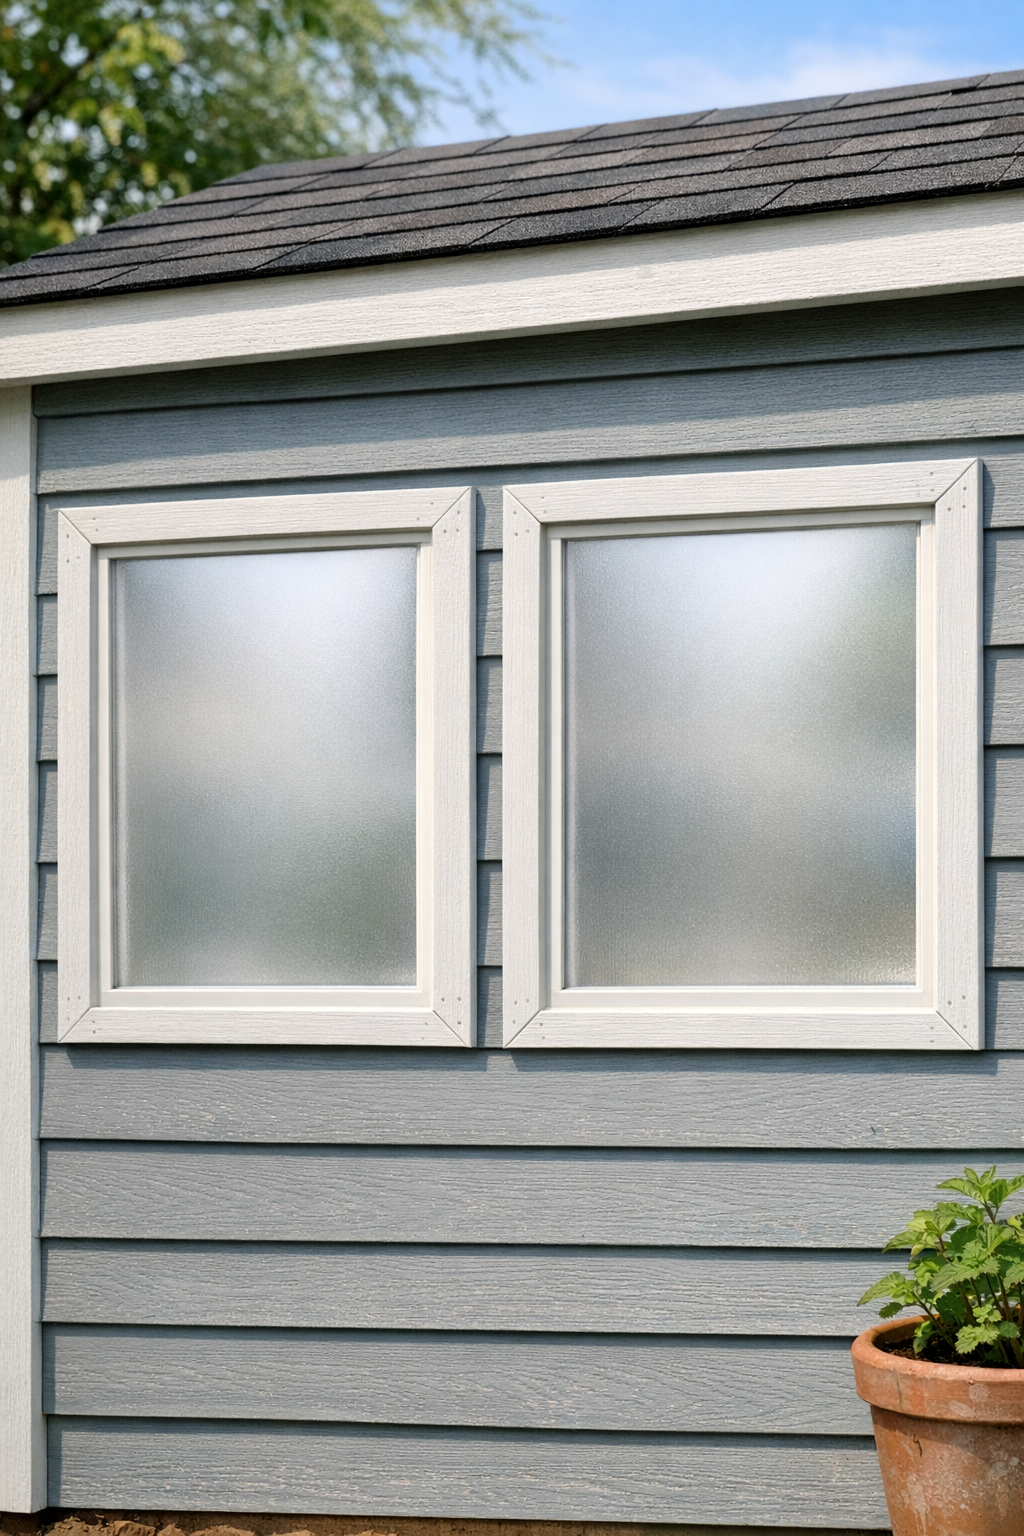
11. Install the finished window units into the shed wall openings by screwing through the frame into the wall structure, then caulk the outer edges if needed.
12. Check the panels in daylight; the surface should diffuse sunlight evenly and give the shed a soft glow without the risk of broken glass.
Variations & Tips
For a more uniform look: Sort the pencil box plastic by color and translucency before ironing so each window panel has a consistent frosted appearance.
Heat carefully: I always start with the iron cooler than I think I need; plastic can wrinkle or scorch quickly, and gentle repeated passes work better than one long press.
Frame sizing: Measure your shed opening first, then build the frame to fit that opening rather than trying to force the opening to match your finished panel.
Weather resistance: If the shed gets direct rain and wind, add a simple exterior trim piece over the installed frame to protect the panel edges and improve the seal.
Extra stiffness: If your flattened sheets feel thin, overlap them more generously or sandwich them between two light wood grids for better support.
Best use case: These windows are ideal for utility sheds, potting sheds, and workshop outbuildings where light matters more than a clear view, much like the diffused glass panels I love in older pantry doors.