
There’s something deeply satisfying about turning a forgotten thrift-store find into something useful, and this crochet binder pouch does exactly that. In this project, I use an old plastic VHS tape case with the spine removed as the structure, then crochet thick burgundy yarn right through the case to create a sturdy late-summer pouch that slips neatly into a binder or works on its own for pens, notes, crochet hooks, or receipts.
I love projects like this because they combine a little upcycling with a little fiber craft, and the result looks far more polished than you’d expect from an old movie case. If you’re comfortable with basic crochet stitches and don’t mind working through pre-drilled plastic, this is a very approachable afternoon project with a clever, modern-thrift feel.
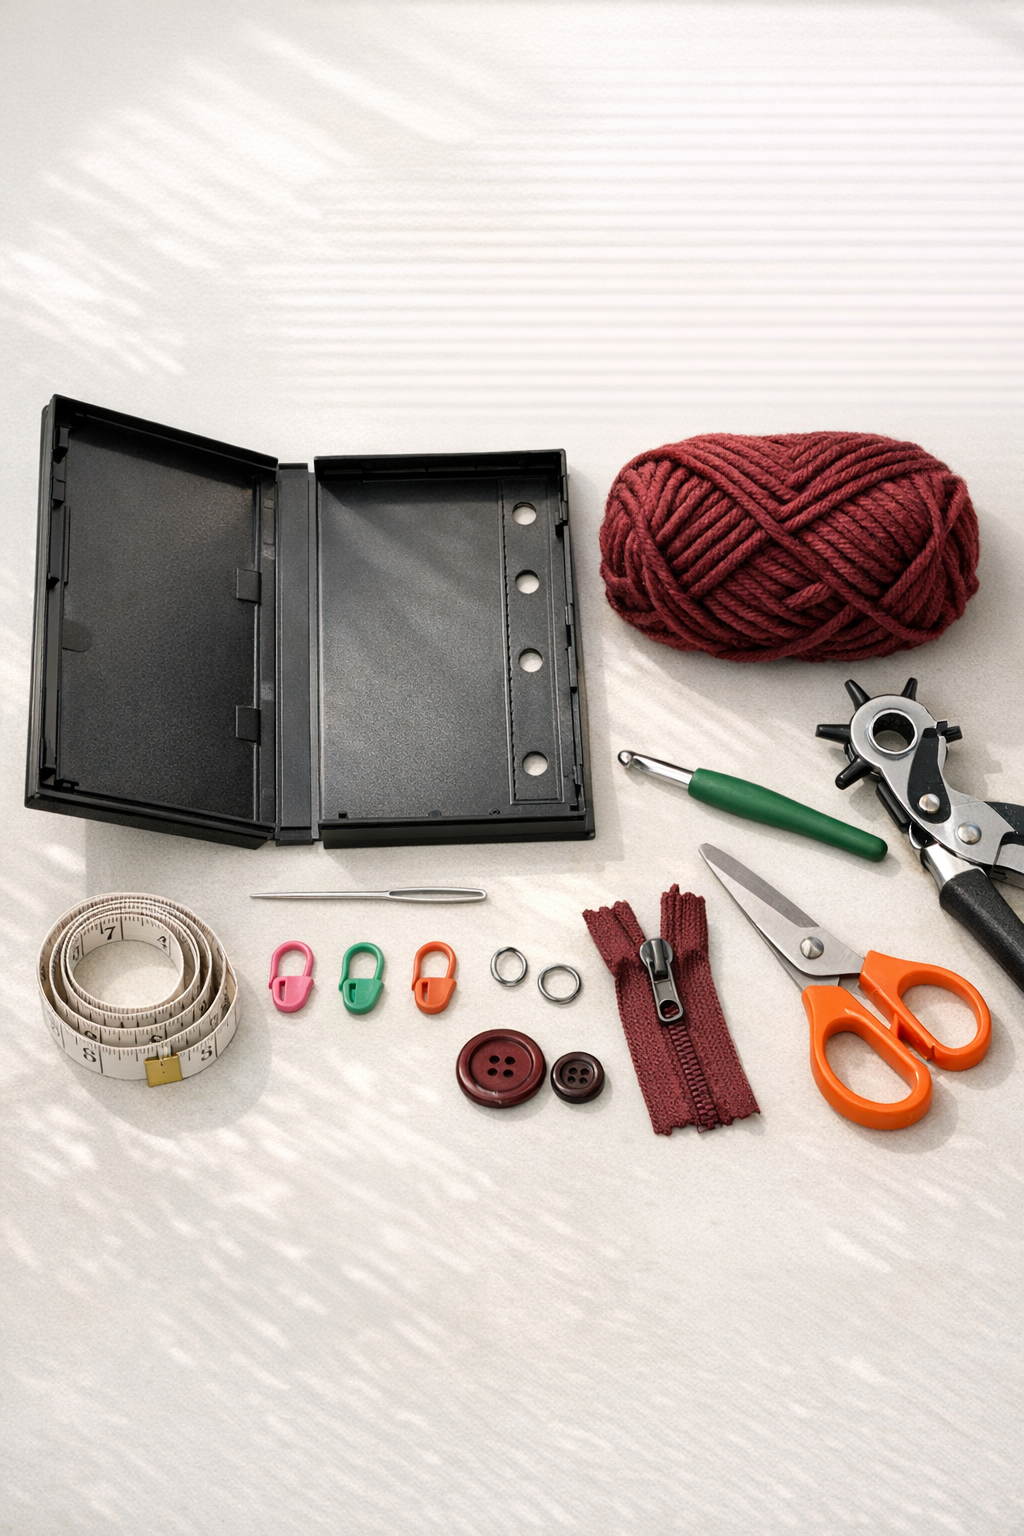
Materials
1 empty plastic VHS tape case, standard size approximately 10 1/2 x 7 1/2 inches, with paper inserts removed
Instructions
1. Open the VHS case fully and remove all paper inserts, tape hardware, and any loose interior pieces until you have a clean plastic shell with a front, back, and hinge.
2. Carefully remove or cut away the spine section so the case opens flatter and functions more like a pouch cover, leaving the hinge side intact if possible for structure.
3. Use the ruler and marker to mark evenly spaced holes about 1/4 inch from the outer edges of the front and back panels, placing them roughly 1/2 inch apart.
4. Drill or punch the holes all the way around the pouch edges, then smooth each opening with fine sandpaper so the yarn will not snag.
5. Mark and punch 3 binder holes along the left side of the back panel, spacing them to match a standard 3-ring binder, and reinforce the area by keeping at least 3/4 inch of plastic around each hole.
6. Make a slip knot with the burgundy yarn, pull it through one corner hole, and single crochet evenly through each pre-punched hole around the front and back panel edges to create a neat crocheted border.
7. On the second round, work one single crochet into each stitched edge point and add 3 single crochets in each corner area so the yarn softens the rectangular shape and builds a fabric lip.
8. Fold the case into pouch form and crochet the front and back together along the bottom and one side edge with single crochet or slip stitch, leaving the top open.
9. Crochet 2 to 4 additional rounds around the top opening, depending on how tall and soft you want the pouch edge, keeping the stitches snug and even.
10. Attach the closure by sewing in a 7-inch zipper across the top opening or by adding a button and yarn loop, making sure the pouch opens easily while still holding contents securely.
11. Weave in all yarn ends with the yarn needle, trim any excess, and test the pouch in a binder to confirm the ring holes align and the pouch turns pages without strain.
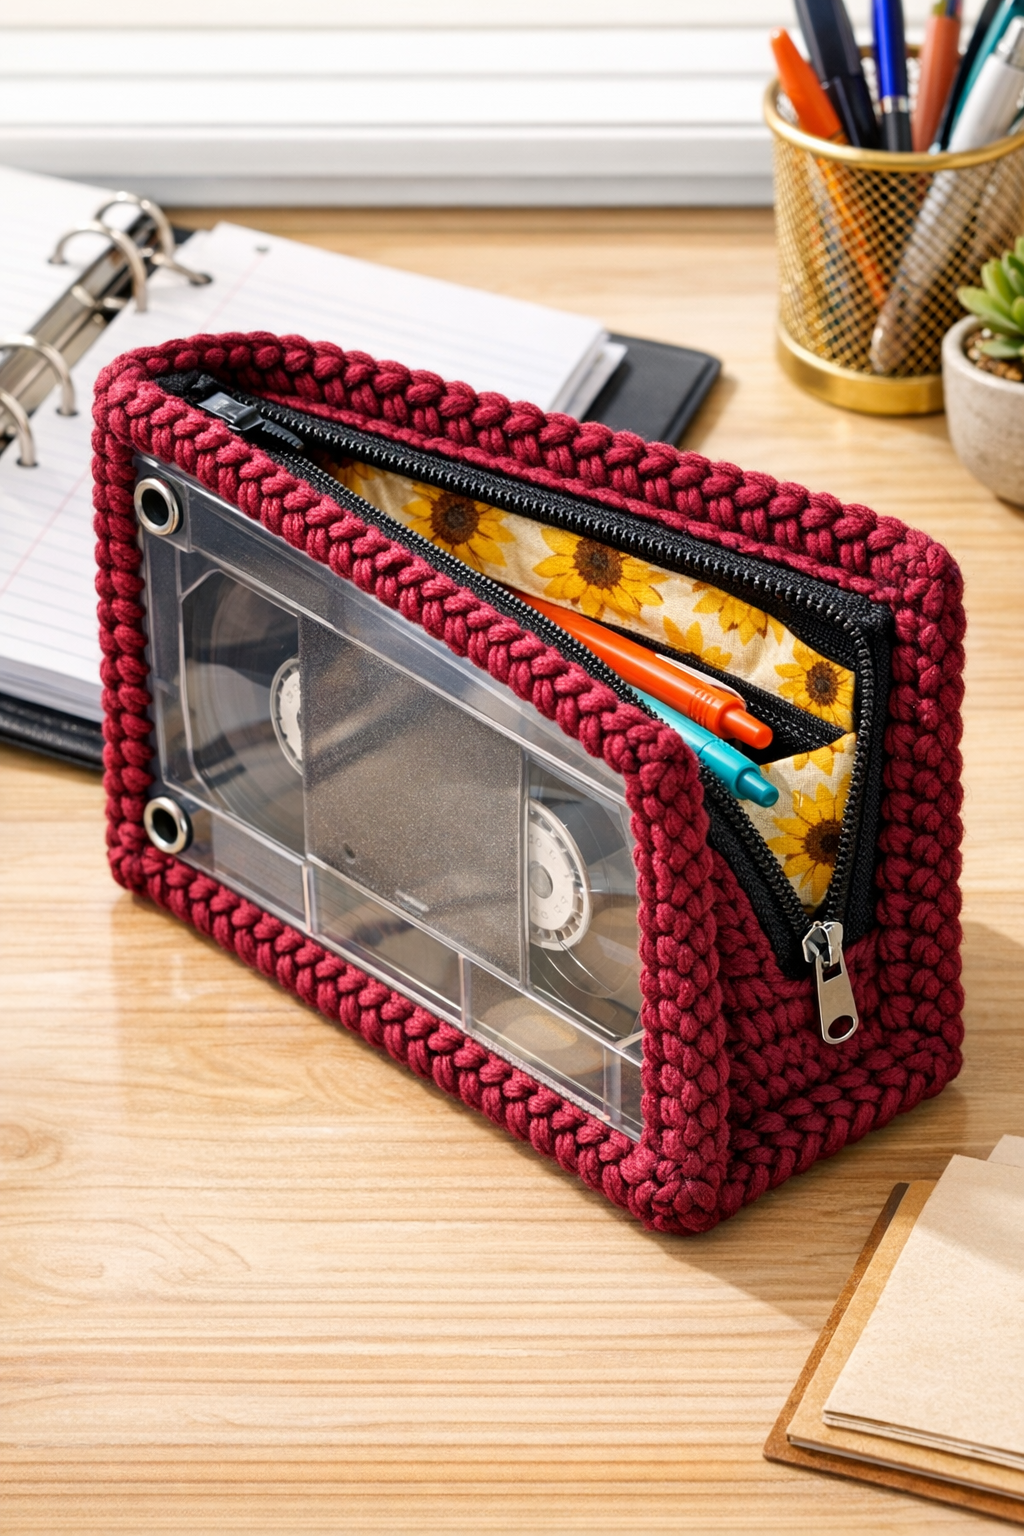
Variations & Tips
Closure option: A zipper gives the cleanest finish, but I find a button-and-loop closure easier if you want to keep the project fully crochet-focused and avoid hand-sewing a long straight edge.
Yarn choice: Super bulky yarn creates a bold, cushioned edge, but a tightly spun bulky cotton yarn will wear better if the pouch is going in and out of a binder every day.
Hole spacing tip: Even spacing matters more than exact math here; when I work with rigid materials like plastic, I always dry-count the holes on opposite sides before crocheting so the pouch closes up symmetrically.
Binder fit: Before adding your final closure, test the pouch inside the actual binder you plan to use, because some 3-ring binders have slightly different ring placement and interior clearance.
Color variation: Burgundy is especially nice for that late-summer look, but rust, olive, mustard, or deep plum would also suit the same thrifted, transitional-season style beautifully.
Storage idea: This pouch is excellent for crochet notions, recipe cards, postage stamps, or loose paper scraps; I’m always pleased when a project this quirky turns out to be genuinely practical.