
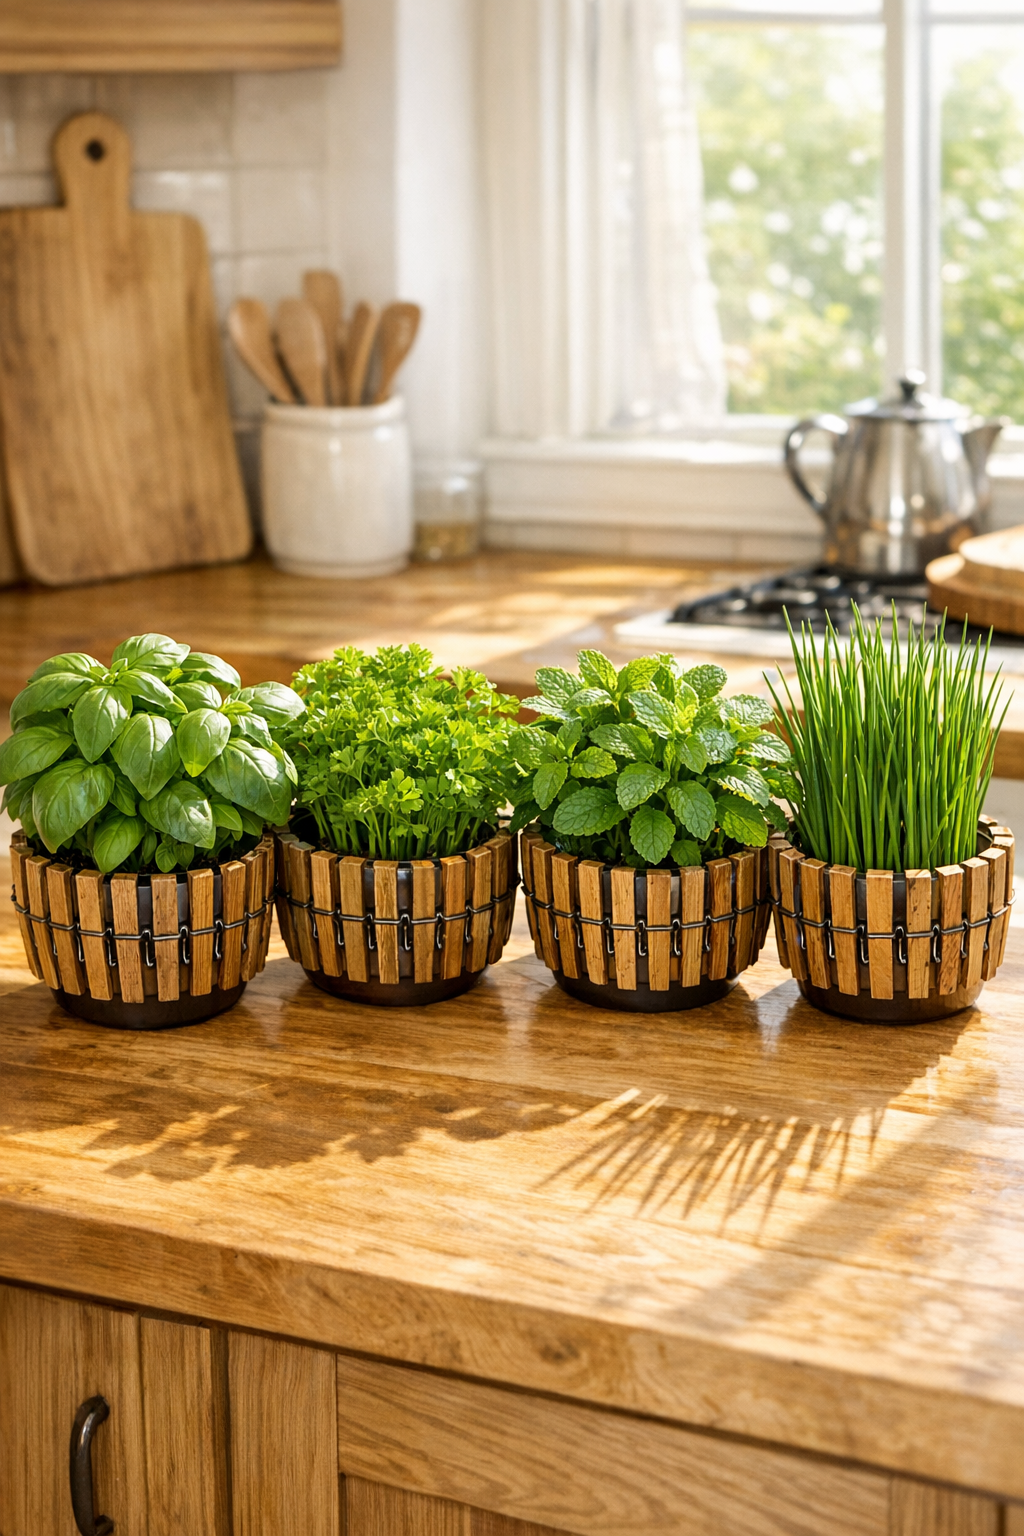
I love a DIY that looks a lot more expensive than it is, and these rustic kitchen herb planters absolutely fit that category. By staining basic wooden clothespins and clipping them around inexpensive plastic mixing bowls, you can make a set of planters that feels warm, homey, and surprisingly polished without spending a whole weekend on it.
This project is great if you want a simple way to dress up a sunny kitchen corner, windowsill, or breakfast nook with fresh herbs. As someone who cooks constantly after work, I’m always looking for practical projects that make my kitchen both prettier and more useful, and this one checks both boxes.
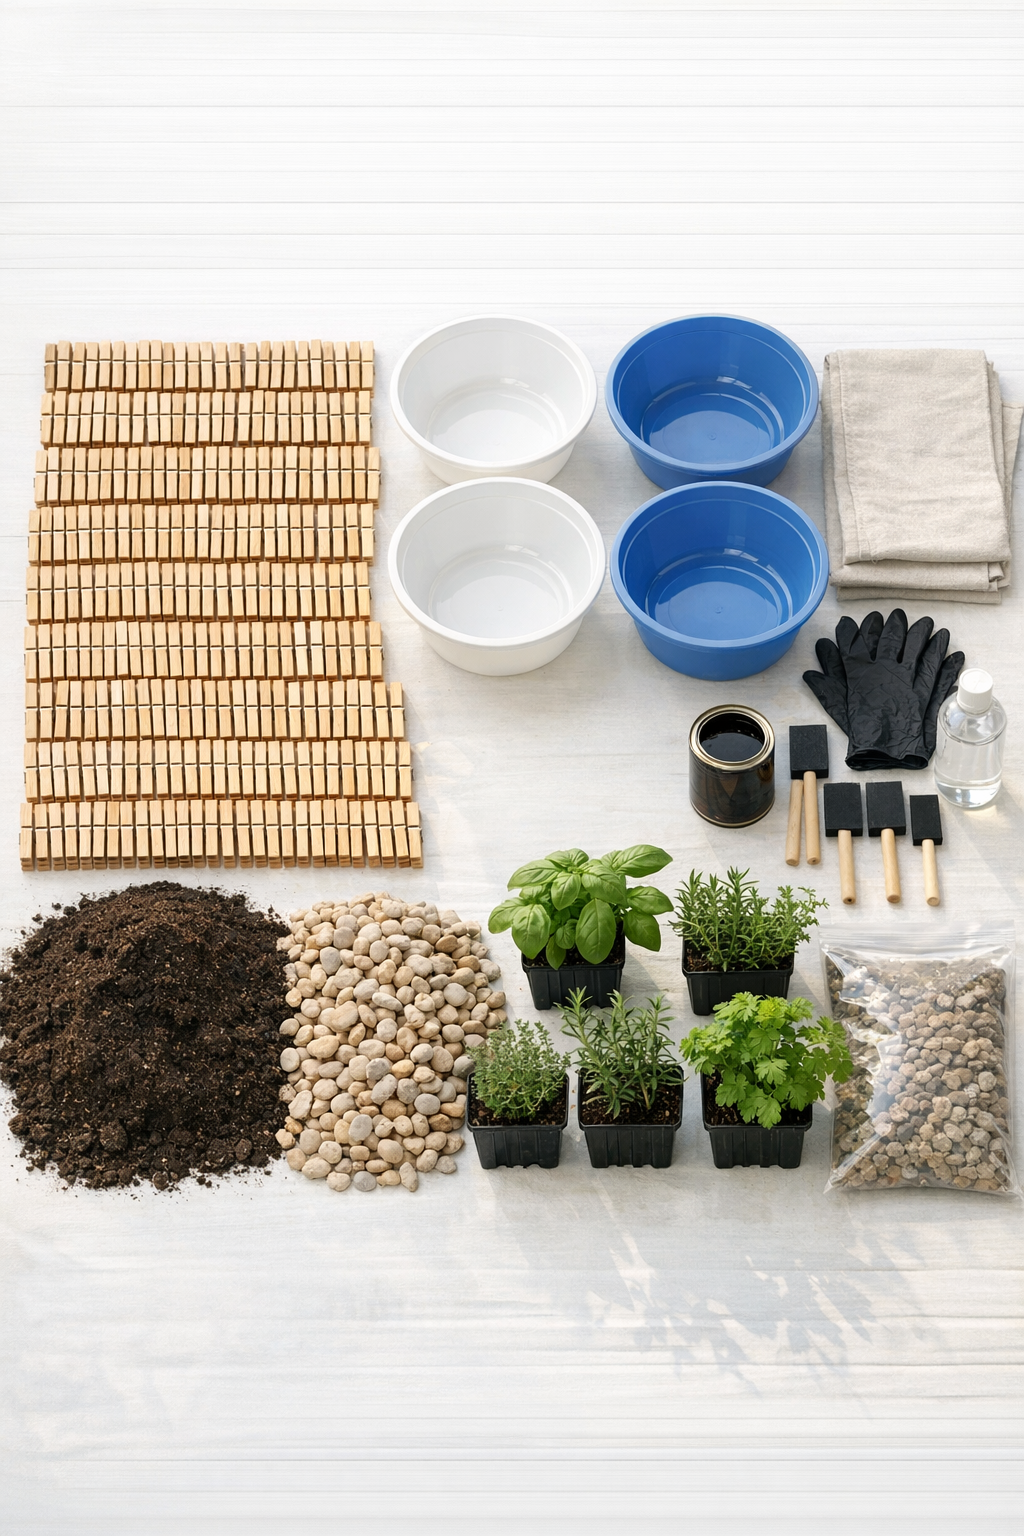
Materials
Instructions
1. Cover your work surface with a drop cloth and separate the 300 clothespins into a single layer so they are easy to stain evenly.
2. Put on gloves and brush stain over all exposed sides of the clothespins, working in batches so the color stays consistent from one group to the next.
3. Wipe away any excess stain with a rag and let the clothespins dry completely according to the stain directions, usually 2 to 4 hours for light handling.
4. Apply a second coat if you want a deeper rustic finish, then allow the clothespins to dry fully before assembling the planters.
5. Spray the stained clothespins with a light coat of clear matte sealer in a well-ventilated area and let them cure fully; this helps them hold up better in a kitchen with moisture and sunlight.
6. Wash and dry the plastic mixing bowls so the clothespins grip the rim and sides cleanly without dust or residue slipping underneath.
7. Clip the stained clothespins around the outside edge of the first bowl, placing them side by side with the pin openings gripping the bowl wall tightly from rim downward.
8. Continue clipping clothespins around the bowl until the entire exterior is covered; add a tiny dot of waterproof craft glue behind any pin that feels loose or shifts out of place.
9. Repeat the same process for the remaining 3 bowls, checking spacing as you go so each planter looks evenly wrapped.
10. Add 1 cup of drainage pebbles to the bottom of each bowl, then fill each one about two-thirds full with potting mix.
11. Remove each herb from its nursery pot, loosen the roots gently, and set it into the soil so the top of the root ball sits about 1 inch below the bowl rim.
12. Add more potting mix around the plant, press lightly to secure it, and water just enough to moisten the soil without flooding the bowl.
13. Set each finished planter on a saucer if using indoors, then place them in a bright kitchen window or on a shelf that gets several hours of sunlight.
Variations & Tips
Use one herb per planter: I like keeping one variety in each bowl because it makes watering and trimming simpler, especially on busy weeknights when I’m grabbing herbs while dinner is already going.
Try a lighter stain: If your kitchen is more farmhouse or Scandinavian in style, use a honey or natural oak stain instead of a dark walnut tone.
Check drainage first: If your bowls do not have drainage holes, water carefully and lightly, or use the bowls as decorative outer covers with smaller nursery pots tucked inside.
Keep the pins aligned: Start clipping from one point and work in a single direction around the bowl so you do not end up with uneven gaps at the end.
Protect indoor surfaces: Even if the planters feel dry on the outside, always use a saucer underneath because watering herbs in the kitchen has a way of finding your countertops.
Make a matching set: For a coordinated look, stain all 300 clothespins in one session and mix them around before clipping so the color variation looks intentional and balanced.