
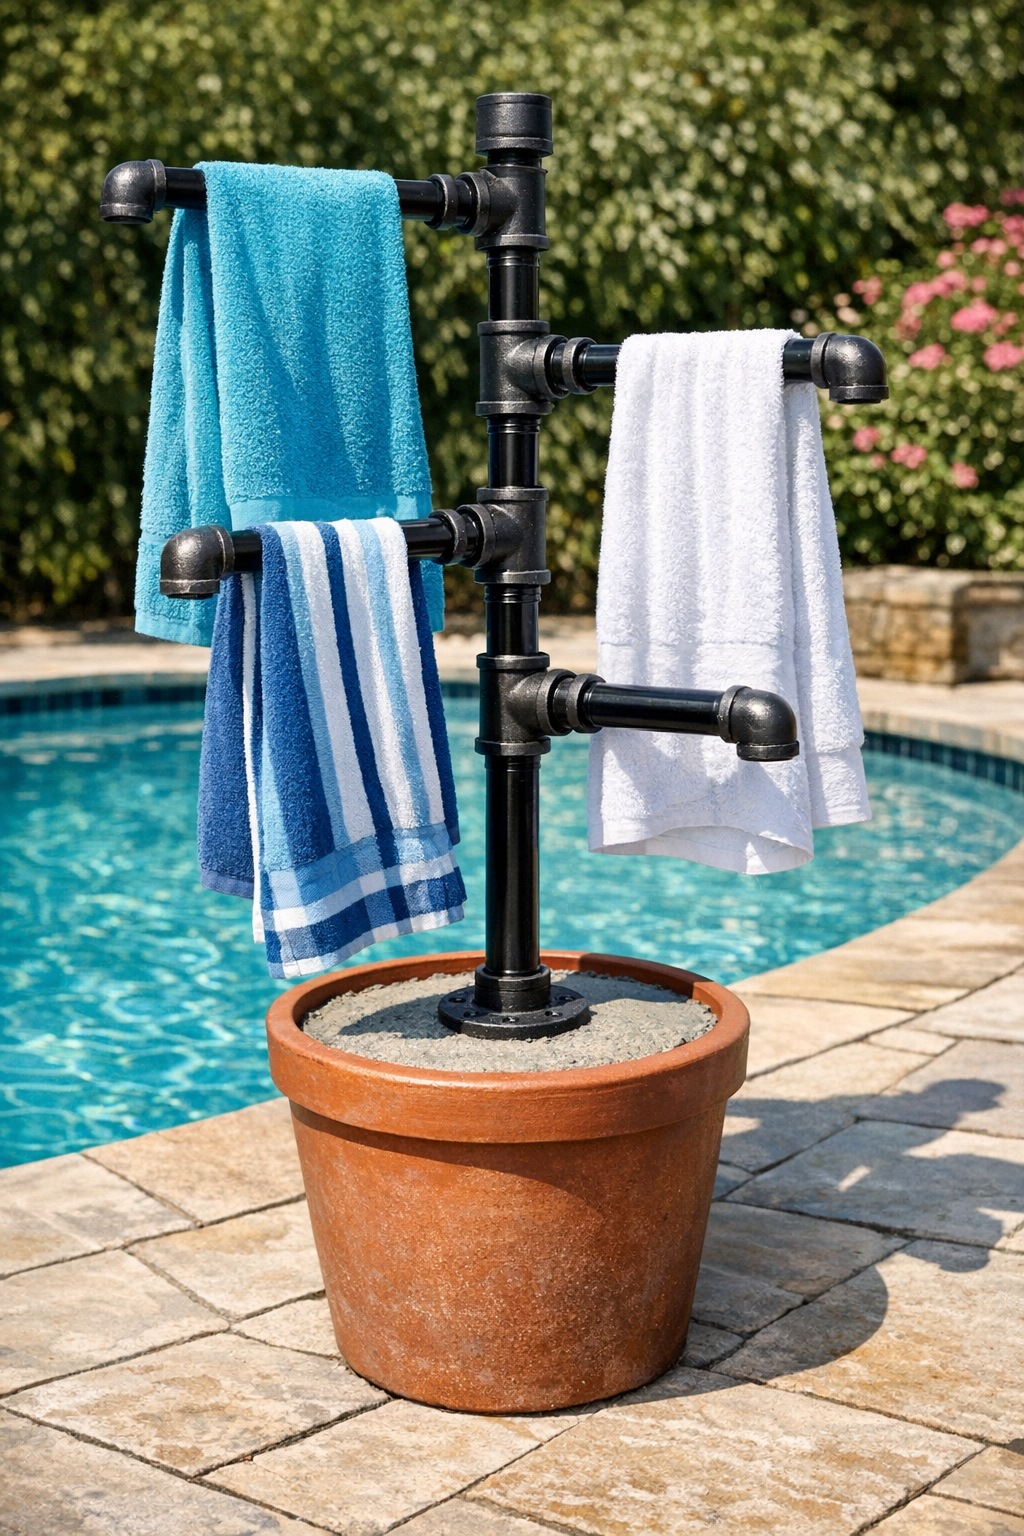
There’s something mighty satisfying about making a useful piece for the backyard with your own two hands, especially one that can stand up to wet towels, summer wind, and a busy pool day. This outdoor towel tree uses black iron pipe fittings for the upright frame and a concrete-filled terracotta pot for a sturdy base, so it has that handsome industrial look while still feeling right at home on a patio.
I’ve always believed the best outdoor projects are the ones that solve a little everyday nuisance. If you’ve ever seen towels tossed over chairs, railings, or the side of the pool fence, you know exactly why this one is worth building. This is a good project for a confident DIYer who’s comfortable measuring, mixing concrete, and welding pipe fittings into a fixed assembly for extra strength.
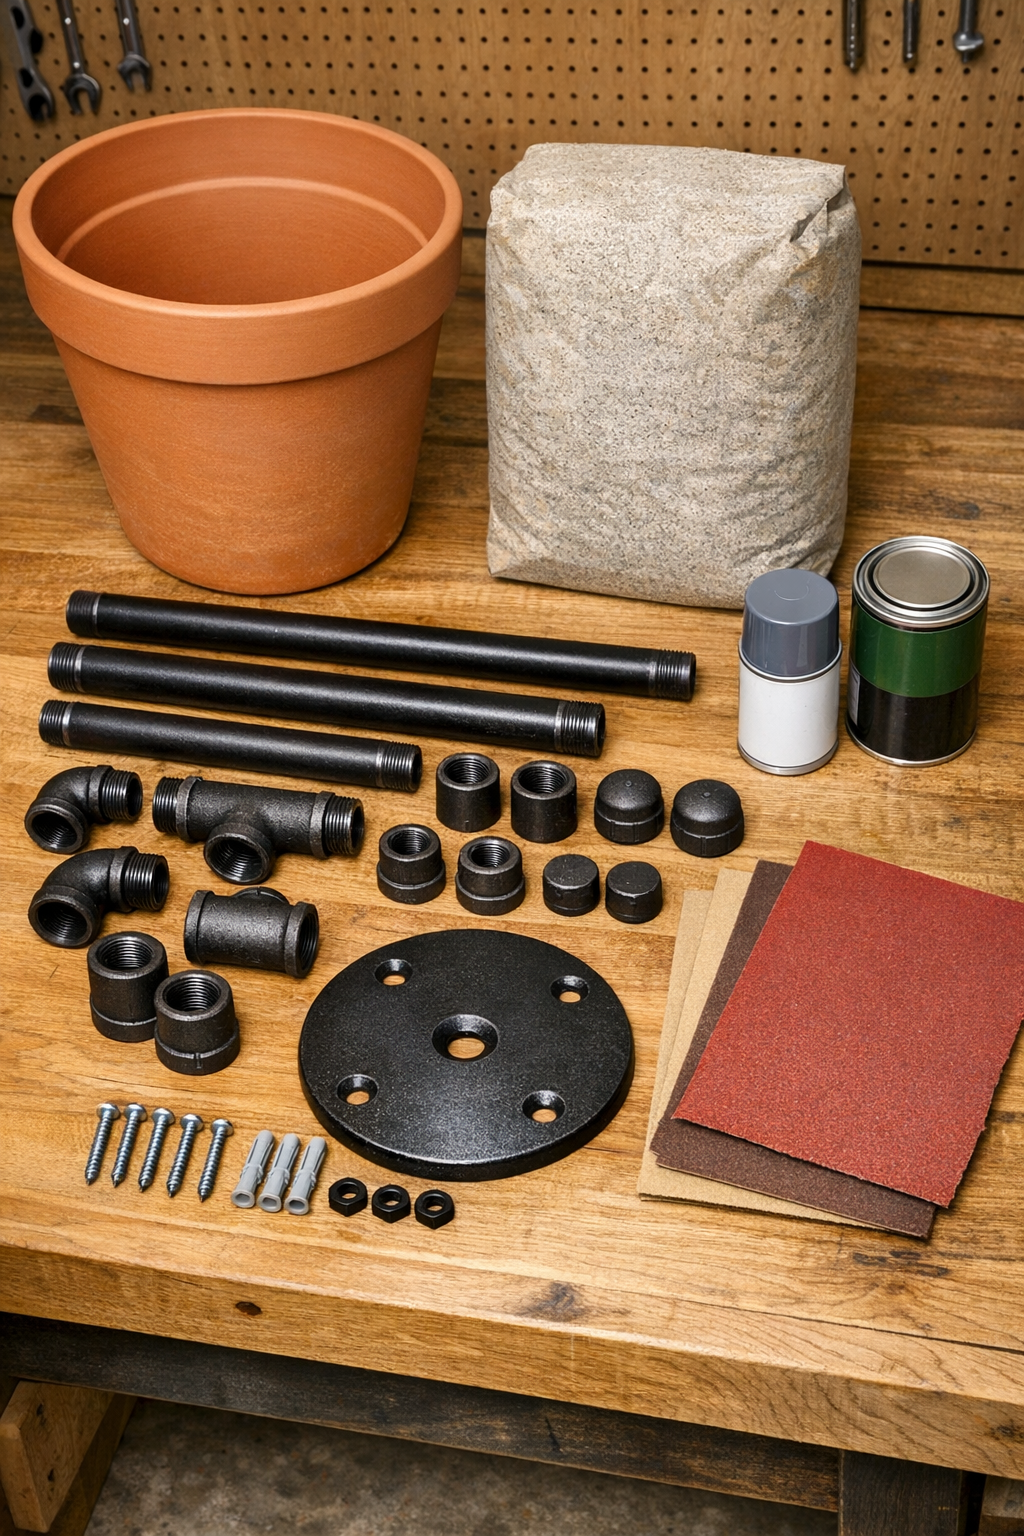
Materials
Instructions
1. Dry-fit the black iron pipe pieces on the ground first so you can check the shape before welding. Make a main upright with the 48-inch pipe and use the tees and short pipe sections to create staggered arms for hanging towels.
2. Thread the fittings together hand-tight, then adjust the arms so they face different directions with enough spacing for damp towels to hang freely. Once the arrangement looks balanced, mark the alignment points with a pencil or paint marker.
3. Weld the threaded joints you want permanently locked in place, using short, clean tack welds at each marked connection. Leave the bottom connection at the flange un-welded if you want the top assembly removable later.
4. Sand any rough welds or sharp spots with 120-grit sandpaper, then smooth them with 220-grit. Wipe the whole metal assembly clean so the primer will stick properly.
5. Prime the welded pipe assembly and the steel plate with rust-inhibiting metal primer, covering every joint and edge. Let the primer dry completely, then apply two light coats of black outdoor enamel.
6. Bolt the floor flange to the center of the steel plate using the four bolts, washers, and nuts. Tighten everything firmly so the flange sits flat and won’t shift inside the pot.
7. Place the steel plate into the bottom of the terracotta pot and check that it sits level. Add a small bead of exterior adhesive beneath it if you want to minimize shifting while you pour the concrete.
8. Mix the concrete according to the package directions until it reaches a thick, scoopable consistency. Fill the pot around the steel plate, stopping about 2 inches below the rim for a clean finished look.
9. Use the scrap plywood with a center hole or notch as a guide to keep the vertical pipe centered while you thread it into the flange. Brace the upright with the wood strip until it stands straight in all directions.
10. Let the concrete cure fully according to the mix instructions, usually at least 24 to 48 hours before moving the pot. Once cured, remove the brace and test the arms with a couple of towels to make sure everything feels solid.
11. If you’d like, smooth the top edge of the concrete and seal the joint between concrete and pot rim with a thin bead of exterior silicone for a tidier finish. Set the towel tree poolside or on the patio where it can dry towels without tipping.
Variations & Tips
Add more hanging space: If your family goes through a heap of towels in one afternoon, add another tee and one more 8-inch or 12-inch arm higher up the upright. Just keep the arms staggered so the towels can breathe and dry faster.
Choose the right pot: A wider terracotta pot makes the whole stand more stable, which is especially helpful in breezy pool areas. I like a pot with thick walls, because it feels substantial and holds up better outdoors.
Protect the finish: Black iron can rust if the paint gets nicked, so keep a little extra spray paint on hand for touch-ups. A quick refresh at the start of summer will keep it looking sharp.
Make it movable: This piece gets heavy once the concrete goes in, so build it near its final spot if you can. If you need portability, place the finished pot on a heavy-duty rolling plant caddy rated for the full weight.
Try a decorative top layer: For a prettier finish, press smooth river stones into the top of the wet concrete or add them after curing with exterior adhesive. It gives the project a more garden-friendly look while still keeping that practical farmhouse strength I’ve always admired.
No welder option: If you don’t weld, you can assemble the pipe tightly with thread sealant and lock the orientation with hidden set screws in drilled fittings, though welding gives the most rigid result. For an outdoor piece that sees regular use, the extra permanence is worth it.