
If you love a garden border that looks substantial without spending a fortune, this scalloped cement edging is such a satisfying little project. By packing wet cement into jumbo metal muffin tins and using two everyday add-ins to help shape and release each piece, you can make a row of sturdy curved pavers that give flower beds and walkways a finished, cottage-style look.
I’m always drawn to projects that feel a little clever but are still completely doable on a weekend, and this one fits that perfectly. These edging pieces are great for anyone who wants a heavier, longer-lasting alternative to plastic border rolls, and I especially like that you can make just a few at a time and build your border as you go.
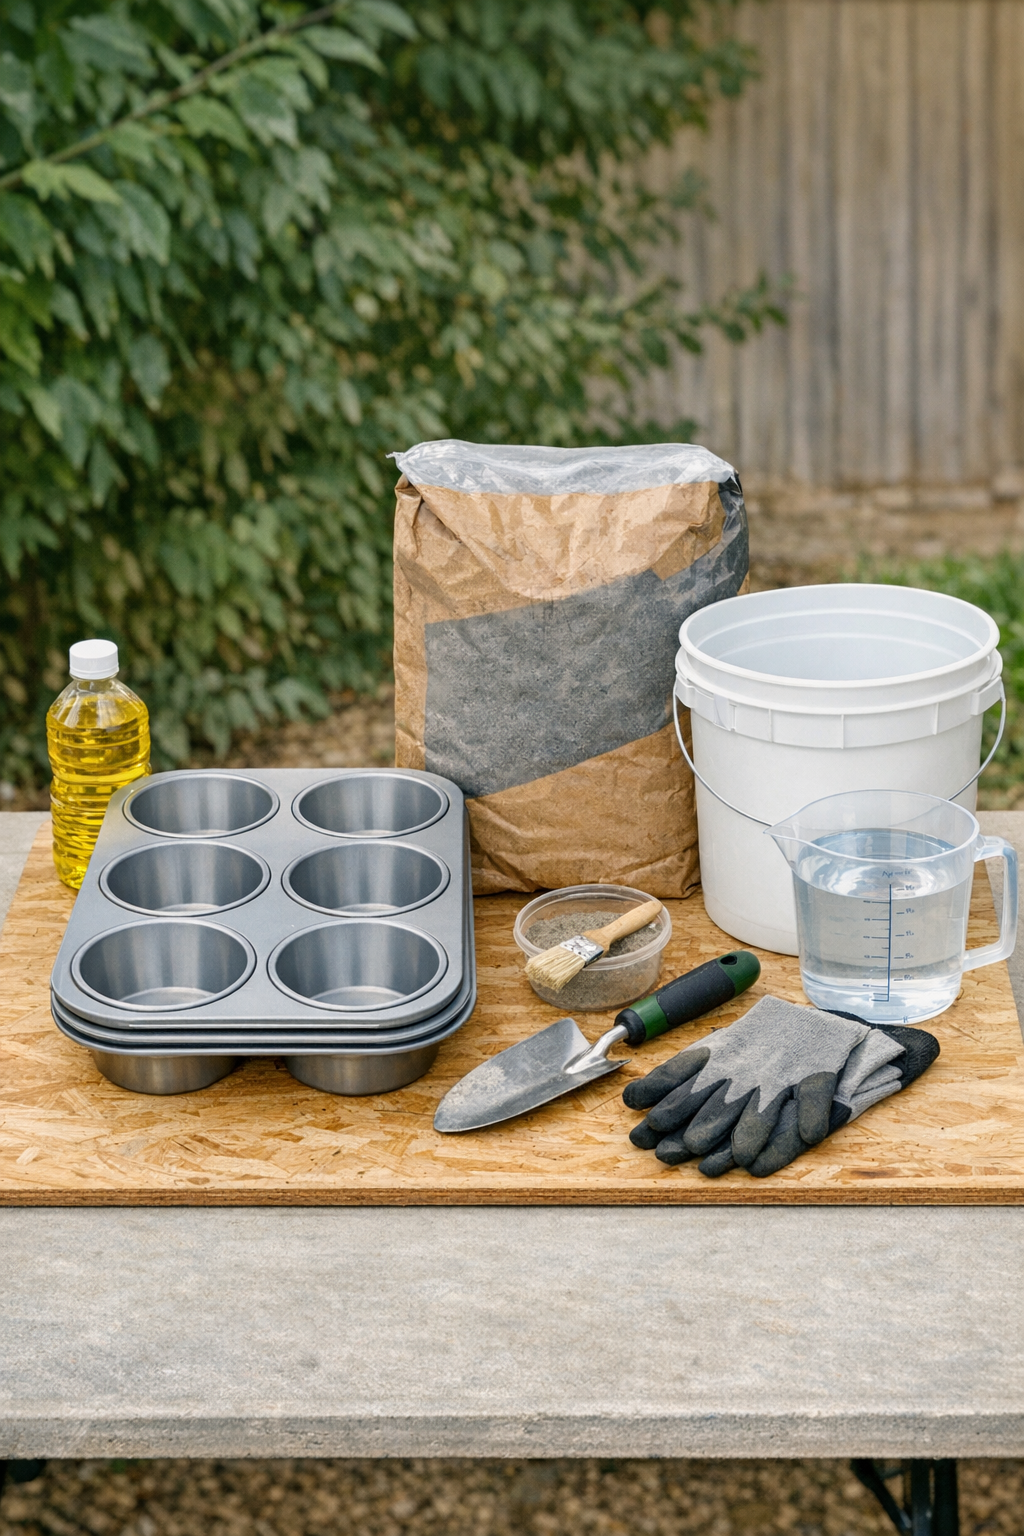
Materials
Instructions
1. Set your muffin tin on a flat piece of cardboard or plywood in a shaded, level spot, then lightly coat each cup with cooking oil or nonstick spray so the cement releases more easily later.
2. Put on gloves and a dust mask, then mix the concrete in a bucket with water until it reaches a thick brownie-batter consistency that holds its shape when scooped.
3. Scoop the wet cement into each muffin cup, pressing firmly into the edges to remove air pockets, and fill each cup nearly to the top.
4. Tap the muffin tin gently on the work surface a few times and smooth the tops with your trowel so each piece will sit evenly once turned out.
5. Let the cement set until firm, usually 24 hours, then turn the tin upside down onto cardboard or grass and tap the bottom with your hand or a rubber mallet to release the round pieces.
6. Cure the pieces for another 2 to 3 days, misting them lightly once or twice a day if the weather is hot or dry so they harden with fewer surface cracks.
7. Mark your garden edge with a tape measure, then dig a shallow trench about 2 inches deep and wide enough to hold the lower portion of each cement round.
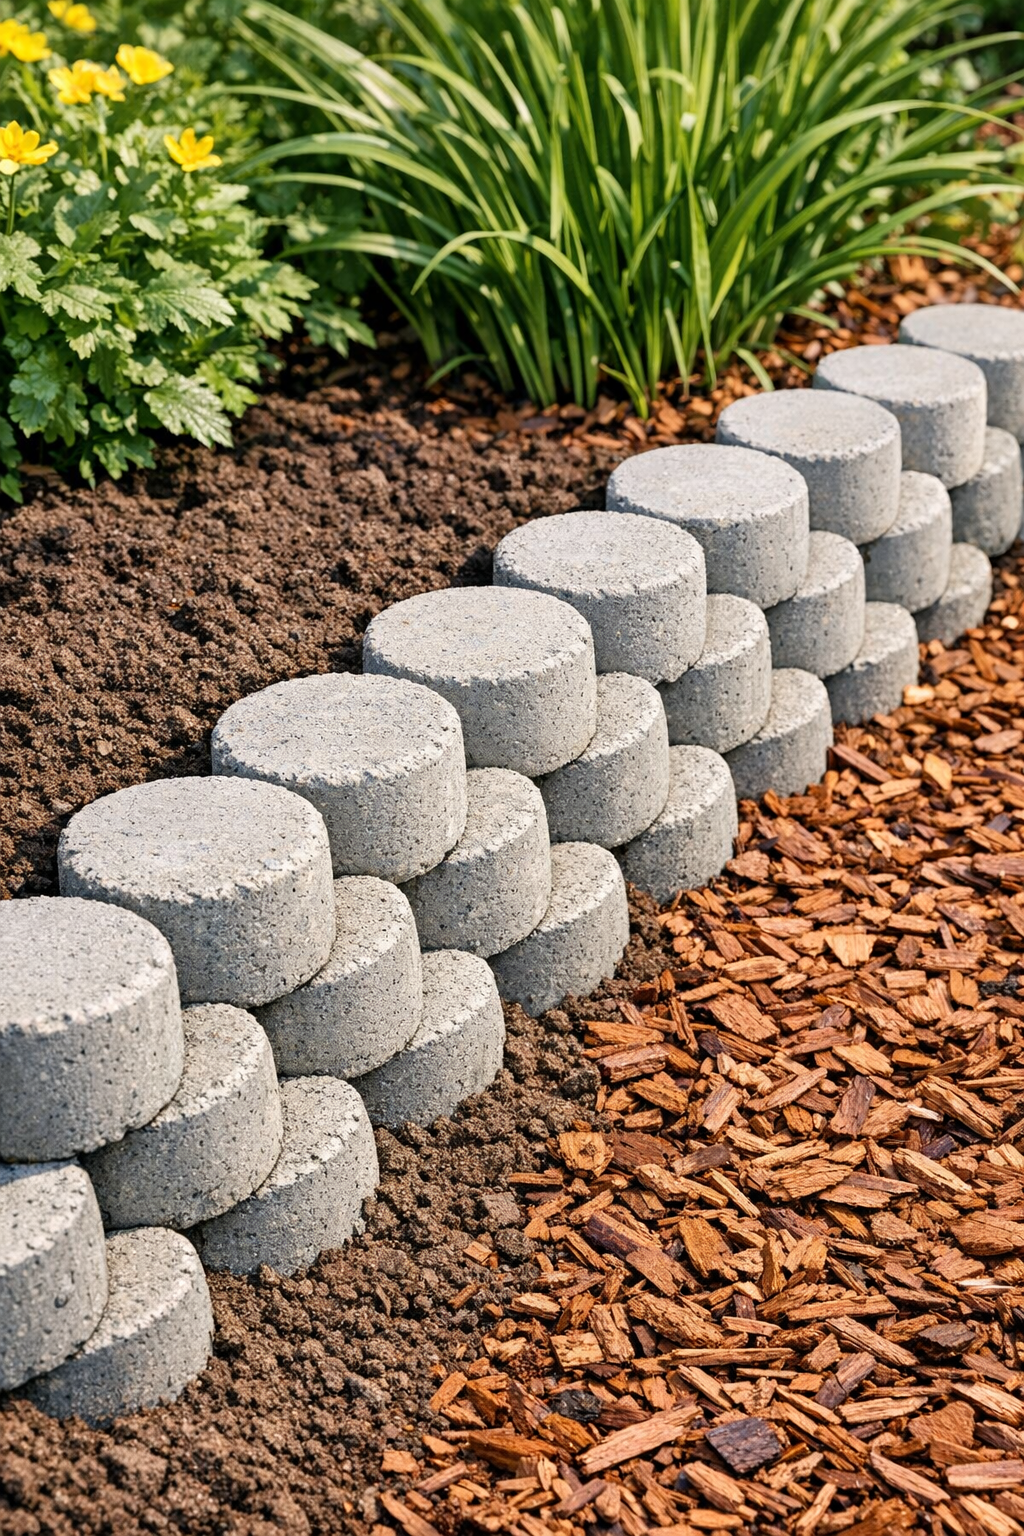
8. Stand the cement pieces upright in the trench, overlapping each round by about one-third to create the scalloped pattern, then backfill with soil and press firmly to lock them in place.
9. Continue the row until your border is complete, checking every few pieces from a short distance away to keep the curve and height looking even.
Variations & Tips
For a smoother finish: If you want the pieces to look a little more polished, run a gloved finger around the exposed edge right after unmolding to soften any sharp spots.
For a more rustic border: Leave the surfaces slightly textured instead of troweling them perfectly smooth. I actually like this look around casual flower beds because it blends in naturally.
For picky gardeners who want less gray: You can mix in a cement colorant or brush the cured pieces with outdoor masonry stain later if you’d rather have a warmer stone tone.
To make installation easier: Start with the most visible front section of the bed first. That way you can get your spacing and overlap just right before working around the less noticeable sides.
To avoid sticking: Don’t skip oiling the muffin tin, especially if it has any scratches inside the cups. A thin, even coat makes a big difference when it’s time to unmold.
To plan quantity: Each jumbo muffin cup makes one round, and overlapping them by one-third means you’ll need more pieces than you might first expect. I like to dry-lay a few on the ground to estimate how many batches my border will take.
For long-lasting results: Install the pieces with at least the bottom 1 1/2 to 2 inches below soil level so they feel anchored. Heavier edging holds up beautifully, but a solid base is what keeps it from shifting after rain.