
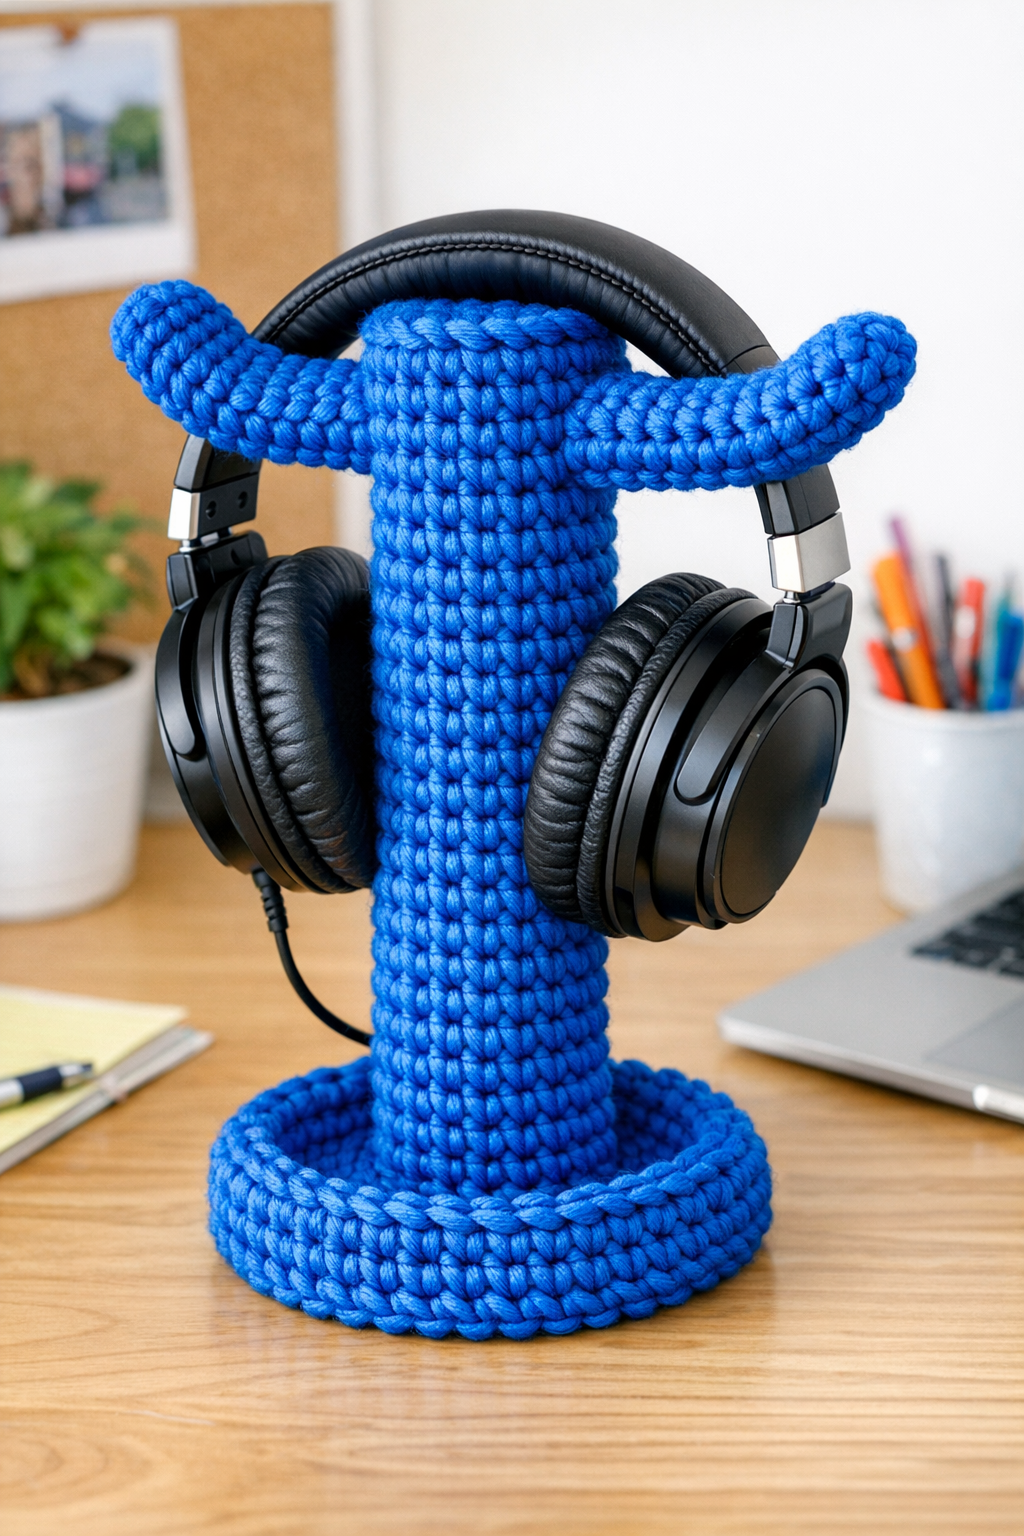
I love a dorm-friendly project that solves a real problem without costing much, and this headphone organizer absolutely checks both boxes. For this one, I’m using thick electric blue yarn crocheted around a simple plastic toilet paper holder stand, then bending the arms outward to create an easy spot to hold headphones, cords, or even a lightweight lanyard. It’s one of those clever little hacks that looks surprisingly polished once it’s finished.
If you’re setting up a dorm room, organizing a desk, or just trying to keep your headphones from ending up in a tangled heap like mine always seem to, this is a fun afternoon project. I especially like that it combines a bit of crochet with practical upcycling, which is perfect when you want something handmade but still useful in everyday life.
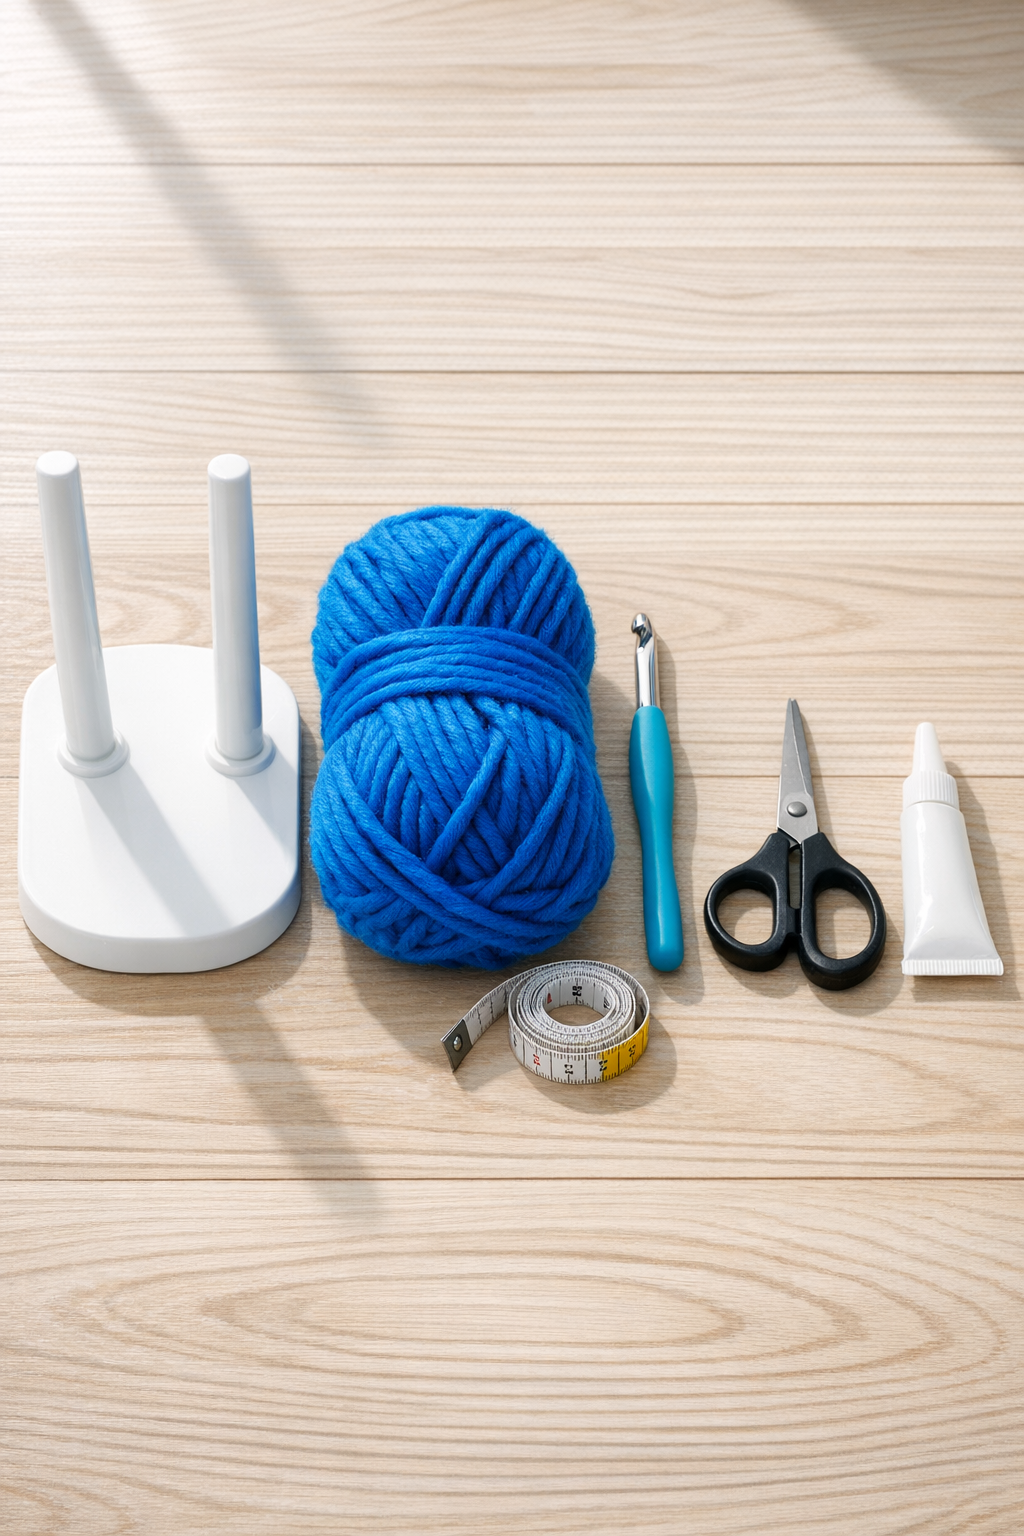
Materials
Instructions
1. Clean the plastic toilet paper holder stand and dry it well so the yarn will sit neatly and any glue will adhere properly.
2. Measure the center post and side arms, then estimate your wrapping and crochet coverage so you know you have enough yarn before you begin.
3. Tie the yarn securely near the base of the center post, adding a tiny dot of craft glue if you want extra hold.
4. Work a foundation chain long enough to wrap comfortably around the center post, then join it to form a snug ring.
5. Crochet in rounds using single crochet, sliding the tube down over the post as you go, until the covered section reaches from the base up toward the arm area.
6. Fasten off that section, weave in the end, and add a tiny bit of glue at the back if the crocheted sleeve feels loose.
7. Attach the yarn near one top arm and crochet a narrow strip or small tube to wrap that arm neatly from the center outward.
8. Repeat on the second arm, keeping the stitch count and coverage as even as possible so both sides look balanced.
9. Check that all plastic areas you want hidden are covered, then trim any excess yarn and weave in or glue down the ends discreetly.
10. Carefully bend the two top arms outward a little at a time to create a wider resting spot for over-ear headphones.
11. Set the organizer on a desk or nightstand and test it with your headphones, adjusting the arm angle slightly so the headband sits securely without slipping.
12. Let any glued areas dry completely before regular use, then use the base area for a wrapped charging cord if you want extra organization.
Variations & Tips
Color swap: If electric blue doesn’t match your room, try school colors or a neutral like gray, cream, or black for a cleaner look.
No-crochet option: If you’re not comfortable crocheting in the round, you can make simple rectangular panels with single crochet and wrap them around the stand, then seam them at the back.
Fit tip: Bend the arms gradually and evenly. I’ve learned with plastic organizers like this that small adjustments work much better than trying to force the shape all at once.
Dorm room use: This is great for over-ear headphones, but I also like using the base to corral a phone charger or earbuds so my desk doesn’t feel cluttered by the end of the week.
Make it sturdier: If the stand feels lightweight, place a few small pebbles or marbles inside the base before finishing so it stays put more easily.
Yarn choice: Thick yarn gives the best coverage fast and adds a cushioned feel for headphones. If you use thinner yarn, plan on more rows and a tighter wrap.