
There is something wonderfully satisfying about turning an odd, everyday item into something soft, useful, and pretty for the house. This late summer throw pillow starts with a plain foam car seat cushion, and by the time you are done poking holes and working chunky cream yarn right through it, you have a cozy pillow with a handmade look that feels right at home on a porch swing, reading chair, or guest bed.
I have always had a soft spot for projects that make you look twice, and this one surely does. If you can thread yarn, count simple stitches, and don’t mind a little handwork, this is a very approachable crochet-style project for beginners and seasoned makers alike. It has that homespun charm I love, and it is a fine way to give a practical cushion a second life.
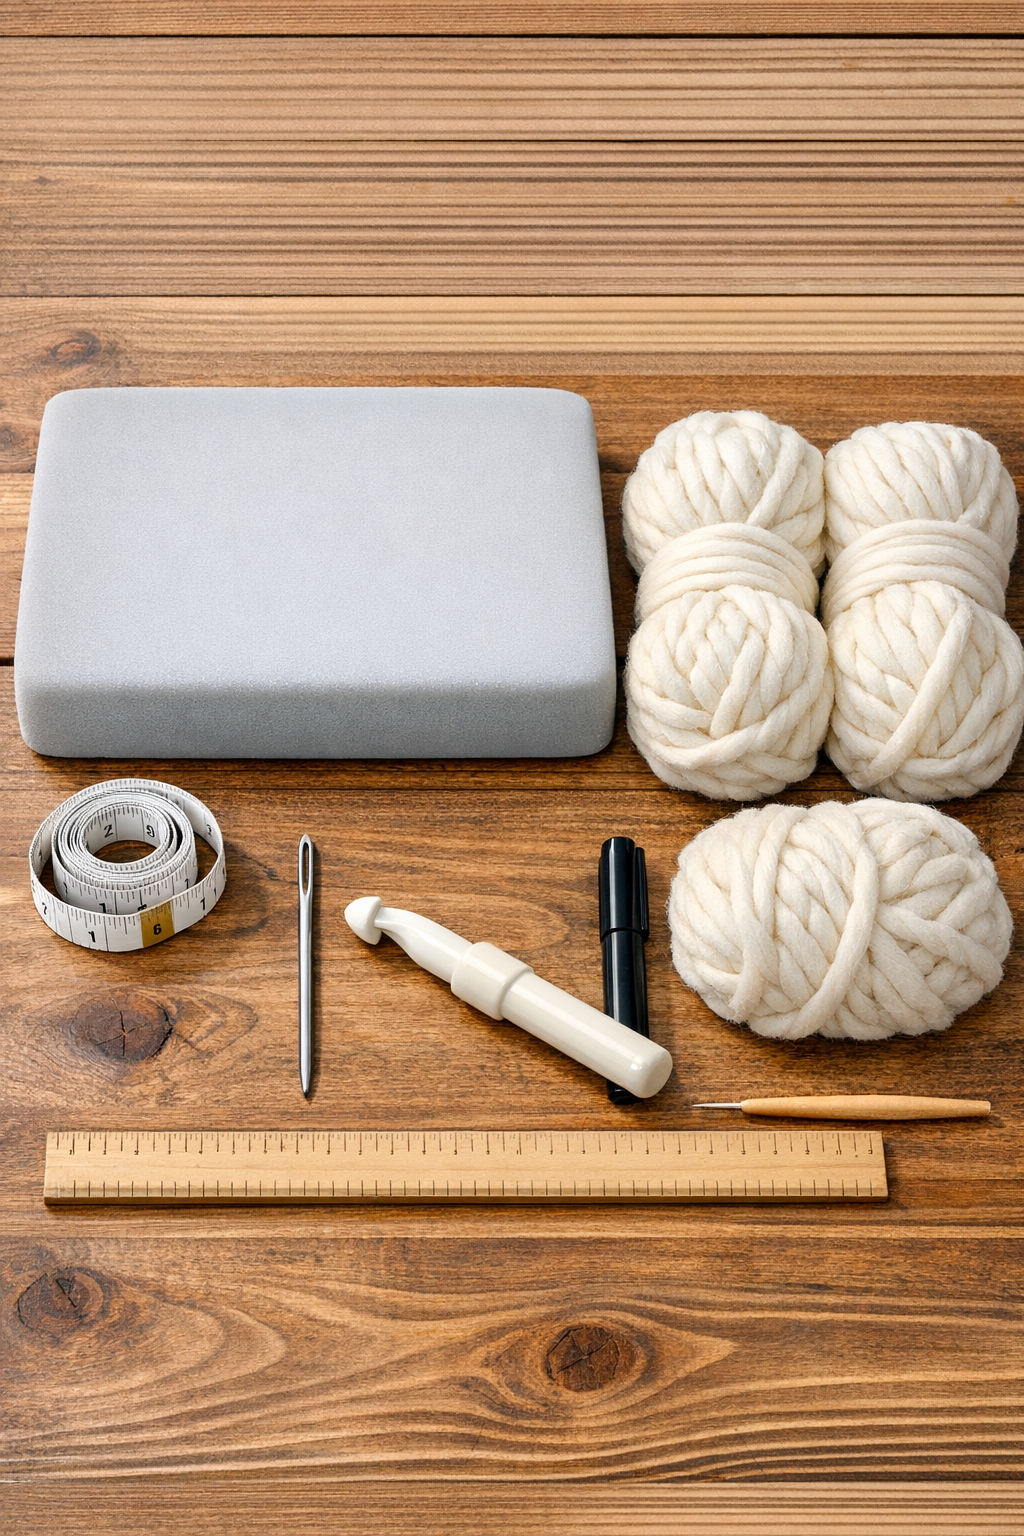
Materials
1 foam car seat cushion, approximately 16 x 16 inches and 2 to 3 inches thick
Instructions
1. Lay the foam car seat cushion flat and decide which side will be the front of your pillow. Trim it to a neat 16 x 16-inch square if needed so your finished piece looks even and balanced.
2. Use a ruler and marker to make dots around the outer edge of the cushion, about 3/4 inch in from the edge and 1 inch apart. Keep the spacing as even as you can, because these holes will guide the whole crocheted border.
3. Poke holes straight through the foam at every marked dot using the awl or skewer. Make each hole just large enough for the chunky yarn and needle to pass through without tearing the foam.
4. Thread the yarn needle with your cream yarn and bring it up through one corner hole, leaving a 6-inch tail at the back. Work a simple blanket-style edging by passing the yarn down through the next hole and up through the loop to anchor each stitch around the entire cushion.
5. Continue this stitched edging through every hole on all four sides, keeping the yarn snug but not tight. Add one extra stitch in each corner hole so the corners turn nicely and do not pucker.
6. Switch to the crochet hook and join yarn in any edge loop you created. Crochet 1 single crochet into each loop around, placing 2 single crochets in each corner stitch, then join with a slip stitch.
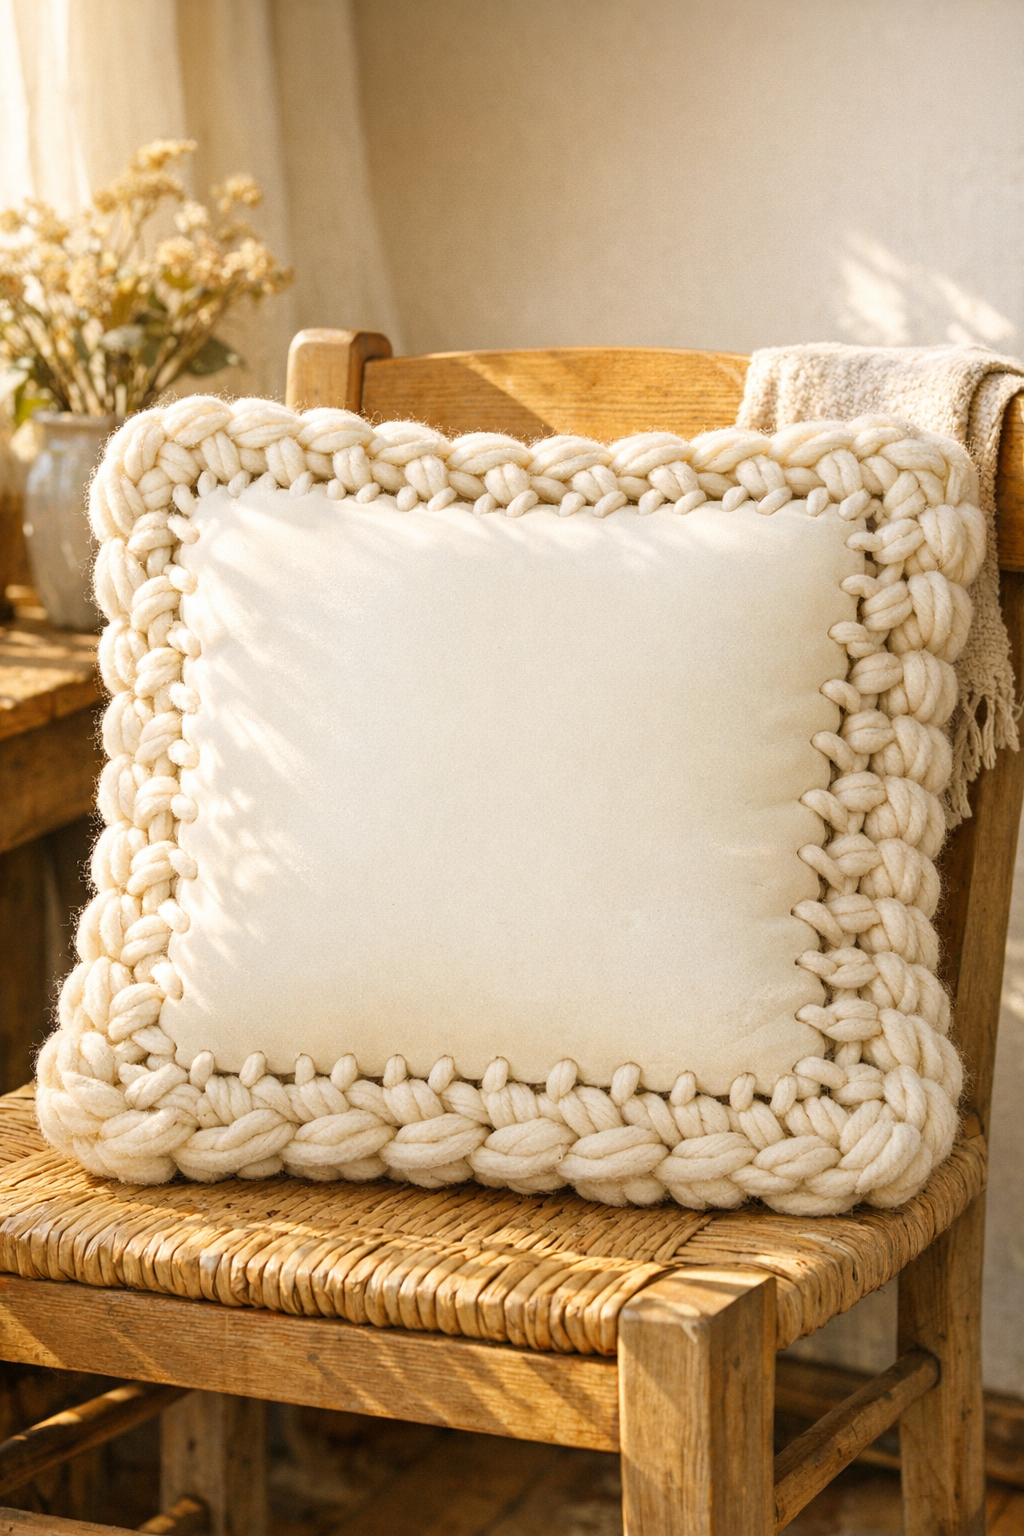
7. Crochet 3 to 5 more rounds of single crochet, half double crochet, or a simple mixed texture pattern if you like, always increasing with 2 stitches in each corner. This builds a soft raised frame around the cushion and gives it that cozy late-summer porch pillow look.
8. If you want more coverage, continue crocheting inward on the front and back separately from the edge loops, using rows or rounds until the foam is framed as much as you like. Leave the center exposed for a modern look, or add enough stitches to nearly cover the surface.
9. Weave in all yarn tails with the needle and trim any loose bits. If the pillow needs extra loft, tuck a little stuffing behind any loose crocheted areas before closing the last section.
10. Give the pillow a final shaping with your hands, smoothing the stitches and squaring the corners. Set it on a chair or bench and enjoy the contrast between the humble foam base and the soft cream crochet work.
Variations & Tips
Softer color choice: If cream is not your style, try dusty blue, faded sage, or warm oatmeal. Those quiet shades have the same easygoing farmhouse feel and hide wear nicely too.
Hole spacing tip: Keep the holes about 1 inch apart for chunky yarn. If you place them too close together, the foam can weaken; too far apart, and the edging looks sparse.
Best foam shape: A flatter, firmer seat cushion works better than a deeply contoured one. In my experience, a simple shape is much easier to mark, stitch, and finish neatly.
Stitch option: Single crochet gives the cleanest, sturdiest result, but half double crochet adds a fuller, cushier edge. If you are making this for a reading nook, I lean toward the thicker texture.
Make it autumn-ready: Add one final round in a contrasting rust, mustard, or soft brown yarn for an early fall look. That little border can change the whole mood without much extra work.
Durability tip: Pull the yarn snug enough to sit nicely in the foam, but not so tight that it cuts in. Gentle tension keeps the holes from stretching and helps the pillow hold up over time.