
If you want a simple way to make a garden path feel more finished without spending a fortune on store-bought pavers, this project is such a satisfying one. These heavy circular garden steps are made by pouring cement into inexpensive plastic frisbees, and the end result looks surprisingly polished for something that starts with such everyday materials.
I love projects like this because they fit real life: not too many supplies, no complicated tools, and a big visual payoff in a weekend. If you’ve got a patch of yard that gets muddy, a shortcut through the grass, or a spot between raised beds that needs a little structure, these DIY stepping stones are a practical fix that still feels creative.
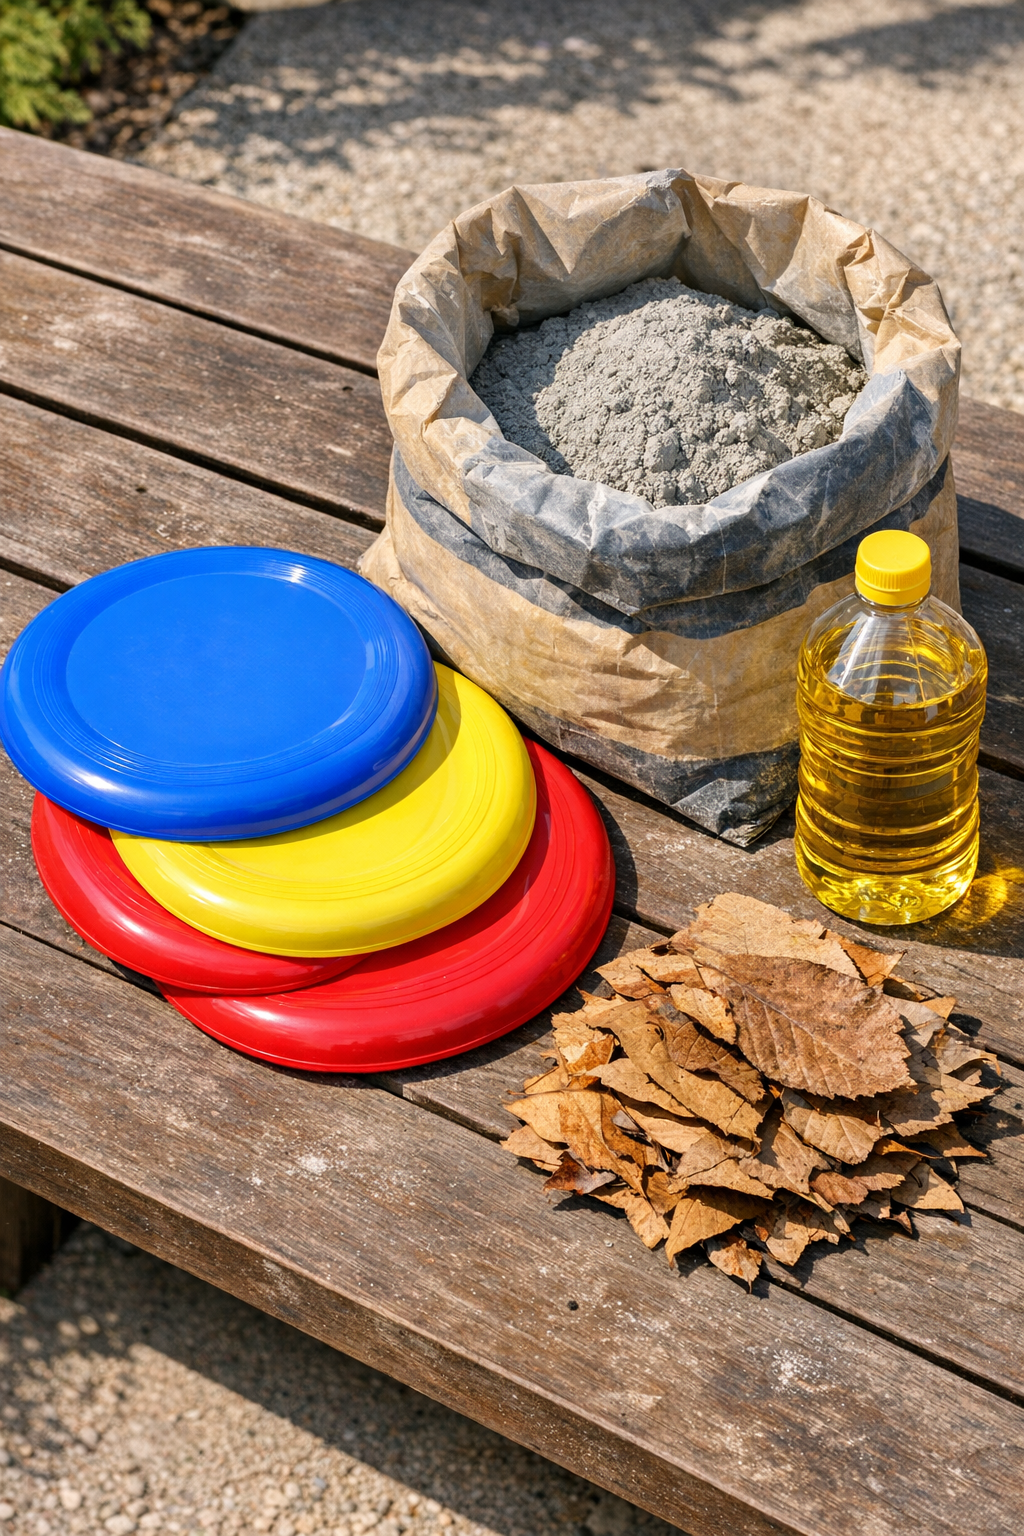
Materials
3 plastic frisbees, 10 to 11 inches wide each
Instructions
1. Set up a flat outdoor work area and lay down your plastic sheet or drop cloth to keep cleanup easy. Place the three frisbees on a level surface so the cement can cure evenly.
2. Lightly coat the inside of each frisbee with about 1 teaspoon of cooking oil or a quick spray of nonstick spray. This helps the cement release much more easily once it hardens.
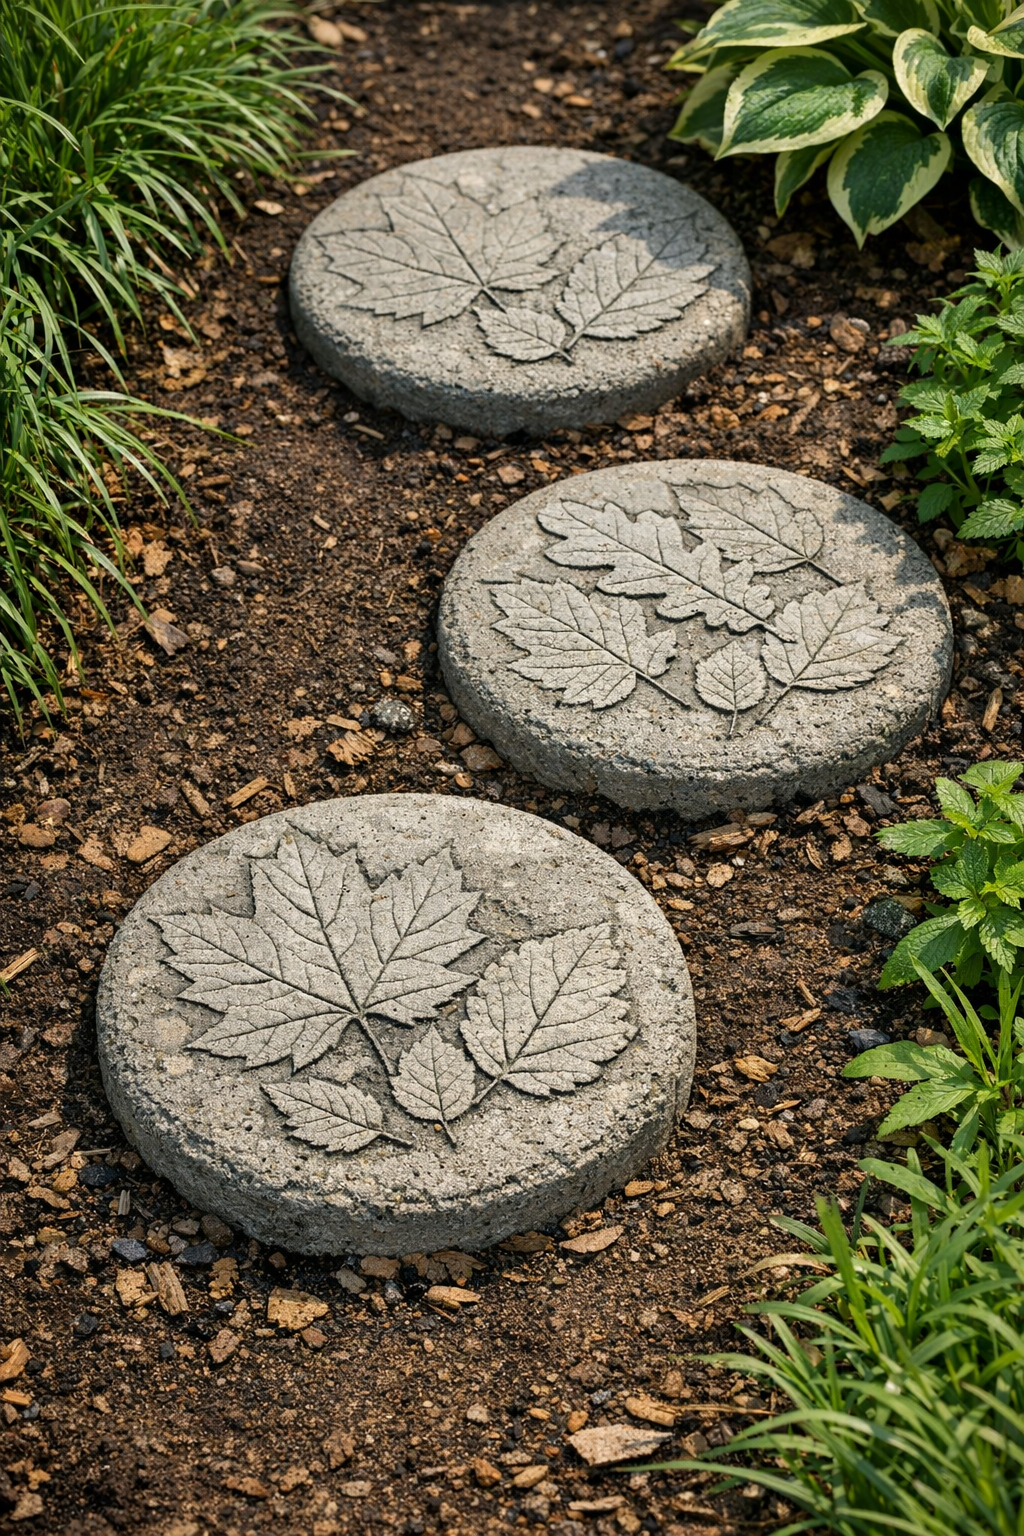
3. Arrange 4 to 6 dry leaves inside each frisbee with the veined side facing up if you want a leaf-print texture on the top of your stepping stones. Press them flat so they sit against the bottom curve of the frisbee.
4. Mix the concrete in a bucket or mixing tub according to the package directions, adding water a little at a time until it reaches a thick brownie-batter consistency. It should be wet enough to pour but stiff enough that the leaves do not float around too much.
5. Pour the wet cement into each frisbee, dividing it evenly and filling each one to roughly 1 1/2 to 2 inches deep. Tap the sides of the frisbees several times to release air bubbles and settle the mix.
6. Smooth the tops with a scrap piece of cardboard, a trowel, or a putty knife if needed, then leave the molds undisturbed to begin setting. If one frisbee looks lower on one side, shim the surface underneath until it sits level.
7. Let the cement cure for at least 24 hours, or longer if the weather is cool or humid. Once firm, gently flex or peel away the plastic frisbee to release each circular step.
8. Turn the steps over and carefully pull away any leaves stuck to the surface to reveal the texture underneath. If the edges feel rough, rub them lightly with a sanding stone or a scrap of concrete.
9. Let the stepping stones continue curing for another 2 to 5 days before placing them in the garden for regular foot traffic. Full curing gives them better strength, which is worth the wait.
10. Set the finished circular steps into the garden path, spacing them to match a comfortable walking stride. Press them slightly into the soil so they sit steady and look like they belong there.
Variations & Tips
For a cleaner finish: If you want the tops to look more polished, wait until the concrete starts to firm up, then smooth the surface again with a damp gloved hand or finishing tool.
For deeper texture: Choose leaves with strong veins, like hosta, maple, or hydrangea. I’ve found that flatter, sturdier leaves give the prettiest imprint and peel away more cleanly.
For safer lifting: These little rounds get heavy fast, so I like to make them right near the area where I plan to use them. It saves your back later, which always feels like the smartest DIY decision.
For a different look: You can leave the steps plain gray, brush off the leaf impressions for a softer pattern, or dry-brush a little masonry stain on top after curing for more contrast.
For better durability: Keep the stones out of heavy rain while they first set, and let them cure fully before putting weight on them. A little patience here makes a big difference in how long they last.
For garden placement: Nestle each stone slightly into the soil or a thin bed of sand so it does not wobble. I usually step back and test the spacing a couple of times before committing, especially on a path I’ll use while carrying groceries or watering cans.