
There is something deeply satisfying about turning plain old cardboard boxes into something sturdy, useful, and honestly a little surprising. In this project, I make heavy-duty acoustic ceiling panels from soaked, shredded corrugated cardboard and two inexpensive pantry staples, creating dense panels that can help soften echo in a workshop, basement, music room, or utility space without spending a small fortune on store-bought materials.
I have always had a soft spot for practical make-do projects like this. Out here, we learn to look twice at what’s headed for the burn pile or recycling stack, and cardboard has more life in it than most folks realize. This is a good project for anyone who does not mind a bit of hands-on mess and wants a budget-friendly sound-dampening panel with a rustic, homemade backbone.
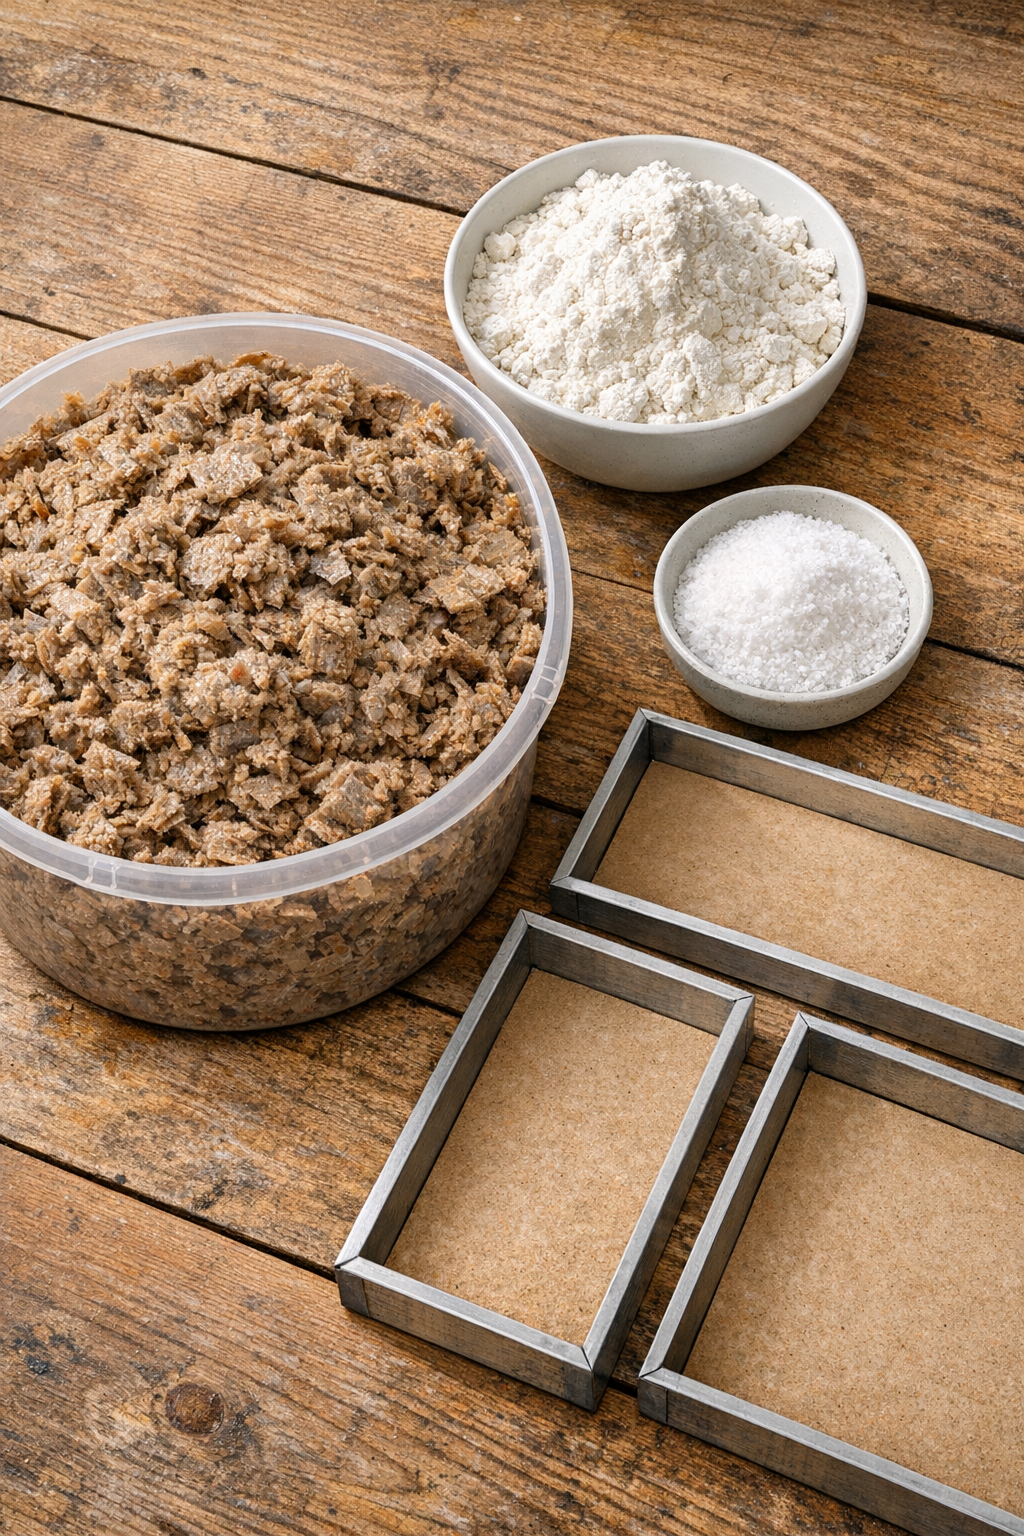
Materials
Corrugated cardboard boxes, shredded into small pieces, 2 packed 13-gallon trash bags' worth
Instructions
1. Tear or cut the corrugated cardboard into pieces about 1 to 2 inches wide, separating out any large glossy printed sections or heavy tape. Place all the cardboard in a large tub or bucket.
2. Cover the cardboard completely with water and let it soak for 12 to 24 hours, until the layers soften and begin to break down easily by hand. Stir it once or twice during soaking so all the pieces get evenly saturated.
3. Mash the soaked cardboard by hand or with a sturdy stick until it turns into a coarse, even pulp with no stiff dry chunks left. The texture should resemble wet oatmeal with visible fibers throughout.
4. Drain off excess water a little at a time, squeezing handfuls of pulp so the mixture stays very damp but not soupy. You want it wet enough to spread, yet dry enough to hold shape when pressed.
5. In a separate bucket, mix the flour and salt with enough water to make a smooth, pourable paste, about the thickness of pancake batter. Stir well so there are no dry lumps.
6. Pour the flour-and-salt paste into the cardboard pulp and knead everything together thoroughly until the binder is evenly distributed. The finished mix should compress firmly in your hand without crumbling apart.
7. Press the mixture into shallow rectangular molds or frames in a layer about 1 1/2 to 2 inches thick, packing it tightly into the corners and across the surface. Compress it firmly with your hands or a flat board to remove trapped air and make a denser panel.
8. Smooth the top as evenly as you can, then leave the panels in their molds to set for 24 hours in a dry, airy place. If liquid pools on top, blot it off and press again.
9. Remove the panels from the molds carefully and stand them on edge or on a drying rack so air can circulate on all sides. Let them dry completely for 5 to 10 days, turning them once a day until they feel hard and noticeably lighter.
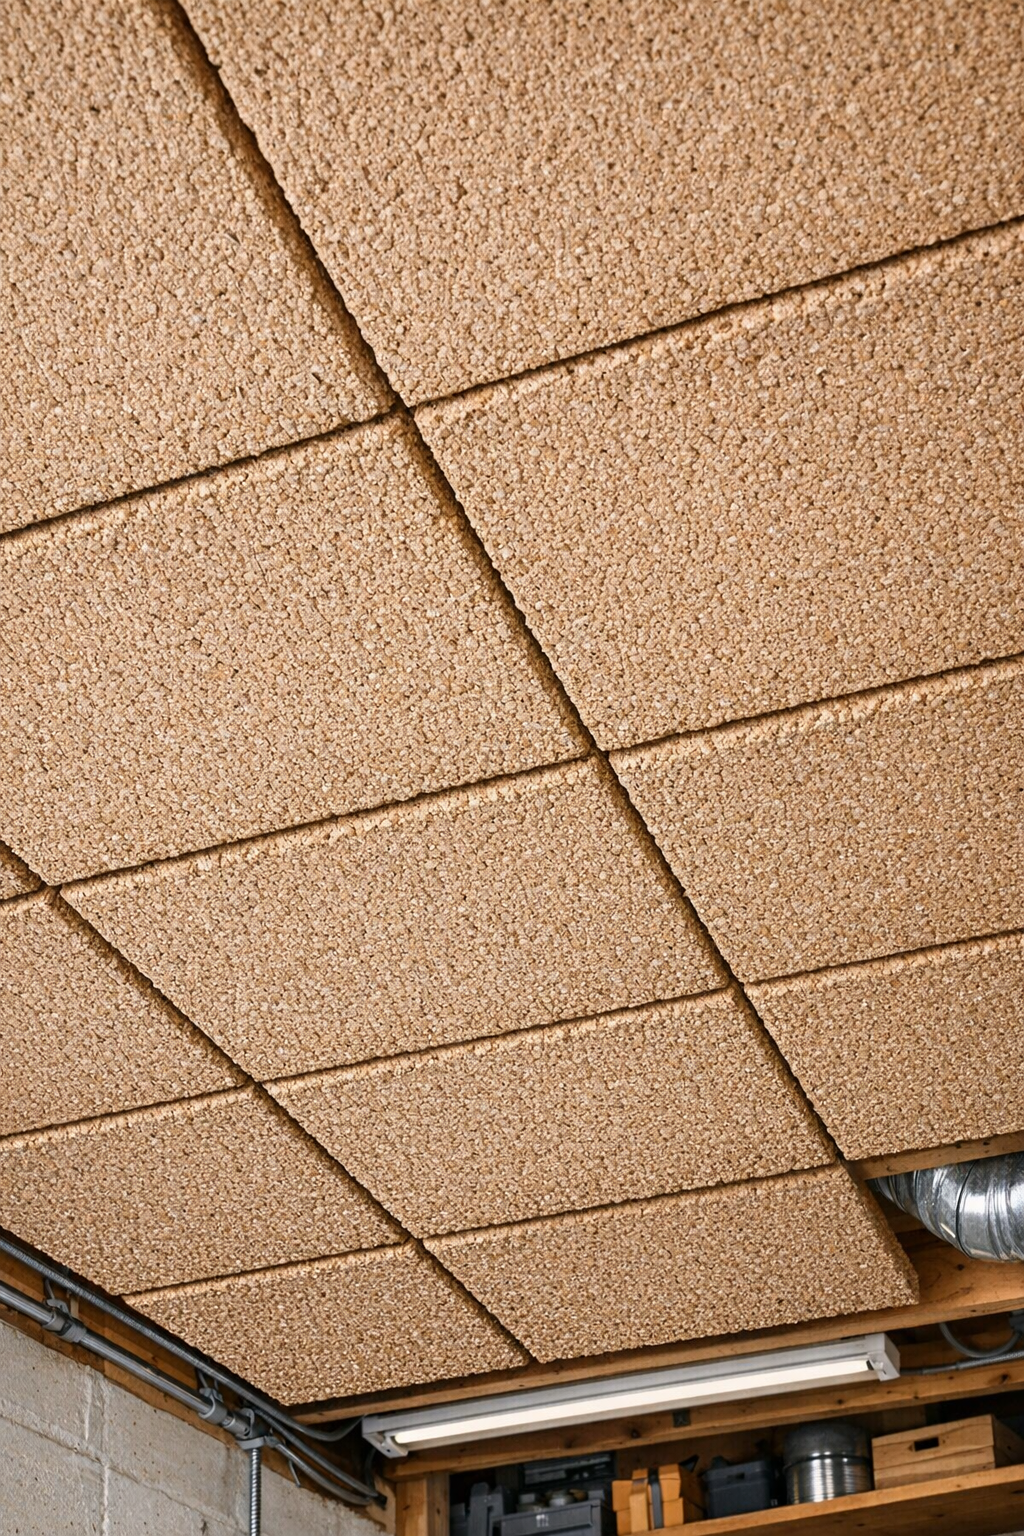
10. Once fully dry, mount the finished panels across ceiling joists or onto a ceiling backing surface using the fastening method that suits your space, making sure each panel is well supported because these are intentionally dense and heavy-duty. Leave a small gap between panels if you want easier handling and better airflow during installation.
Variations & Tips
For smoother panels: Tear the cardboard into smaller pieces before soaking and mash the pulp more thoroughly. A finer pulp gives you a flatter face and cleaner edges.
For thicker sound control: Make the panels closer to 2 inches thick rather than 1 1/2 inches. Thicker panels take longer to dry, but they usually feel sturdier and can help with lower, boomier echo.
For easier drying: Set the panels where there is moving air, such as near an open window, fan, or covered porch. Around my place, patient drying is half the success in any pulp-and-paste project.
For a more even shape: Use matching molds or simple wood frames in the same size for every panel. Consistent dimensions make ceiling installation much easier later on.
To prevent spoilage during drying: Do not stack wet panels, and make sure they dry all the way through before installation. The salt helps, but good airflow is what really keeps the project clean and sound.
Best places to use them: These work well in workshops, hobby rooms, basements, garages, and utility spaces where you want to reduce echo on a modest budget. I would save them for dry indoor areas where their homemade charm and sturdy build can last.