
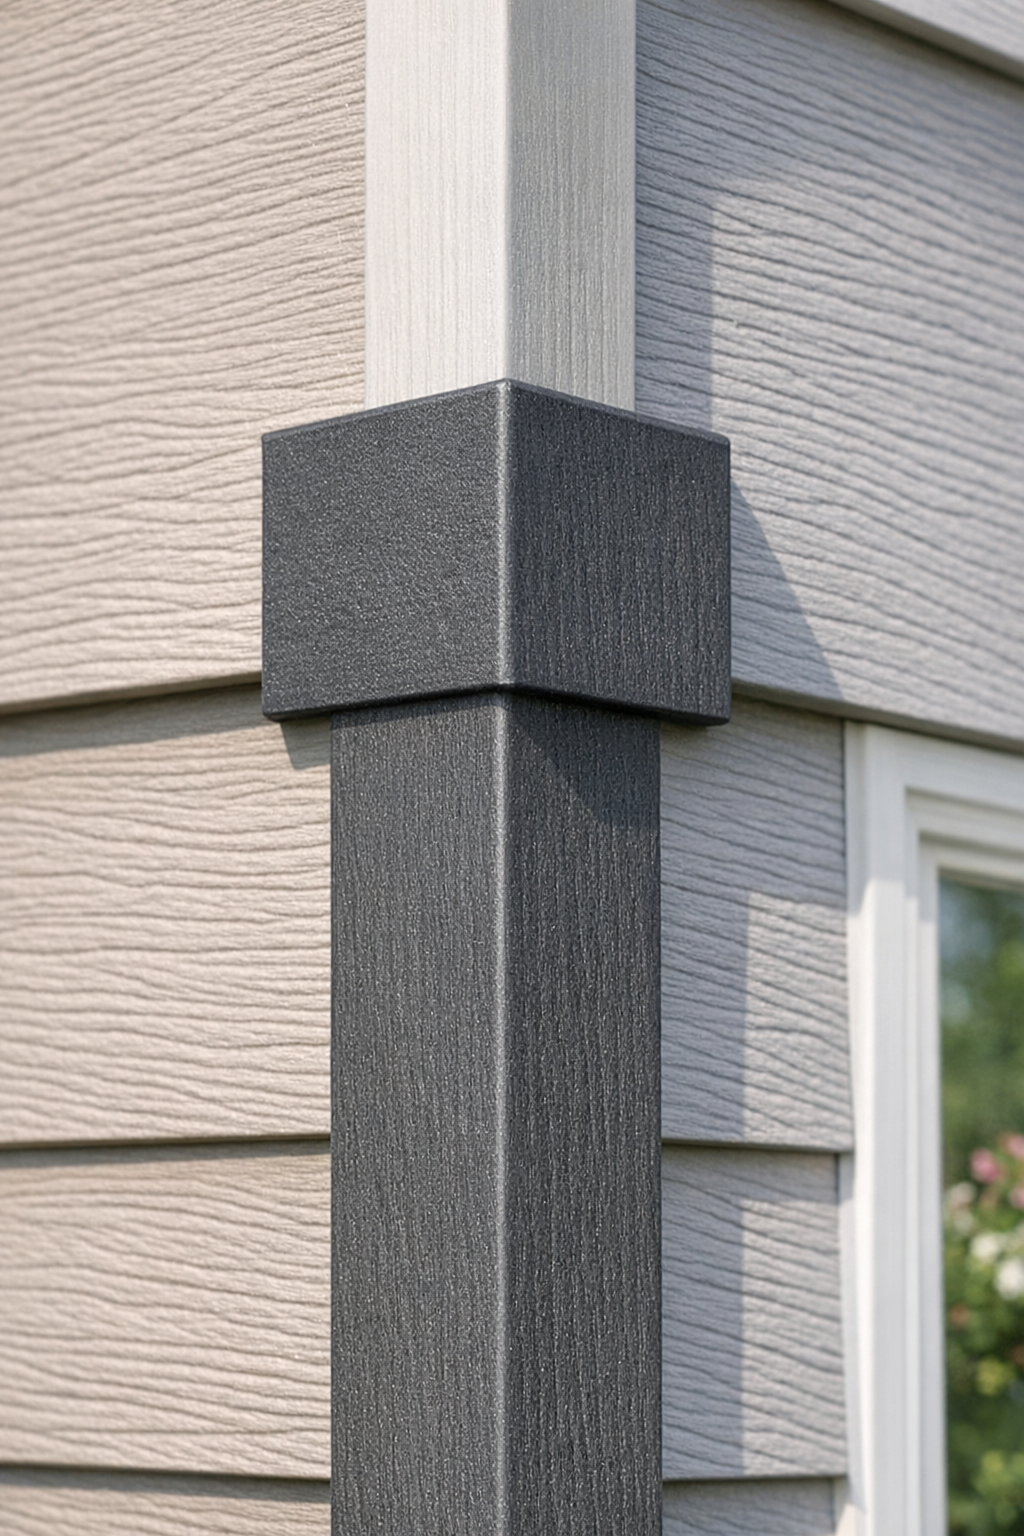
There’s a special satisfaction in turning something headed for the trash into a part that solves a real household problem. These heavy-duty siding corner caps are made from broken plastic clipboards, shaped with gentle heat, and finished with two common garage liquids to help them hold up outdoors. If you’ve got a missing or cracked corner on vinyl or aluminum siding trim, this is the kind of thrifty fix that would’ve made my parents proud.
I like this project for handy folks who don’t want to buy a whole box of replacement trim just to repair one or two spots. The plastic in old clipboards is sturdy, weather-friendly, and easy to cut into neat little caps that cover exposed siding corners. It’s a simple workshop job, and once you’ve made one, the rest go quickly.
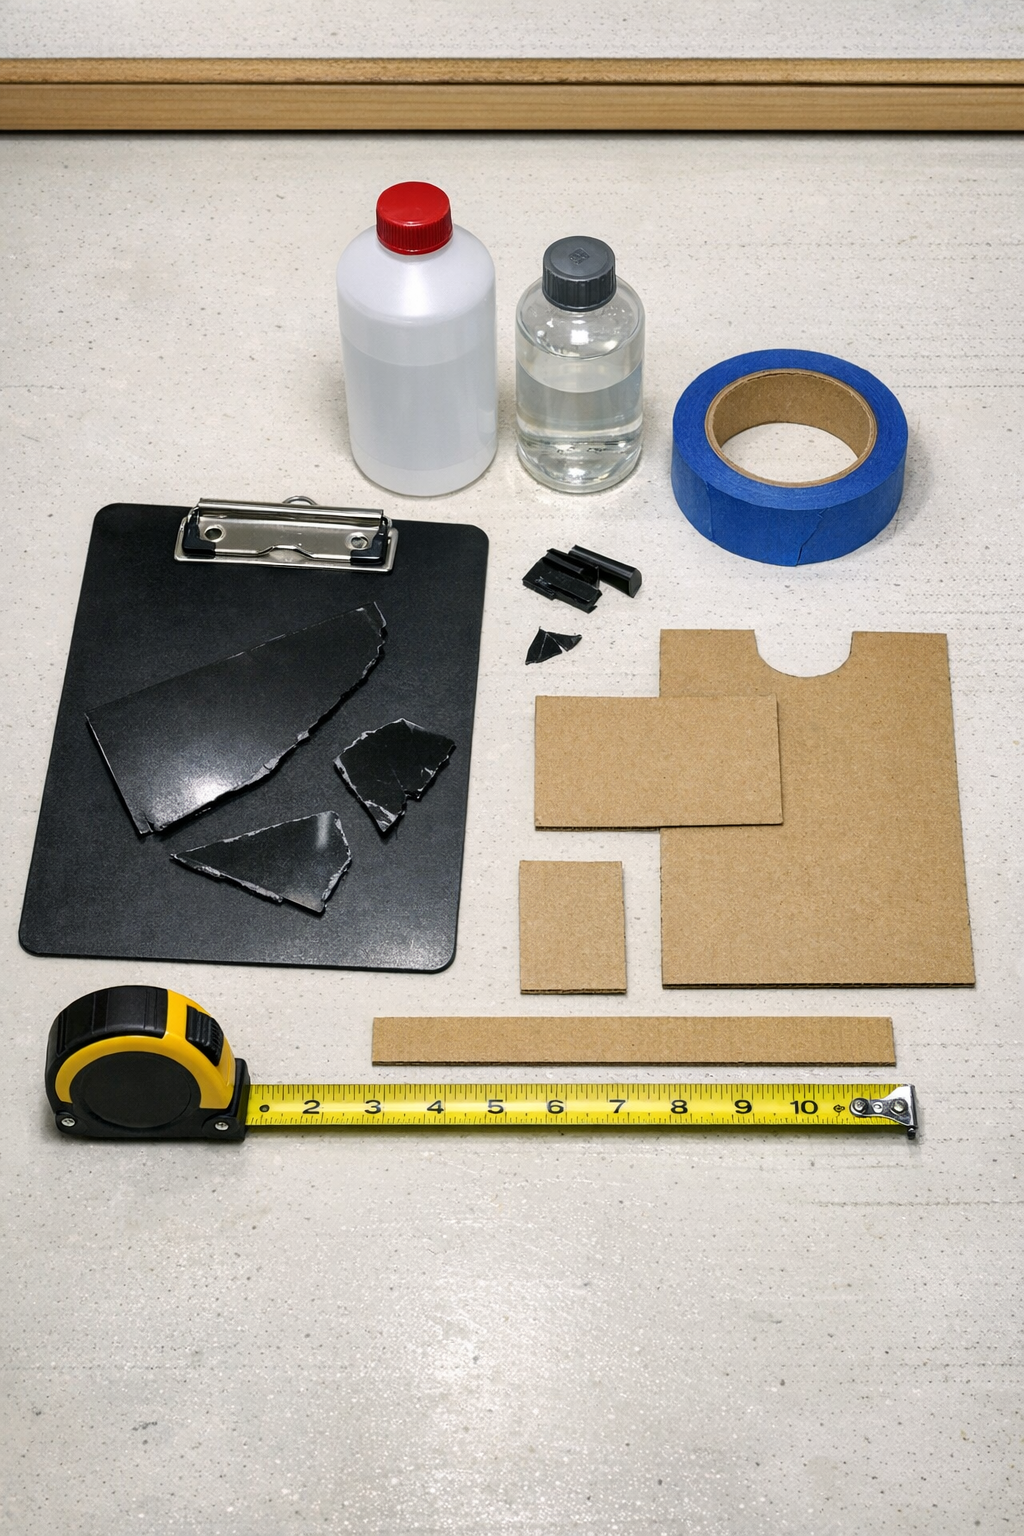
Materials
2 broken plastic clipboards, yielding at least 2 flat pieces about 4 in. x 6 in. each
Instructions
1. Inspect the damaged siding corner and measure the width of each exposed face and the depth you want the cap to cover; for most repairs, a cap around 2 in. tall with two 1 1/2 in. faces works well.
2. Cut a cardboard template to your measured size and score a center fold so you can test the fit before touching the plastic.
3. Wash the clipboard pieces, dry them well, and cut out flat rectangles at least 1/2 in. larger than the final cap on every side.
4. Lightly sand both sides of each plastic piece with 120-grit sandpaper, then wipe away dust with a dry paper towel.
5. Brush or wipe a very light film of acetone over the side that will face outward, then let it flash off for 30 to 60 seconds; this helps relax the surface slightly before heating.
6. Place the plastic on a parchment-lined baking sheet or smooth scrap metal tray and warm it in a low oven at 225°F for 2 to 4 minutes, just until it becomes flexible but not glossy or bubbling.
7. Remove the warmed plastic, fold it carefully over the cardboard template or a square wood block to form a crisp 90-degree corner, and hold it in place with painter’s tape until cool.
8. Test-fit the bent piece on the siding corner and trim the edges little by little until the cap sits neatly without forcing.
9. Lightly sand the inside surfaces with 220-grit sandpaper, then apply a thin coat of clear PVC cement along the inside fold and edges to toughen the shape and seal the surface.
10. Let the cap cure flat and undisturbed for at least 2 hours, or according to the PVC cement directions, until it is firm and no longer tacky.
11. Make any final edge adjustments with 220-grit sandpaper so the cap looks even and sits snug against the siding corner.
12. Install the finished cap over the damaged corner using the fastening method that matches your siding system, making sure not to over-tighten or distort the new piece.
Variations & Tips
Match the color: White clipboards are the easiest match for most siding, but beige or gray ones can work nicely on older homes with softer trim colors.
Use a practice piece first: I always recommend warming and bending a small scrap before making the real cap, because plastics vary a bit from one clipboard to another.
Keep the heat gentle: If the plastic starts to shine too much, slump, or smell strong, it’s getting too hot; low and slow gives a cleaner bend.
Make extras: Since you already have the template made, shape two or three more caps and tuck them in a drawer for future repairs.
Smooth edges matter: A few extra passes with fine sandpaper can make a homemade repair look surprisingly polished, and that little finishing touch is what makes people do a double take.