
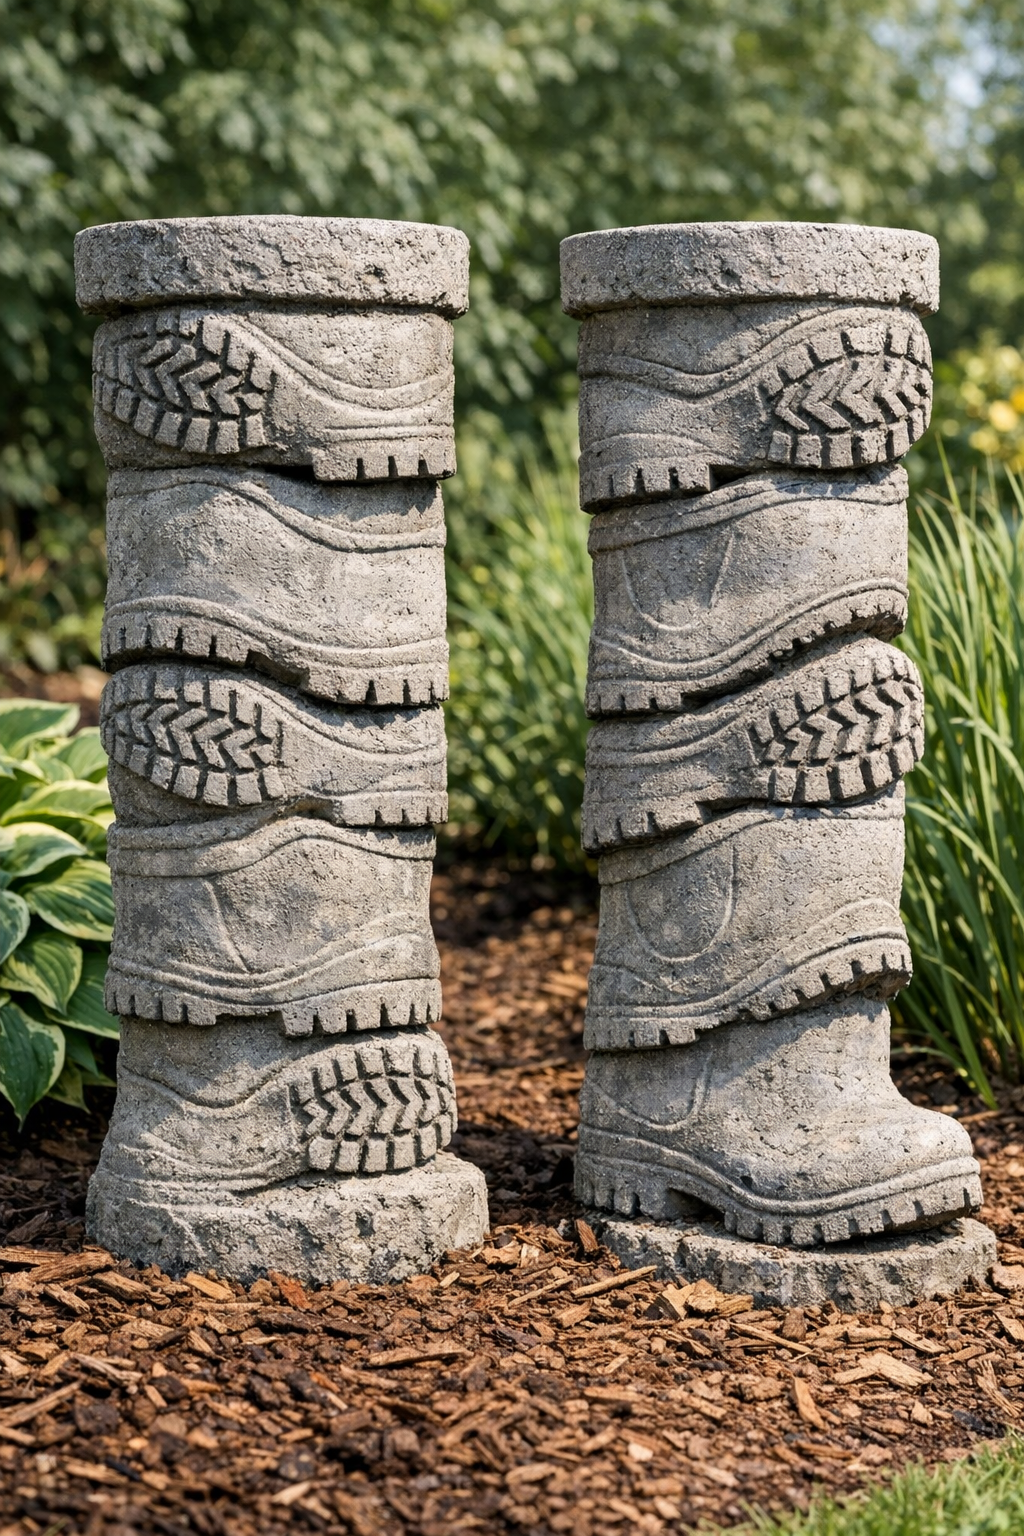
There’s something especially satisfying about turning a plain, cast-off item into a piece that looks like it came from a garden shop with a mighty high price tag. This project uses old rubber rain boots and cement to make heavy, textured yard columns with wonderful character—sturdy enough for the flower bed, porch, or tucked beside a walkway where they can peek out through the greenery.
I’ve always had a soft spot for practical things that can do a second round of duty. Out here, old boots are too common to throw away without a second thought, and this is the kind of simple, clever project that feels right at home beside a Midwestern garden. If you like rustic outdoor décor, unusual planters, or conversation-starting garden accents, this one is easy to follow and gives you a finished piece with real weight and presence.
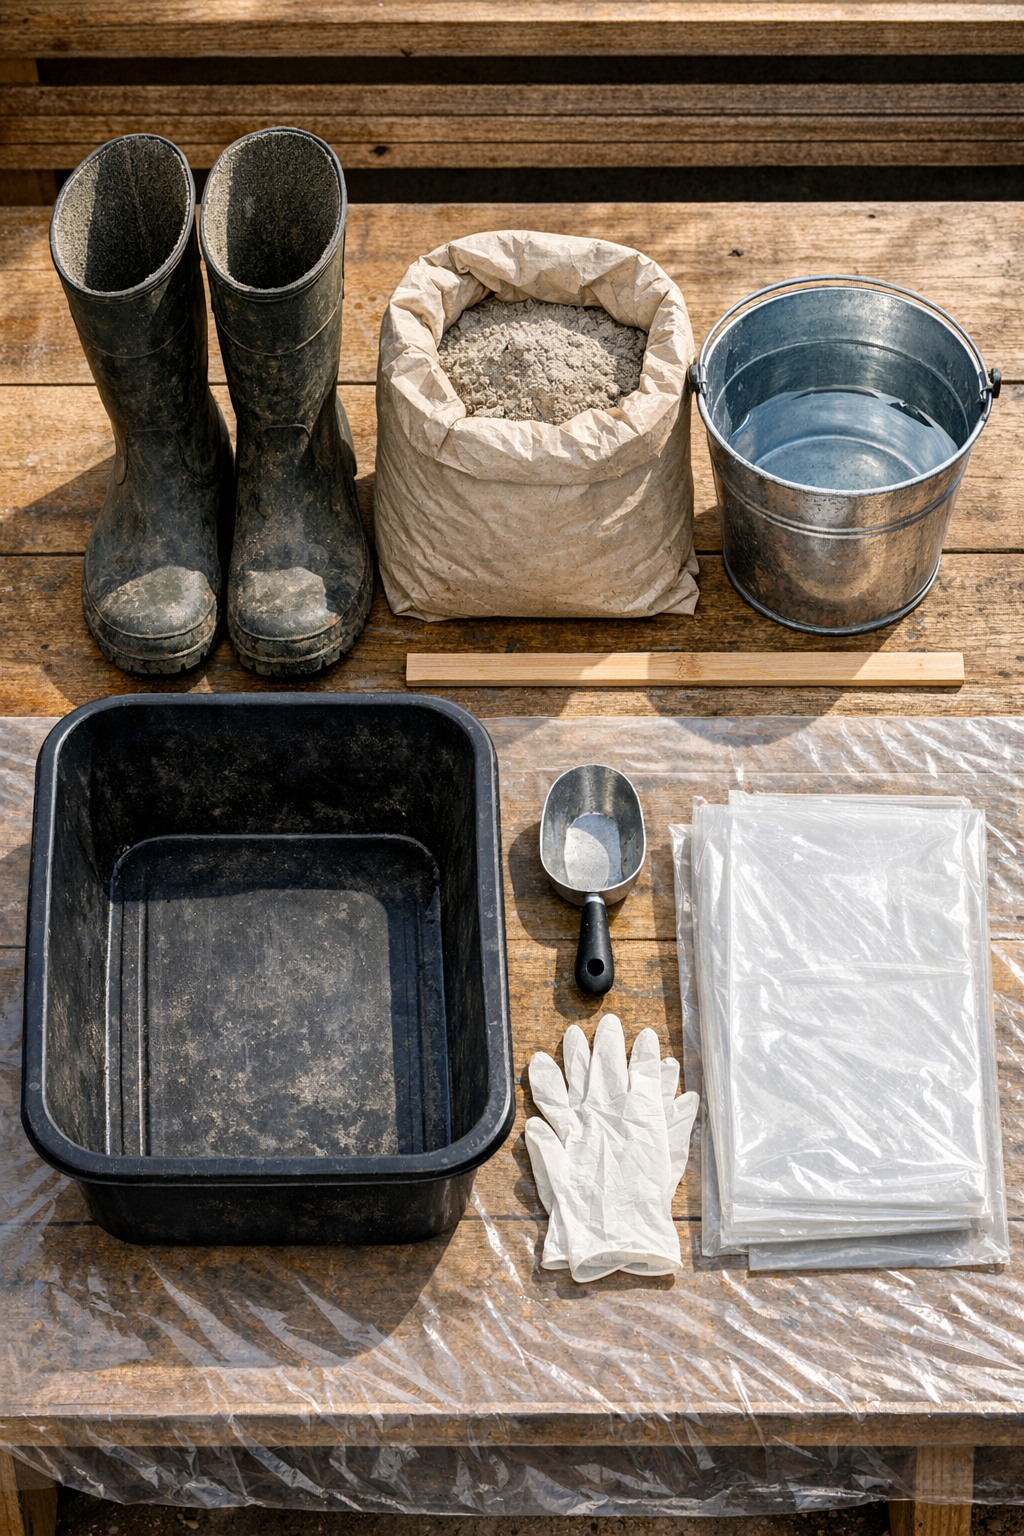
Materials
2 old rubber rain boots, adult size, clean and dry
Instructions
1. Set your work area outdoors or in a well-ventilated spot, and spread out the plastic drop cloth on a flat, level surface. Put on gloves and make sure the boots are clean inside so the cement can settle evenly.
2. Stand the rain boots upright and check that they sit level without tipping. If one leans, brace it lightly with a scrap board, bricks, or packed soil around the outside while you fill it.
3. Pour some of the cement mix into your tub and add water a little at a time, stirring until it reaches the texture of thick oatmeal or brownie batter. You want it wet enough to pour and tamp down, but not so soupy that the heavier particles sink too quickly.
4. Scoop the cement mixture into the first boot in layers of 2 to 3 inches, tapping the sides of the boot after each layer to release trapped air. Continue until the boot is filled to about 1 inch below the top edge.
5. Fill the second boot the same way, using the same layering and tapping method so both columns cure with similar density and texture. Smooth only the top surface lightly if you’d like a more finished upper edge.
6. Leave the filled boots undisturbed on a level surface for 24 to 48 hours, depending on temperature and humidity, until the cement is firm. In cool or damp weather, give them extra time rather than rushing the next step.
7. Once the cement has hardened, carefully cut or peel the rubber boots away from the outside of the columns. Work slowly around the curves and tread lines so you preserve all that nice heavy texture the boots leave behind.
8. Let the columns cure for another 3 to 5 days before placing them in the garden, so they gain strength and dry more completely. If the weather is very hot, mist them lightly once or twice a day during the first couple of days to help prevent surface cracking.
9. Set the finished textured columns in your yard, flower bed, porch corner, or along a path where their shape and pattern can really show. Nestle them slightly into soil or gravel if you want extra stability on uneven ground.
Variations & Tips
For taller-looking columns: Use adult knee-high rain boots instead of ankle boots so the finished pieces have more height and a stronger vertical look in the garden.
For extra texture: Choose boots with deep tread, buckles, seams, or raised patterns, since every little detail on the rubber can transfer into the cured cement surface.
For a weathered finish: After full curing, brush on a thin wash of diluted outdoor acrylic paint in gray, mossy green, or soft brown, then wipe most of it back off so the texture stays the star.
To reduce cracking: Don’t mix the cement too wet, and don’t move the boots while they’re setting; both of those little precautions make a big difference in a solid finished piece.
For garden placement: I like to set pieces like this near hostas, ornamental grasses, or along a porch step where the rough texture plays nicely against softer leaves and flowers.
Before you start: If your boots have holes, tape them from the outside first or set them inside a shallow tray, because a slow leak can rob your mix of moisture before it cures properly.