
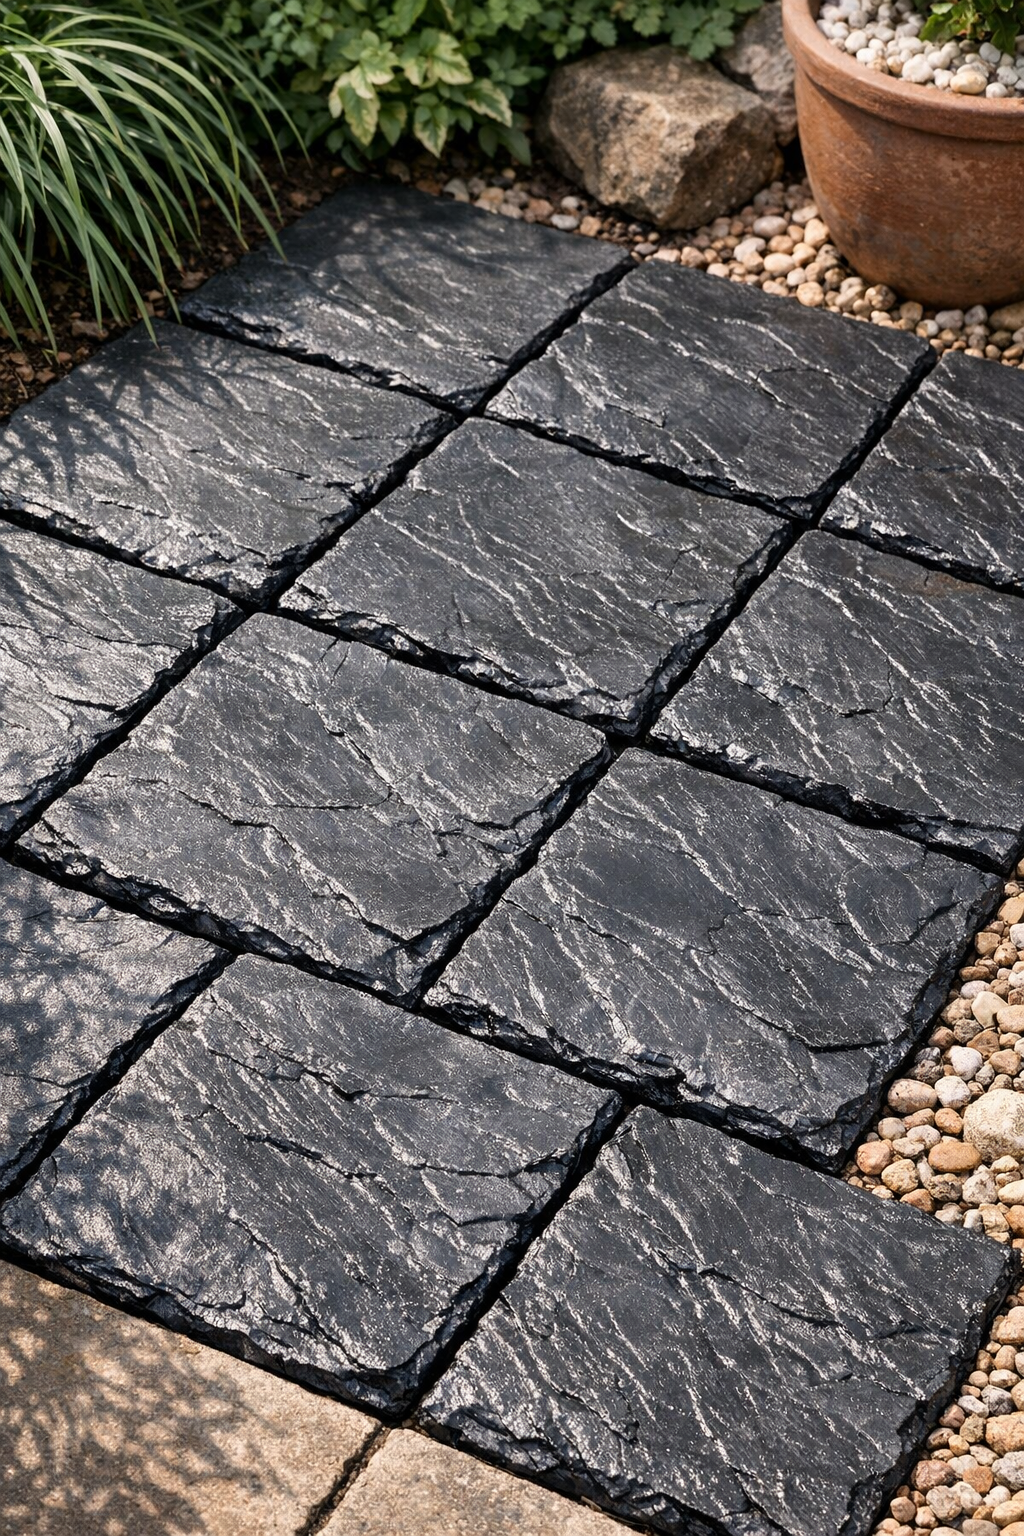
I love a project that turns a humble kitchen-table material into something that looks surprisingly architectural, and these faux slate outdoor tiles do exactly that. By heat-softening inexpensive plastic clipboards between layers of parchment and flattening them into textured panels, you can make durable stepping-tile style pieces that have the dark, slightly varied look of slate without the weight or cost of real stone.
This is a good project for patient DIYers who are comfortable working carefully with heat and who want a budget-friendly way to dress up a small patio corner, container garden area, or decorative path. As someone who spends plenty of time thinking about how ingredients transform under heat, I find this project scratches the same itch: the raw material changes completely, and the finished result looks far more refined than you'd expect.
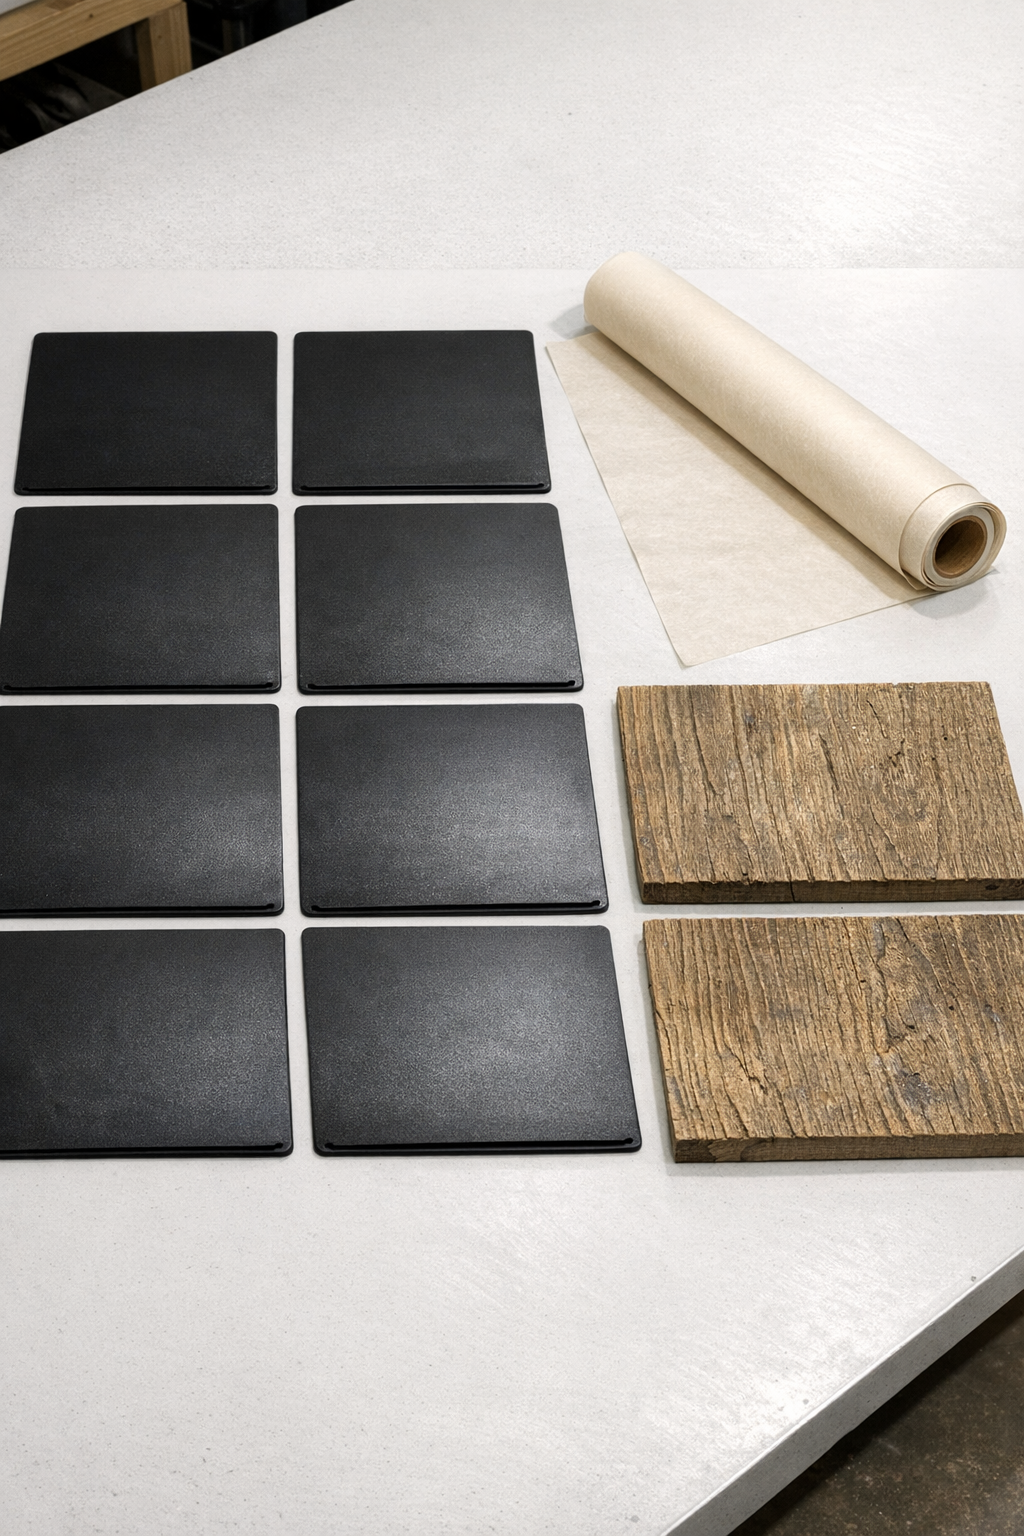
Materials
6 cheap plastic clipboards, standard letter size 9 x 12.5 inches, metal clips removed
Instructions
1. Remove the metal hardware from each clipboard and wash the plastic with warm soapy water, then dry it completely so no dust or grease gets trapped during melting.
2. Cut two large sheets of parchment paper about 14 x 14 inches each, then place one sheet on your ironing surface and set one clipboard centered on top.
3. Cover the clipboard with the second sheet of parchment and heat it with a dry iron on a medium setting, moving slowly over the surface for 3 to 5 minutes until the plastic softens and begins to relax flat.
4. As soon as the plastic is flexible, place the parchment-wrapped piece between the two textured boards and press down firmly to emboss a natural, uneven stone-like surface while it cools for 5 to 10 minutes.
5. Peel back the parchment once the piece is cool and check the shape; if the tile is still too curved or not textured enough, repeat the ironing and pressing process once more.
6. Make the remaining tiles the same way, keeping the heating time consistent so the finished set has a similar thickness and surface texture.
7. For a thicker heavy-duty tile, stack two softened clipboards together inside parchment before pressing, then iron and compress them as one piece until the layers fuse into a single slab.
8. Trim any ragged edges with sturdy scissors once the tiles are fully cool, keeping each tile roughly square or rectangular for the cleanest installed look.
9. Lay the finished tiles over a firm, level outdoor surface such as compacted gravel, sand, or an existing patio base, leaving a small gap between pieces so water can drain.
10. Test one tile with foot pressure before installing the full set, and reserve these for decorative outdoor use in low-flame, low-heat areas away from grills, fire pits, and direct high-temperature surfaces.
Variations & Tips
For a more natural slate look: Mix clipboards in charcoal, black, and dark gray if you can find them; that slight color variation makes the finished layout look more convincingly like real stone.
For thicker tiles: Fusing two clipboards per tile creates a sturdier piece than a single layer, especially for decorative stepping areas that get regular foot traffic.
About the pressing boards: I like using boards with subtle grain, concrete texture, or lightly uneven surfaces, because perfectly smooth boards make the plastic look too manufactured.
Heat carefully: Keep the iron moving and work in a well-ventilated area; you want the plastic softened, not scorched, and slower heating gives you more control.
Best use case: These work best as decorative outdoor tiles over a stable base, not as structural flooring or anywhere that gets intense summer heat buildup from metal furniture or cooking equipment.
Batch efficiently: Set up a simple assembly line with parchment pre-cut and pressing boards ready to go; once the plastic is soft, you need to move quickly before it firms back up.