
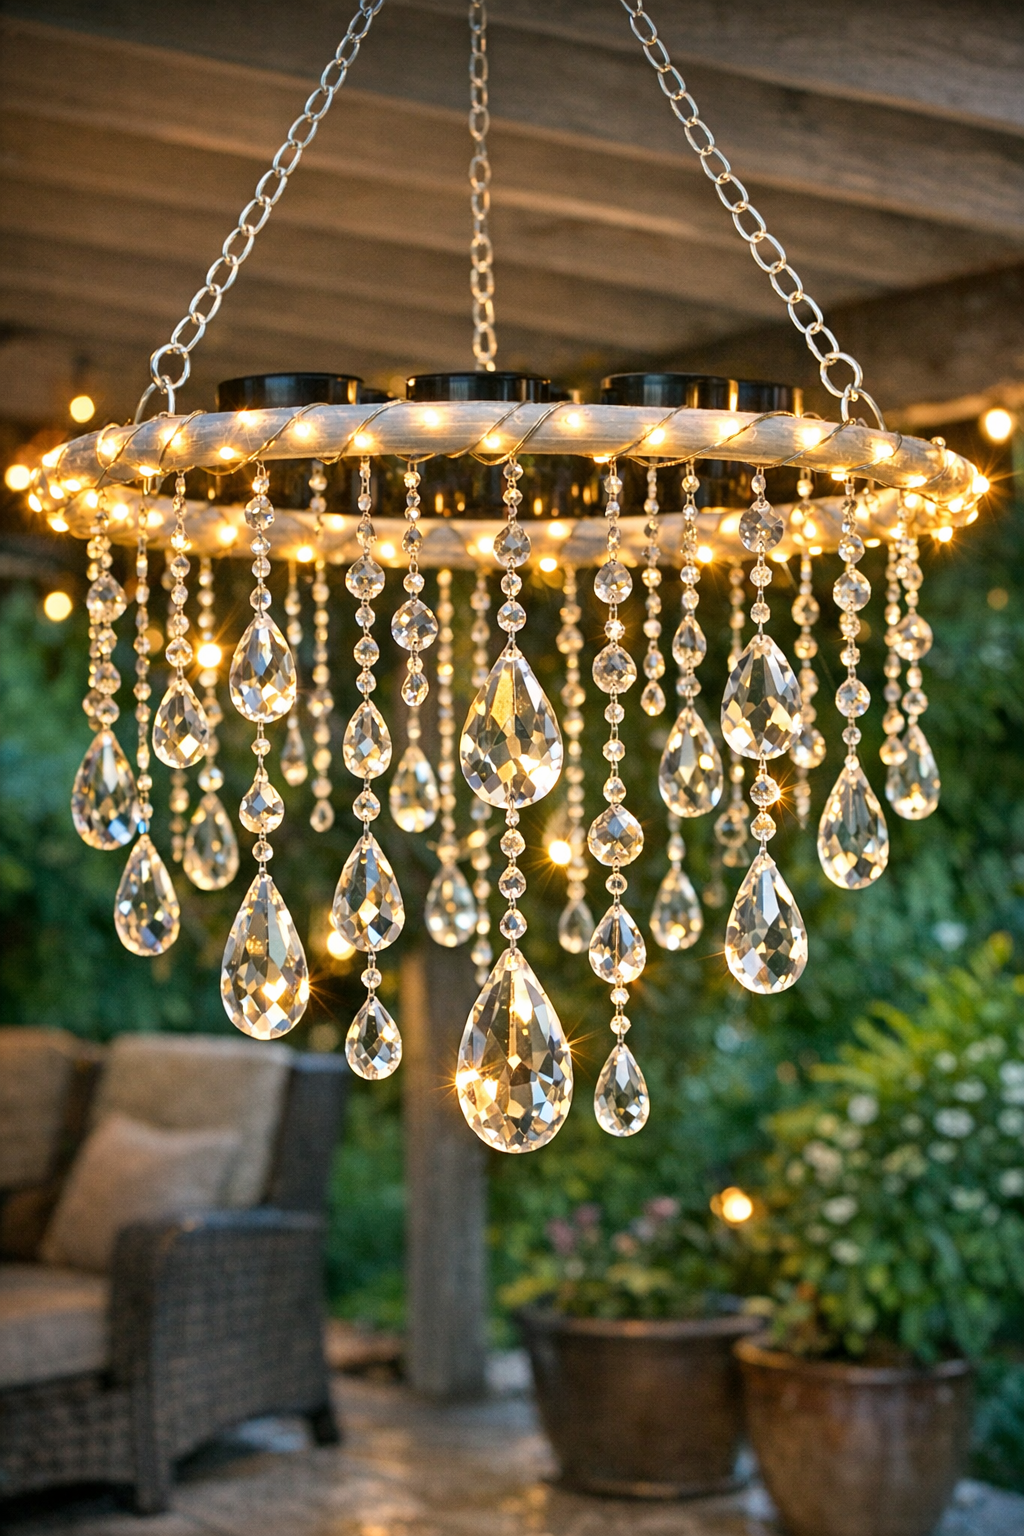
I love a patio project that gives you a big visual payoff without asking for power tools, complicated wiring, or a full weekend of work. This outdoor solar chandelier is exactly that kind of make: a painted hula hoop wrapped with tiny solar fairy lights and finished with dangling crystals that catch daylight beautifully and glow at night. The result feels a little garden-party, a little vintage, and very magical once the sun goes down.
If you want to dress up a porch, pergola, balcony, or backyard seating area on a modest budget, this is a wonderfully forgiving project. I also appreciate that it borrows from kitchen logic: simple ingredients, thoughtful layering, and a finish that looks far more elaborate than the process really is.
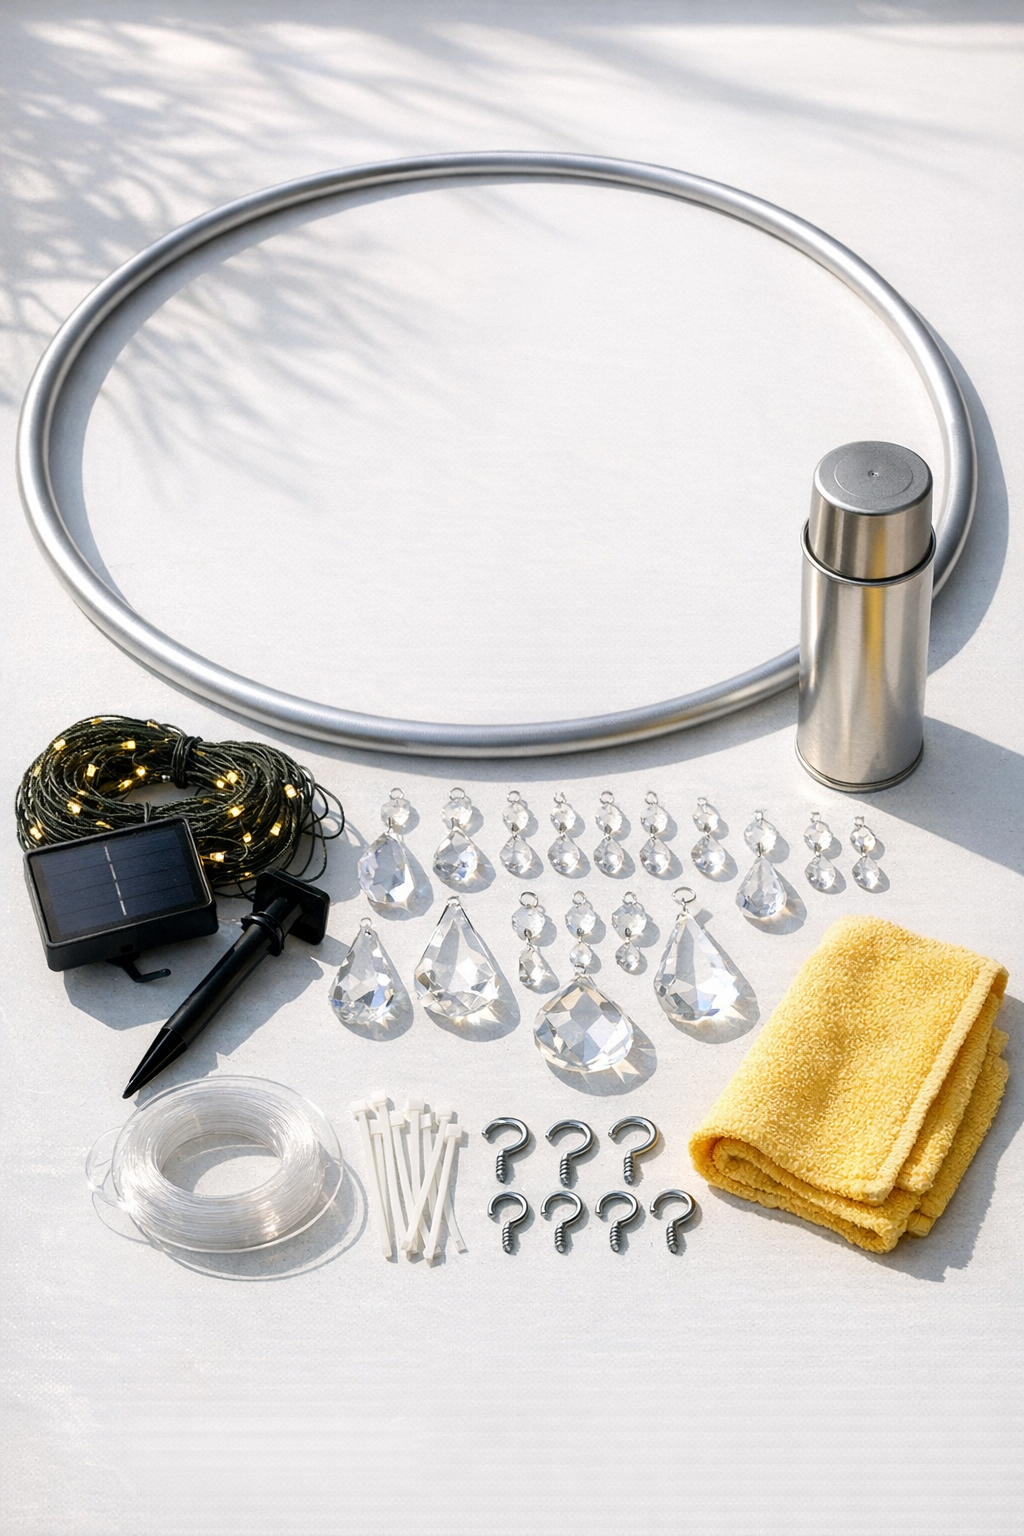
Materials
1 adult-size plastic hula hoop, 30 to 36 inches in diameter
Instructions
1. Wash the hula hoop with dish soap and water, then dry it completely so paint and ties will grip the surface cleanly.
2. Lay down a drop cloth and spray-paint the hoop in light, even coats, rotating as you go for full coverage; let it dry completely according to the paint can directions.
3. Mark three evenly spaced points around the hoop for the hanging supports, imagining a triangle so the chandelier will hang level.
4. Tie or zip-tie one 24-inch hanging cord to each marked point, then gather the top ends and secure them together through the metal ring.
5. Test-hang the hoop briefly from the ring and adjust the three supports until the hoop sits flat and balanced.
6. Start at one point near the top support and wrap the solar fairy lights around the hoop, spacing the wire evenly so the lights circle the ring without large gaps.
7. Secure the light strand every 4 to 6 inches with small zip ties, keeping the battery wire or lead wire neat and leaving the solar panel cord accessible.
8. Position the solar panel lead along one hanging support and fasten it discreetly with zip ties so it blends in and doesn’t dangle.
9. Cut fishing line into 12 to 20 lengths ranging from 6 to 14 inches for a fuller, layered crystal fringe.
10. Tie one crystal pendant to the end of each fishing-line strand, double-knotting securely; add a tiny dot of clear glue on knots if you want extra hold.
11. Attach the crystal strands around the hoop, alternating lengths and spacing them 2 to 4 inches apart so the chandelier looks balanced but not stiff.
12. Add a few crystals closer together at the front or lower sides if you want a more dramatic, dripping effect.
13. Hang the finished chandelier from a pergola hook, sturdy branch, shepherd’s hook, or covered patio beam using an S-hook or carabiner.
14. Place the solar panel where it receives 6 to 8 hours of direct sun, then wait until dusk to check the glow and make any spacing adjustments.
Variations & Tips
Finish choice: Matte black looks crisp and modern, white feels cottage-like, and aged gold gives the chandelier a more formal garden look.
Crystal options: Acrylic crystals are lighter and budget-friendly, while glass crystals sparkle more intensely in sunlight but add extra weight.
Light color: I prefer warm white for a softer evening glow, but cool white works well if your patio already leans contemporary.
Weather note: If your chandelier will hang in an exposed area, choose outdoor-rated lights and bring the piece in during severe wind or hail to protect the crystals and wiring.
Balanced hanging: Before adding crystals, always test the empty hoop for level; it is much easier to correct a tilt early than after the fringe is attached.
Fuller look: For a richer chandelier effect, use two strands of fairy lights and cluster more crystal drops at varying lengths around the lower half of the hoop.
Gentle styling: This piece looks especially pretty above a bistro table, near potted herbs, or layered with lanterns and candles for a relaxed evening setup.