
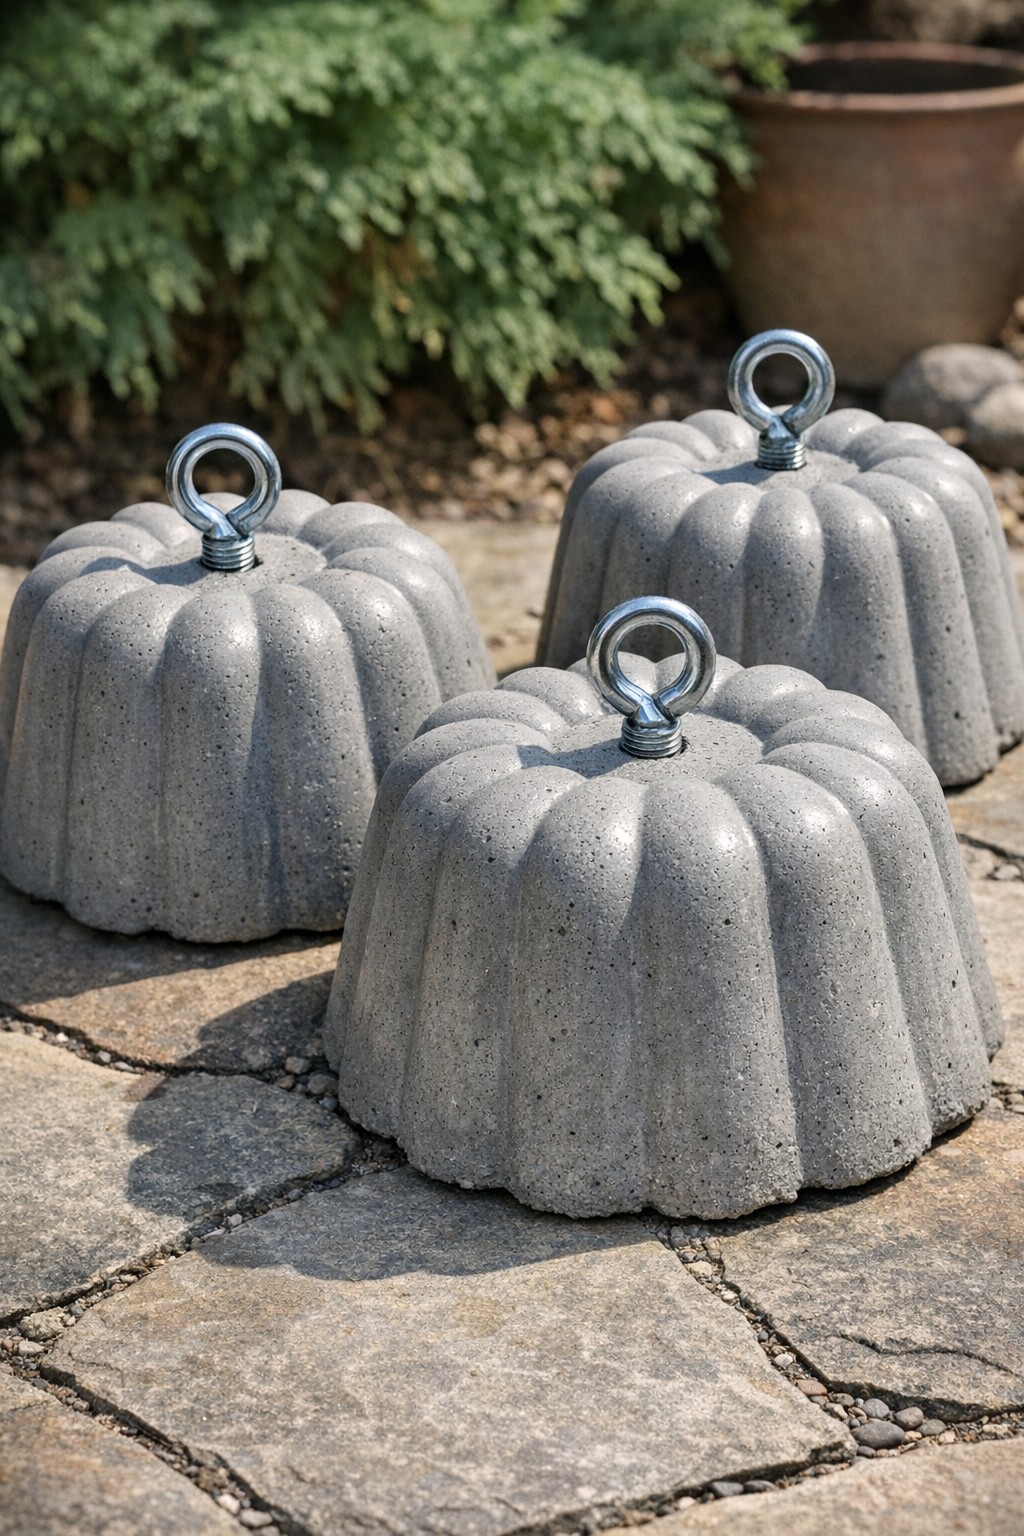
I love a project that solves a real problem without looking overly utilitarian, and these heavy fluted yard weights do exactly that. If you’ve ever chased patio curtains, lightweight garden décor, or an outdoor tablecloth across the yard after one strong gust, this is the kind of quick weekend fix that feels surprisingly satisfying. Using silicone bundt pans, cement, and a simple embedded tie point, you can make sturdy weights that are practical but still look polished enough to leave out.
This is a great project for beginners because the process is straightforward, the materials are easy to find, and the result is much more attractive than plain concrete blocks or random bricks. I’m always trying to make my outdoor spaces work harder without adding visual clutter, especially since weeknights are busy in my house, and this one has become one of my favorite low-effort, high-payoff DIYs.
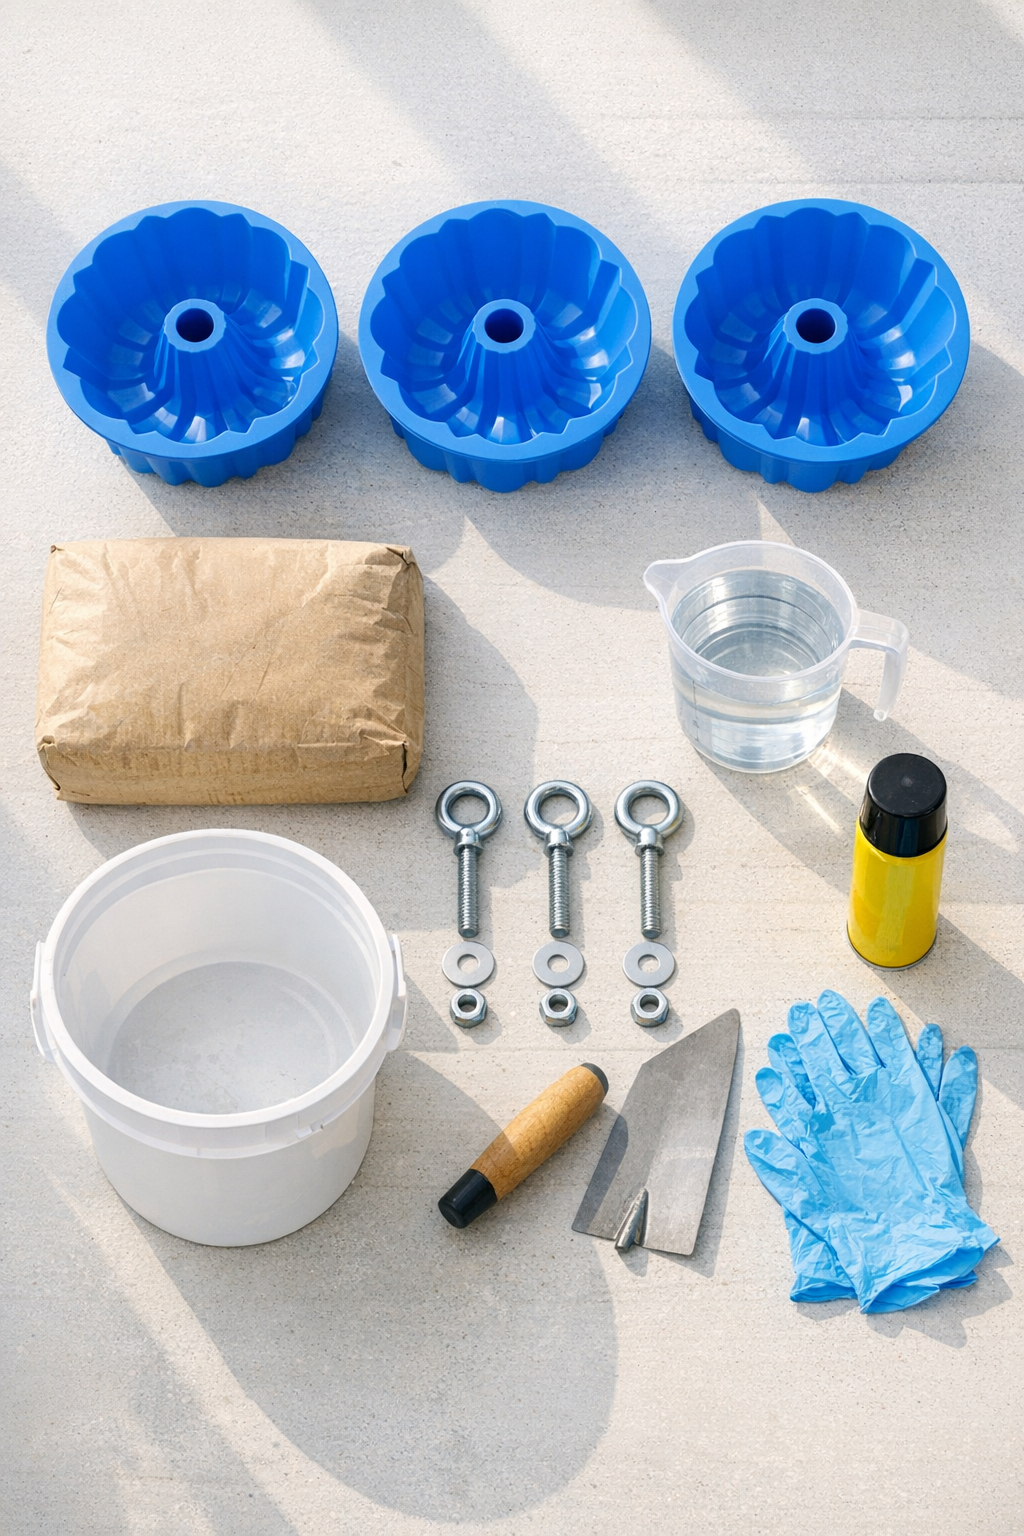
Materials
3 silicone bundt pans, 8- to 10-inch size
Instructions
1. Set the silicone bundt pans on a flat, sturdy board or tabletop that can stay undisturbed for at least 24 hours. Spray the inside of each pan lightly with cooking spray so the cured cement releases cleanly.
2. Assemble each anchor by threading one washer and one nut onto the eye bolt, then add the second washer so the hardware will lock into the cement. Leave the eye loop exposed above the finished weight so you have a strong attachment point.
3. Mix the concrete in a bucket according to the package directions until it reaches a thick, scoopable consistency similar to stiff oatmeal. Stir thoroughly so there are no dry pockets hiding in the mix.
4. Divide the concrete evenly among the 3 bundt pans, filling each one almost to the top. Tap the pans gently on the work surface several times to settle the mix and release trapped air bubbles.
5. Press one eye bolt assembly into the center hole area of each pan, positioning it so the loop stays above the surface and the bolt is embedded straight down into the concrete. Use a short strip of painter’s tape across the eye loop if needed to keep it centered while the mix firms up.
6. Smooth the exposed concrete surface with a trowel or gloved hand, then let the weights cure undisturbed for the time listed on the concrete bag, usually 24 to 48 hours. If the weather is hot or dry, lightly mist the surface once or twice during the first day to help prevent cracking.
7. Once fully cured, peel the silicone pans away from the concrete instead of pulling on the weight itself. Turn each piece upright to reveal the fluted bundt shape, and check that the eye bolt is firmly locked in place before using it outdoors.
8. Attach the finished weights to curtains, furniture covers, tablecloth corners, or lightweight yard décor with rope, carabiners, or weather-resistant ties. Place them on pavers, gravel, or soil where their wide base can sit level and stable.
Variations & Tips
Add color: Mix in concrete pigment or use masonry paint after curing if you want the weights to blend in with planters, patio furniture, or your house trim.
Use different molds: Other flexible baking molds can work, but bundt pans give you those nice fluted sides and a broad, stable base that makes the finished piece look more intentional.
Mind the hardware: Always use galvanized or other rust-resistant metal parts for outdoor use. Regular steel can rust quickly and stain the concrete.
Adjust the weight: For lighter-duty uses, fill the pans a little less; for maximum hold, fill them nearly full. Just keep the amount consistent if you want a matching set.
Protect your work surface: Silicone molds are floppy, so I strongly recommend setting them on a rigid board before filling. I learned this the messy way once, and trying to move a full floppy mold is not a fun cleanup.
Make tying easier: Clip a small carabiner through each eye loop so you can quickly move the weights wherever you need them without retying rope every time.