
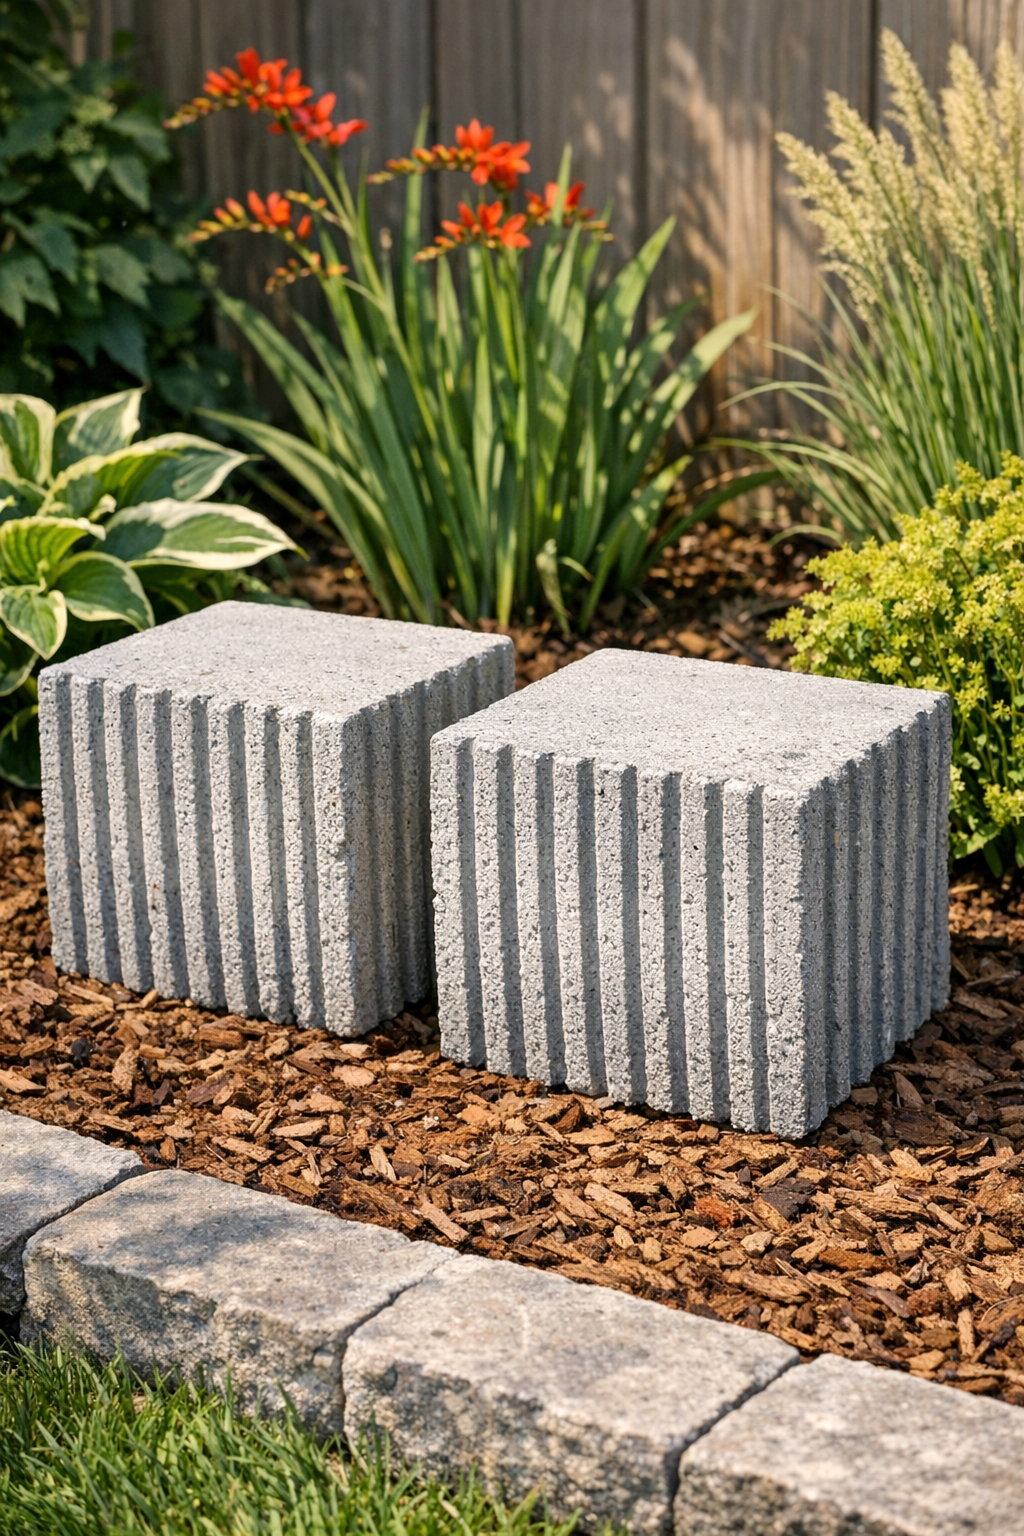
I’ve always had a soft spot for simple, sturdy garden pieces that look like they’ve been sitting out by the porch for years, even if they were made on a Saturday afternoon. These heavy ribbed yard blocks are one of those clever little projects that turn humble odds and ends into something useful and surprisingly handsome. With plastic takeout containers, cement, and one “secret” item to create the ribbed texture, you can make weighty decorative blocks that work as garden accents, border pieces, or little risers for pots.
What I like most about this project is that it doesn’t ask for fancy tools or a workshop full of supplies. It’s a good fit for beginners, thrifty makers, and anyone who enjoys turning everyday castoffs into something practical. Out here, we’ve always found ways to make do with what’s on hand, and this project has that same sensible, satisfying spirit.
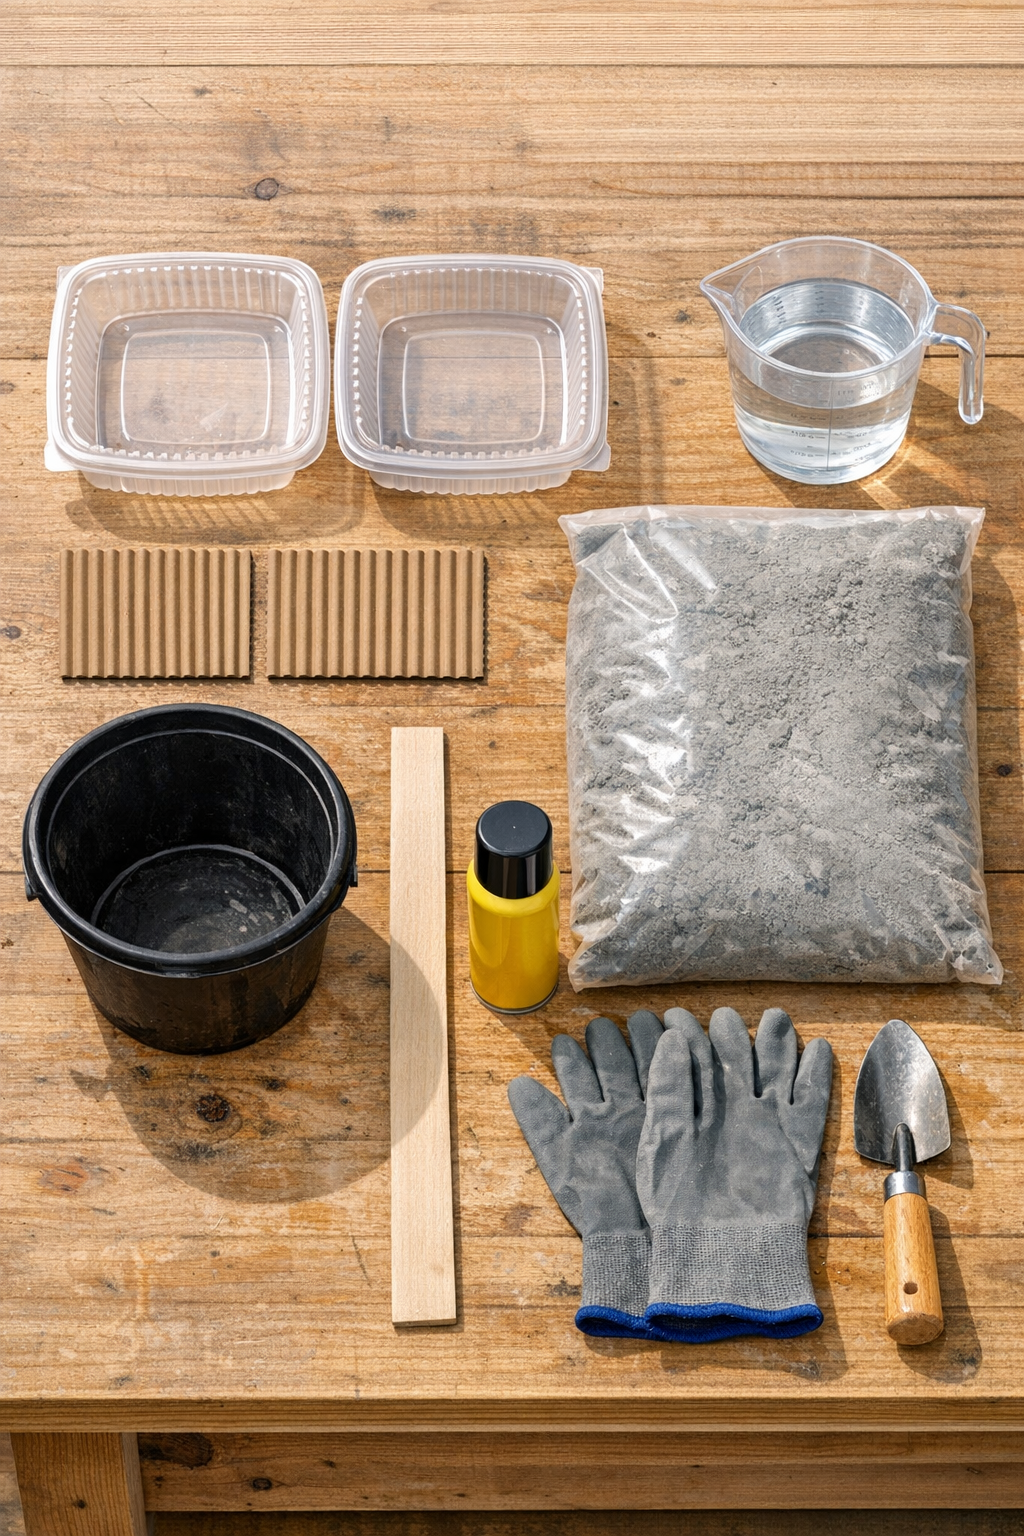
Materials
Instructions
1. Set your scrap cardboard or plastic on a flat outdoor surface, and place the two takeout containers on top. Lightly coat the insides of the containers with cooking spray so the cement will release more easily later.
2. Cut the corrugated cardboard so each piece lines the inside wall of a container with the ridged side facing inward. Fit the cardboard into the containers snugly to create the ribbed pattern on the finished blocks.
3. Put on gloves, then pour the cement mix into the bucket and add water a little at a time. Stir until the mixture is thick like peanut butter, holding its shape without being dry or crumbly.
4. Spoon the wet cement into the prepared containers, filling each one about halfway first. Tap the containers firmly on the table a few times to knock out trapped air.
5. Add the remaining cement until each container is filled to about 1/2 inch below the top edge, then smooth the surface with a trowel or spoon. Tap the sides again so the mix settles well into the ribbed liner.
6. Let the blocks sit undisturbed until the cement firms up, following the mix instructions for initial set time, usually 24 hours for safe unmolding. If the weather is hot and dry, drape a loose piece of plastic over them so they cure more evenly.
7. Gently peel away the plastic containers and remove the corrugated cardboard from the sides. If a little cardboard sticks, dampen it lightly and rub it off with your fingers or a stiff brush.
8. Let the blocks cure for another 2 to 3 days before placing them in the yard. Set them beside a garden path, tuck them into a flower bed, or use them as heavy bases under lightweight pots or décor.
Variations & Tips
Different mold sizes: You can use larger or smaller takeout containers if you want chunkier or slimmer yard blocks, but keep the cardboard liner fitted tightly so the ribbed pattern stays crisp.
Cardboard tip: Corrugated cardboard is the secret item here, and it works beautifully because the ridges press a clean texture into the cement. I’ve found thinner cardboard is easier to bend neatly around the inside of the container.
For extra weight: If you want the blocks especially heavy, use a concrete mix with small aggregate instead of a very fine cement mix. That gives the finished pieces a more substantial feel in the garden.
Smoother release: Don’t skip the light oil or cooking spray inside the molds. It reminds me of greasing a cake pan before church supper baking—just enough to help everything come away cleanly.
Weathered finish: After full curing, you can brush a little watered-down gray or mossy green exterior paint into the grooves and wipe the high spots clean for an older, timeworn look.
Best placement: These are lovely nestled near hostas, set along a path, or grouped in threes with different heights. Simple shapes like this have a quiet, old-fashioned charm that sits right at home in a Midwestern garden.