
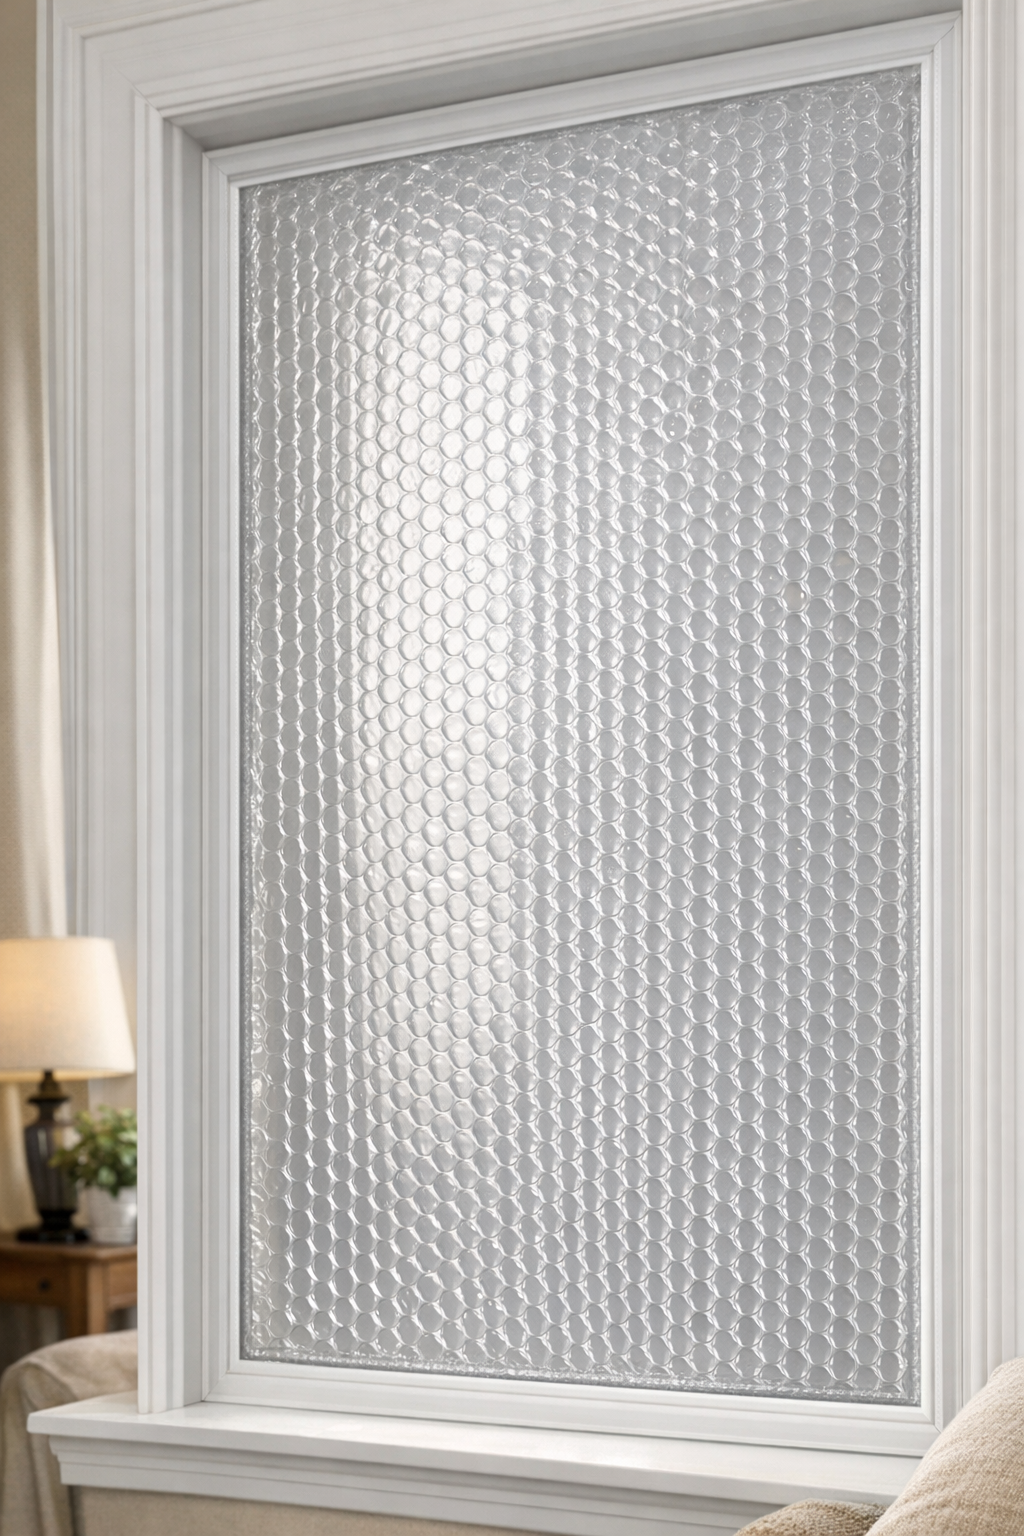
When winter drafts start sneaking in around older windows, I’m always looking for a fix that is inexpensive, practical, and worth the effort. These DIY storm window inserts made from thick plastic bubble wrap are one of those projects that feel almost too simple at first, but the finished result can make a surprisingly noticeable difference in comfort. By ironing heavy bubble wrap flat and mounting it inside the window frame, you get a custom insert that helps reduce drafts and adds an extra layer of insulation.
I like this project for renters, homeowners with older houses, or anyone trying to stretch the heating budget without committing to permanent window replacement. It’s especially handy if you want something sturdier than thin shrink film but still easy to make with basic supplies and a little patience.
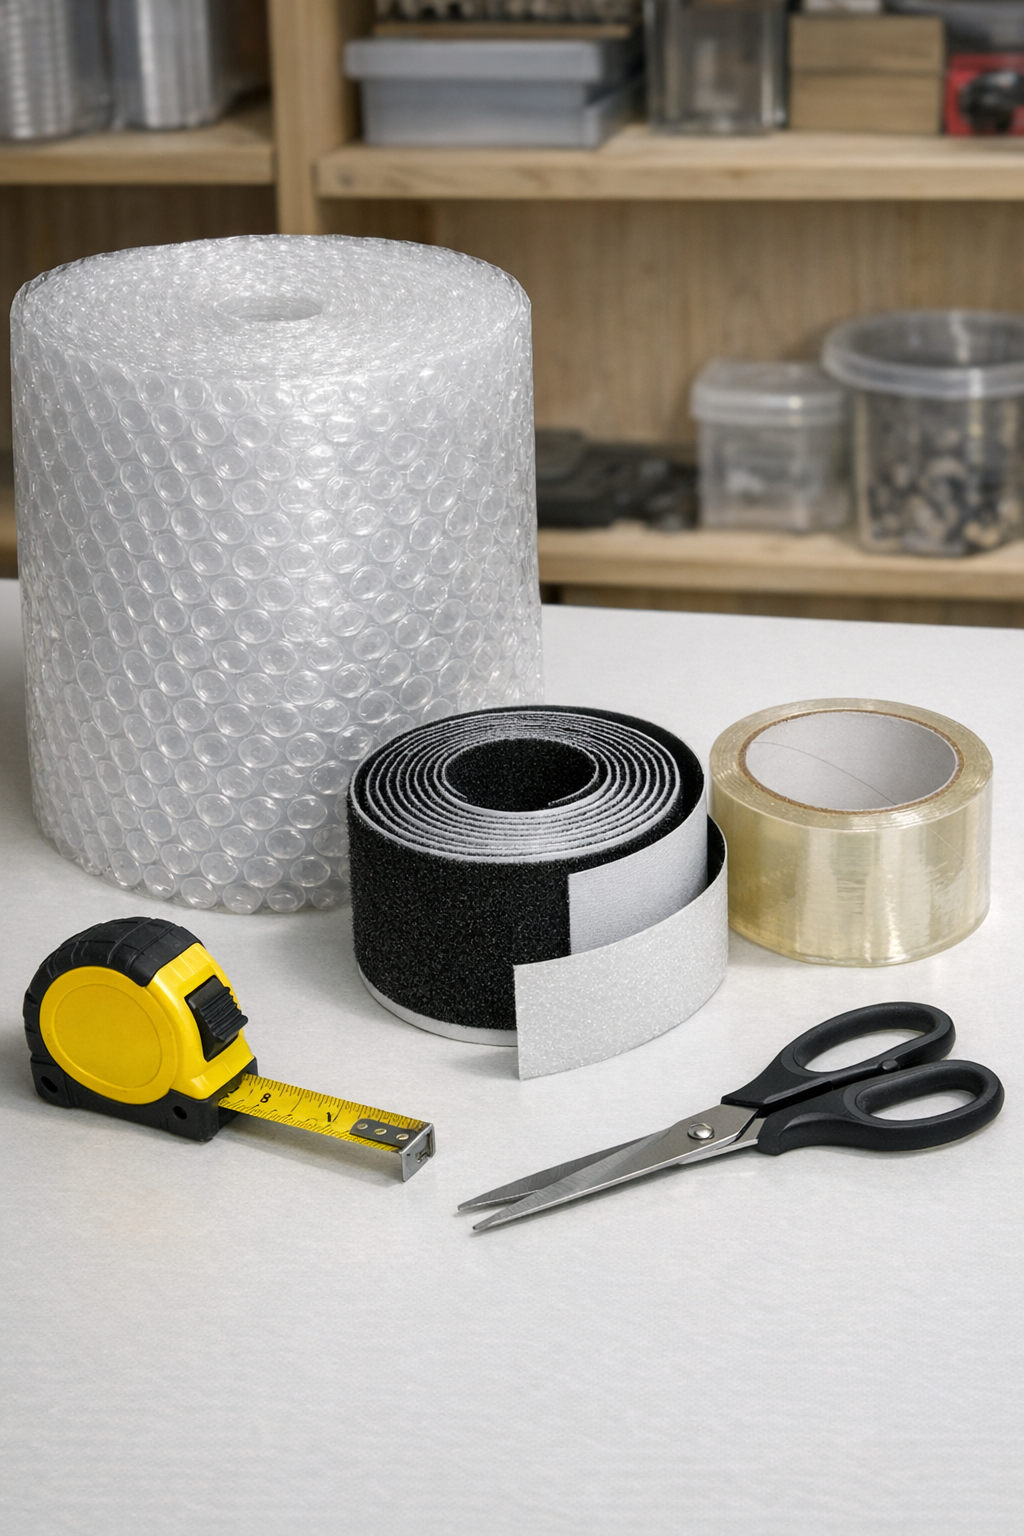
Materials
Instructions
1. Measure the inside width and height of each window frame where the insert will sit, and write down both numbers for every window. I always measure in three places and use the smallest measurement so the panel fits cleanly without buckling.
2. Cut a piece of bubble wrap for each window, adding 1 inch to both the width and height. This extra margin gives you room to flatten edges, square the panel, and trim it precisely after ironing.
3. Set an iron to low heat with the steam turned off, and place the bubble wrap between two sheets of plain cotton fabric or kraft paper to protect it. Test a small scrap first, because the goal is to soften and flatten the bubbles without melting holes through the plastic.
4. Iron the bubble wrap slowly in sections, moving the iron constantly and checking the plastic every few seconds. Stop as soon as the material becomes flatter, firmer, and more sheet-like while still staying clear and intact.
5. Let the flattened sheet cool completely on a flat surface, then trim it to the exact window opening size. If the edges are uneven, use clear packing tape around the perimeter to reinforce and straighten them.
6. Clean the inside window frame with a dry cloth so the adhesive will grip well. If the frame is dusty or oily, the hook-and-loop tape will peel loose much faster, especially in cold weather.
7. Apply one side of the self-adhesive hook-and-loop tape around the inside perimeter of the window frame, keeping it straight and pressed firmly into the corners. Use continuous strips when possible for a tighter seal.
8. Apply the matching side of the hook-and-loop tape around the edges of the flattened bubble wrap panel. Keep the tape set slightly in from the edge so the panel stays neat and the corners don’t curl.
9. Press the panel into the window frame starting at the top corners, then smooth down the sides and bottom. If needed, peel back one edge and reposition it until the insert sits flat and creates an even seal all the way around.
10. Check for drafts by running your hand around the edges, and add small pieces of packing tape anywhere that needs extra reinforcement. Repeat the process for the remaining windows, labeling each insert discreetly on the back edge if several windows are similar in size.
Variations & Tips
For larger windows: Use two overlapping layers of ironed bubble wrap if you want a stiffer insert. I’d reinforce the perimeter well with packing tape so the panel stays square.
For a cleaner edge: Fold packing tape half over the edge and half onto the face of the plastic before attaching the hook-and-loop tape. This gives the insert a more finished look and helps prevent tearing.
For seasonal storage: Remove the inserts gently at the end of winter and store them flat under a bed or behind a sofa. If they get bent, a light re-press between cloth layers can help flatten them again.
Heat-setting caution: Every bubble wrap type behaves a little differently under the iron, so always test on a scrap first. In my kitchen-minded way of thinking, this is just like tempering chocolate or heating sugar syrup: a little patience gives you much better results than rushing.
Best use case: These inserts work especially well on older drafty windows that already have intact glass but poor insulation. They won’t replace a true exterior storm window, but they can absolutely make a room feel more comfortable.
Adhesive tip: If the window frame finish is delicate, test the hook-and-loop adhesive in an inconspicuous spot first. On painted wood, I press it down firmly and let it sit for several hours before attaching the panel for the strongest bond.