
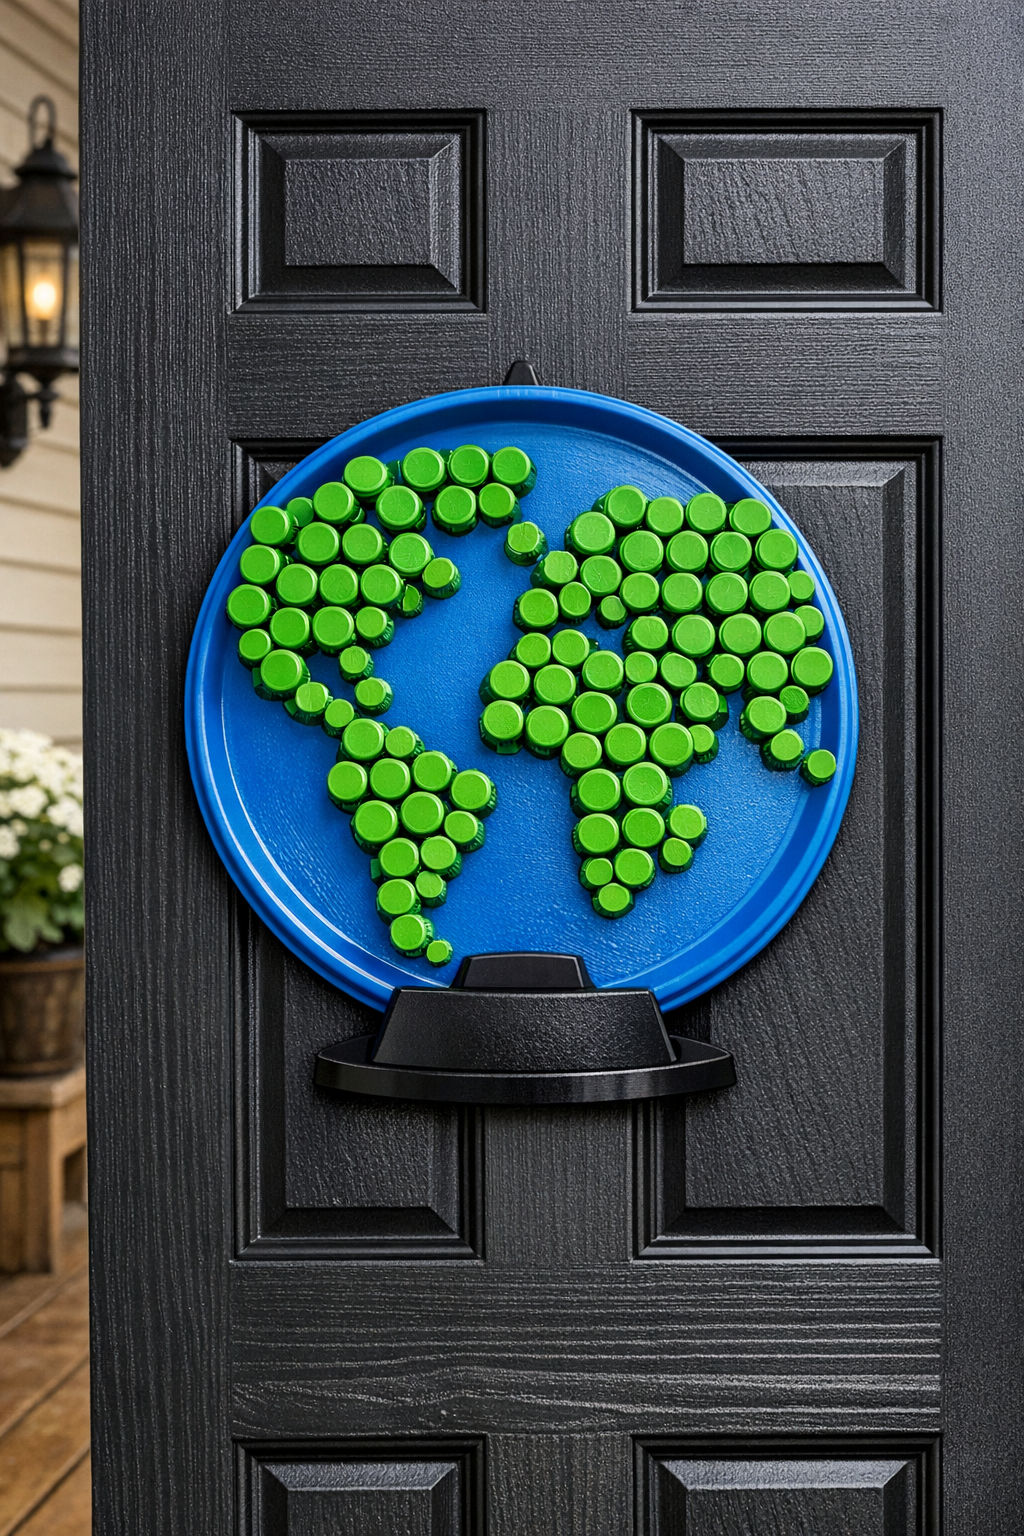
There’s something about back-to-school season that always takes me right back to sharpened pencils, fresh notebooks, and those classroom globes that sat in the corner like they held all the wonder in the world. This front door hanger turns that same schoolhouse charm into a big, cheerful decoration using a blue serving tray and a whole pile of green bottle caps. It’s simple, affordable, and has that clever upcycled feel I’ve always loved.
I think this project is especially nice for teachers, grandparents, busy parents, or anybody who wants a welcoming front door without fussing with complicated tools. If you can arrange pieces on a circle and work a glue gun, you can make this. It comes together in an afternoon, and the finished globe has that playful, handmade look that feels right at home from August right on into fall.
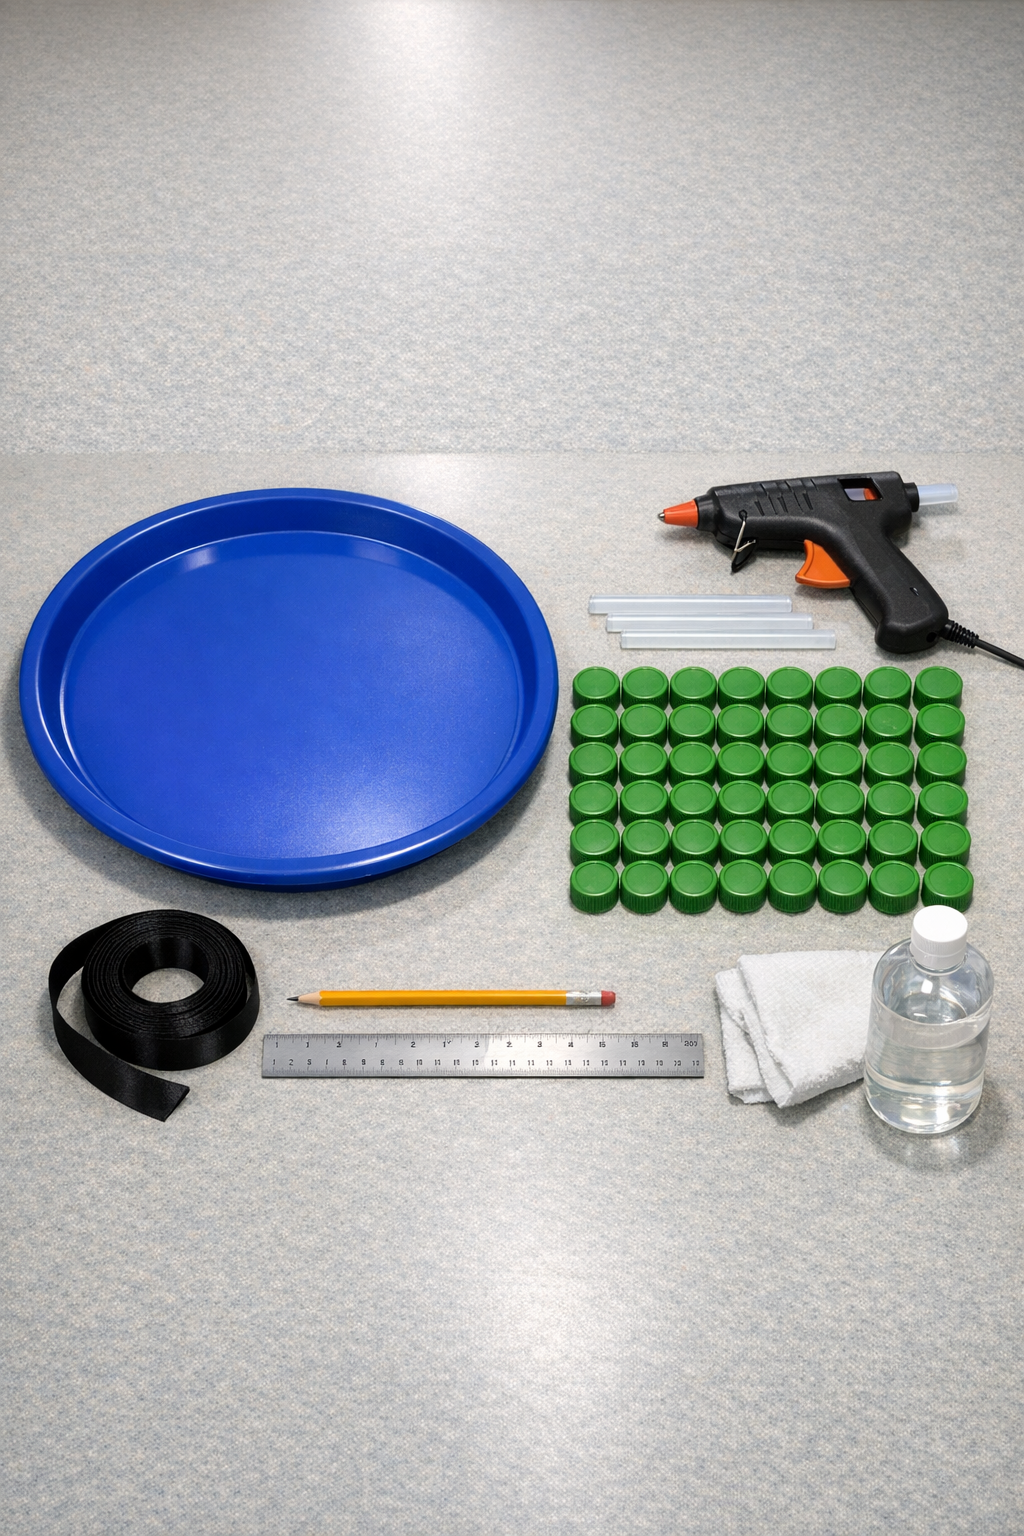
Materials
Instructions
1. Wash the blue serving tray and all 80 bottle caps, then dry them well. Wipe the front of the tray with rubbing alcohol so the glue will grip better.
2. Place the tray flat on your table and lightly mark a horizontal line about 3 inches up from the bottom to show where the black globe stand will sit. This little guide helps keep the cap design centered like a classroom globe.
3. Set the bottle caps on the tray without glue first, starting near the top center and working outward in loose curved rows. Leave a narrow blue gap between groups so the tray still shows through like ocean around the continents.
4. Step back and adjust the layout until the shape looks balanced, with more caps across the middle and fewer near the top and bottom. Don’t aim for perfection here; a slightly playful map shape gives it handmade charm.
5. Begin gluing the caps in place one section at a time, lifting only a few at once so you don’t lose your arrangement. Add a generous bead of hot glue to each cap and press it onto the tray for 5 to 10 seconds.
6. Continue until all 80 caps are glued down, checking that the edges of the design stay rounded and centered on the tray. If any cap sits crooked, nudge it gently before the glue fully cools.
7. Cut the black felt or craft foam into a simple globe stand shape: a narrow rectangle with a shallow upward curve across the top. Make it about 8 inches wide and 4 inches tall so it anchors the bottom of the globe without covering too much blue.
8. Glue the stand shape onto the lower front of the tray, lining it up with the guide mark you made earlier. Press along the edges so it lies flat and gives the piece that classic school globe silhouette.
9. Turn the tray over and glue the ends of the black ribbon to the back top edge, spacing them 5 to 6 inches apart. Leave enough slack to form a hanging loop above the tray.
10. Reinforce the ribbon ends with extra hot glue or a short strip of mounting tape, then let everything cool completely for 10 minutes. This is worth doing well if your front door gets a lot of opening and closing.
11. Check the front for stray glue strings and pull them away gently. If needed, touch up any loose cap with another dot of glue.
12. Hang the finished globe on your front door with an over-the-door hanger or heavy-duty mounting tape. Center it at eye level so the bright blue tray and green caps really stand out from the street.
Variations & Tips
Add a bow: Tie a simple black, red, or apple-green bow at the top of the ribbon loop if you want it to look a little more festive for the first week of school.
Use cap sizes carefully: If your bottle caps vary a bit, put the larger ones through the middle of the design and save the smaller ones for the outer edges, where they’re easier to tuck into the shape.
Swap the stand material: If you don’t have felt or craft foam, use black cardstock backed with cardboard. I’d only use paper for a covered porch, though, since weather can humble the prettiest project in a hurry.
Make it classroom-ready: For a teacher door, glue a small pencil-shaped cutout or apple accent near the top after the globe is finished. Keep it small so it doesn’t distract from the round globe design.
Choose outdoor-safe adhesive: If your door is exposed to strong sun or rain, use a weather-resistant glue instead of standard hot glue, or add it underneath the hot glue for extra hold.
Save time on layout: Count your caps into small groups before you start arranging them. I like to divide them roughly by top, middle, and bottom areas so I don’t accidentally use too many in one section.
Keep it lightweight: A plastic tray works especially well because it’s easier to hang than wood. That’s one of those practical little tricks I’ve come to appreciate more and more over the years.