
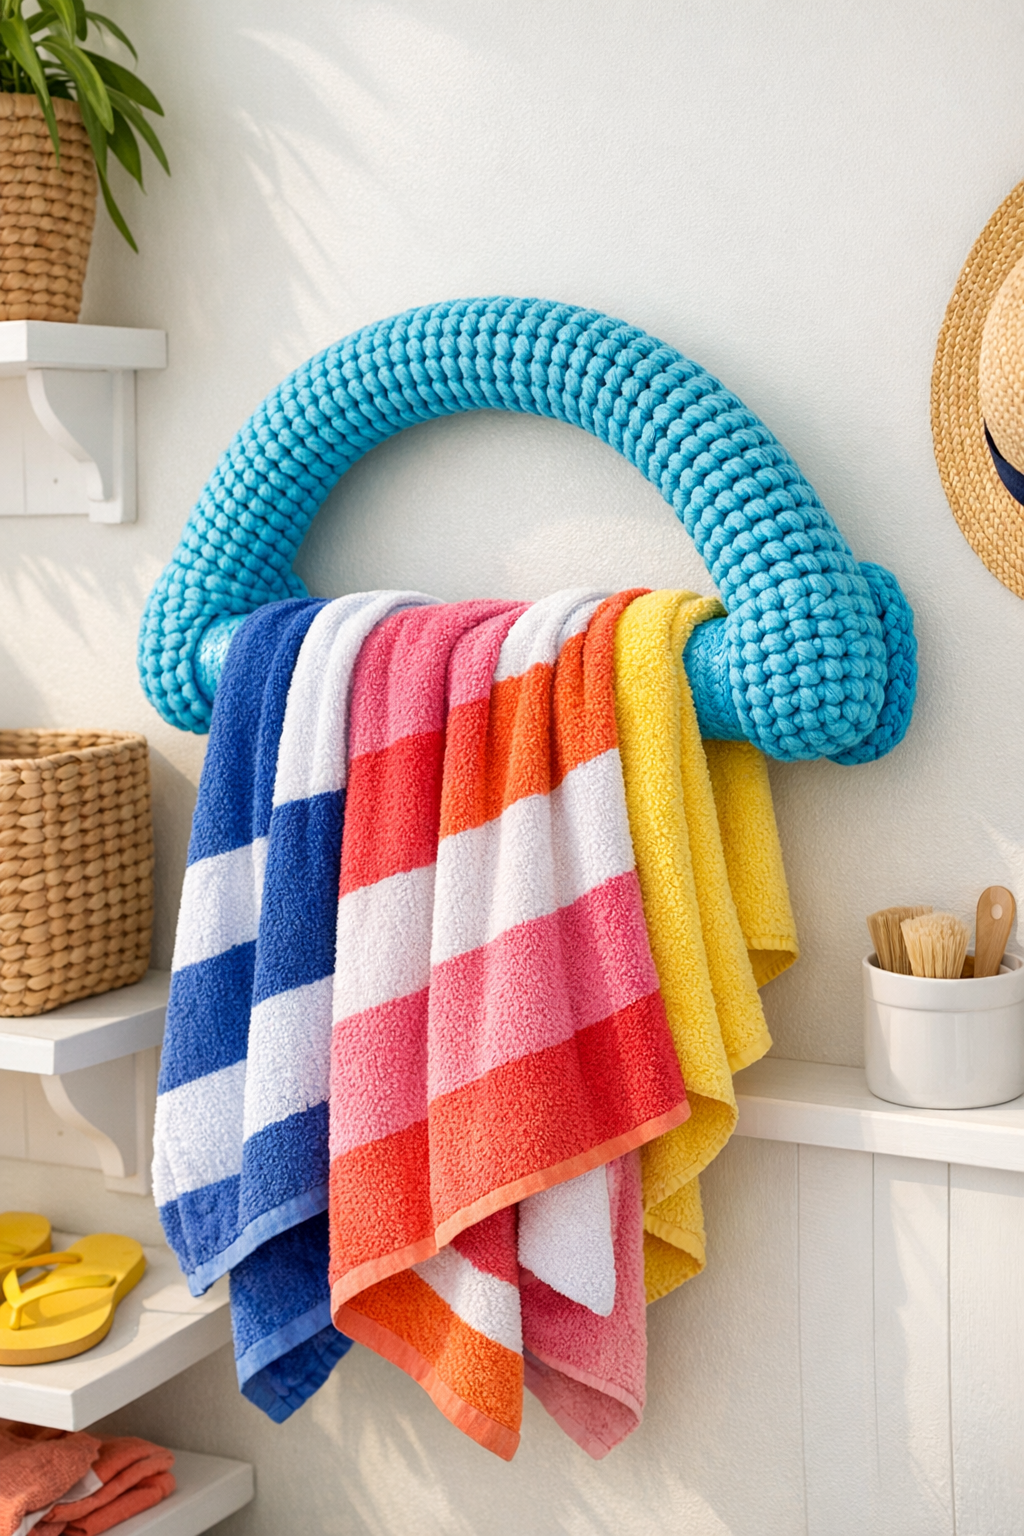
This project turns one of the most ordinary summer leftovers—a plastic pool noodle—into a cheerful wall-mounted towel holder with a soft crochet finish. By bending the noodle into an arc and stitching thick turquoise yarn all the way around it, you get a lightweight spot to hang beach towels, cover-ups, or even damp swimsuits after a day at the pool.
I love a DIY that looks a little odd in the middle and surprisingly polished at the end, and this one absolutely fits that category. It’s a great project for beginners who know basic crochet stitches, and it’s especially nice if you want something bright and practical for a mudroom, laundry space, pool house, or kids’ bathroom without spending much.
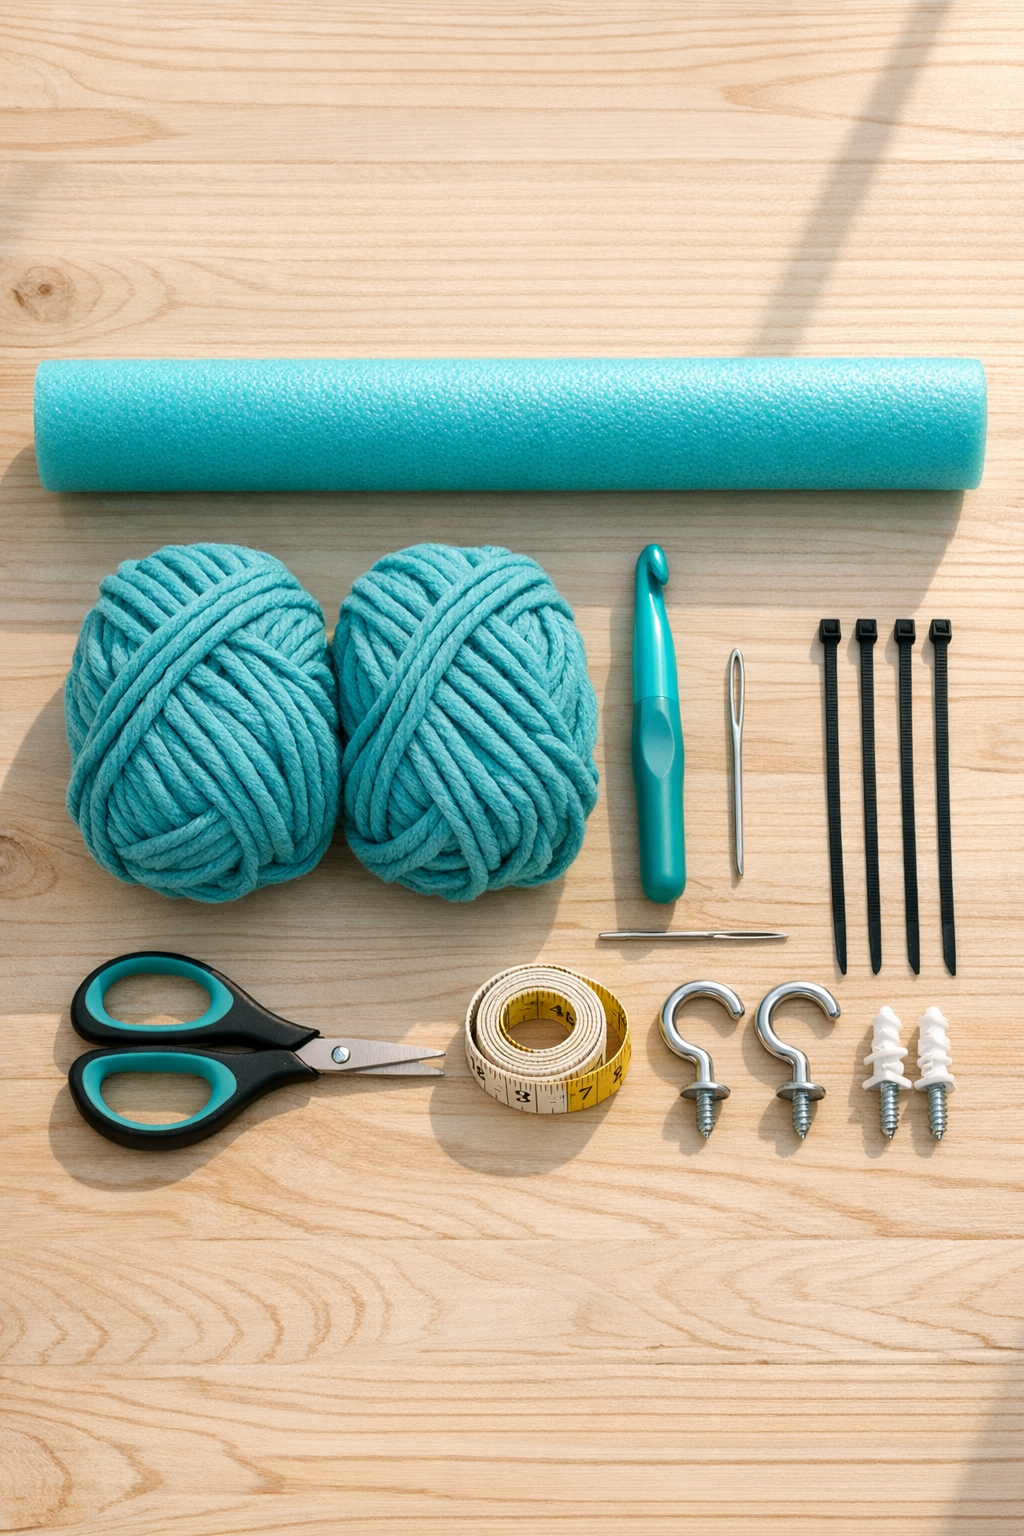
Materials
Instructions
1. Measure your pool noodle and decide on the finished width of the towel holder arc. I usually keep the full noodle length and bend it into a wide rainbow shape that spans about 24 to 28 inches across once mounted.
2. Mark the center of the noodle and then mark two points about 2 inches in from each end. These end marks help you leave enough room for mounting without crowding the curve.
3. Gently bend the noodle into an arc and secure the shape temporarily with zip ties near both ends. Don’t kink it sharply; you want a smooth curve that will cradle towels nicely.
4. Make a slip knot with the yarn and begin single crocheting around one end of the noodle, working the stitches over and around the foam like a cover. Pack the stitches snugly so the noodle color doesn’t peek through.
5. Continue single crochet all the way along the noodle, sliding completed stitches close together every few inches. Keep your yarn tension even and rotate the noodle as you work so the coverage stays consistent around the full surface.
6. When you reach a zip tie, crochet right up to it, snip the tie if needed, and immediately replace the support with your hand while continuing to stitch over that section. Add a fresh zip tie farther underneath the crocheted area if the arc needs extra help holding its shape.
7. Work to the opposite end until the entire visible noodle is covered in crochet. Fasten off the yarn, leaving a 10-inch tail, and use the tapestry needle to weave the tail neatly through several stitches.
8. Check the arc for any thin spots and add a few extra whip stitches with leftover yarn where the cover looks loose. I do this step every time because it makes the finished piece look much more intentional and less “pool toy turned wall décor.”
9. Hold the arc against the wall and mark where the two hooks should go, placing them level and slightly inside each end so the arc can rest securely. Leave enough height below the arc for towels to drape without touching the floor.
10. Install the wall anchors and screw in the hooks according to the hardware directions. Test the spacing before fully tightening so the crocheted arc sits comfortably without being squeezed.
11. Set the finished arc onto the hooks and adjust it until it hangs evenly. If you want a more secure mount, loop a hidden zip tie or short piece of matching yarn around each hook and the noodle end underneath the crochet stitches.
12. Drape one or two beach towels over the arc and check that the holder keeps its shape under the weight. If needed, shift the towels toward the center so the load stays balanced.
Variations & Tips
Color swap: Use coral, sandy beige, seafoam, or striped yarn if turquoise doesn’t match your space. A beachy color palette makes this look especially cute in a guest bath.
Stitch option: Single crochet gives the neatest, densest cover, but half double crochet works if you want to finish faster. Just keep the stitches tight enough that the foam doesn’t show.
For heavier towels: Choose a denser pool noodle and sturdier utility hooks if you plan to hang oversized bath sheets. This project is lightweight, but stronger hardware makes a big difference.
Kid-friendly use: Mount it a little lower in a bathroom or mudroom so kids can reach their own swim towels. I love projects that help keep the post-pool mess under control without adding another plastic bin to the floor.
Make it more polished: Wrap the very ends with extra yarn and stitch them closed for a cleaner look. It takes a few extra minutes, but it makes the holder feel more finished.
Moisture tip: Let towels air out before piling too many on at once. Since this is yarn-covered, it works best as a drying and holding bar for lightly damp towels rather than soaking wet ones.