
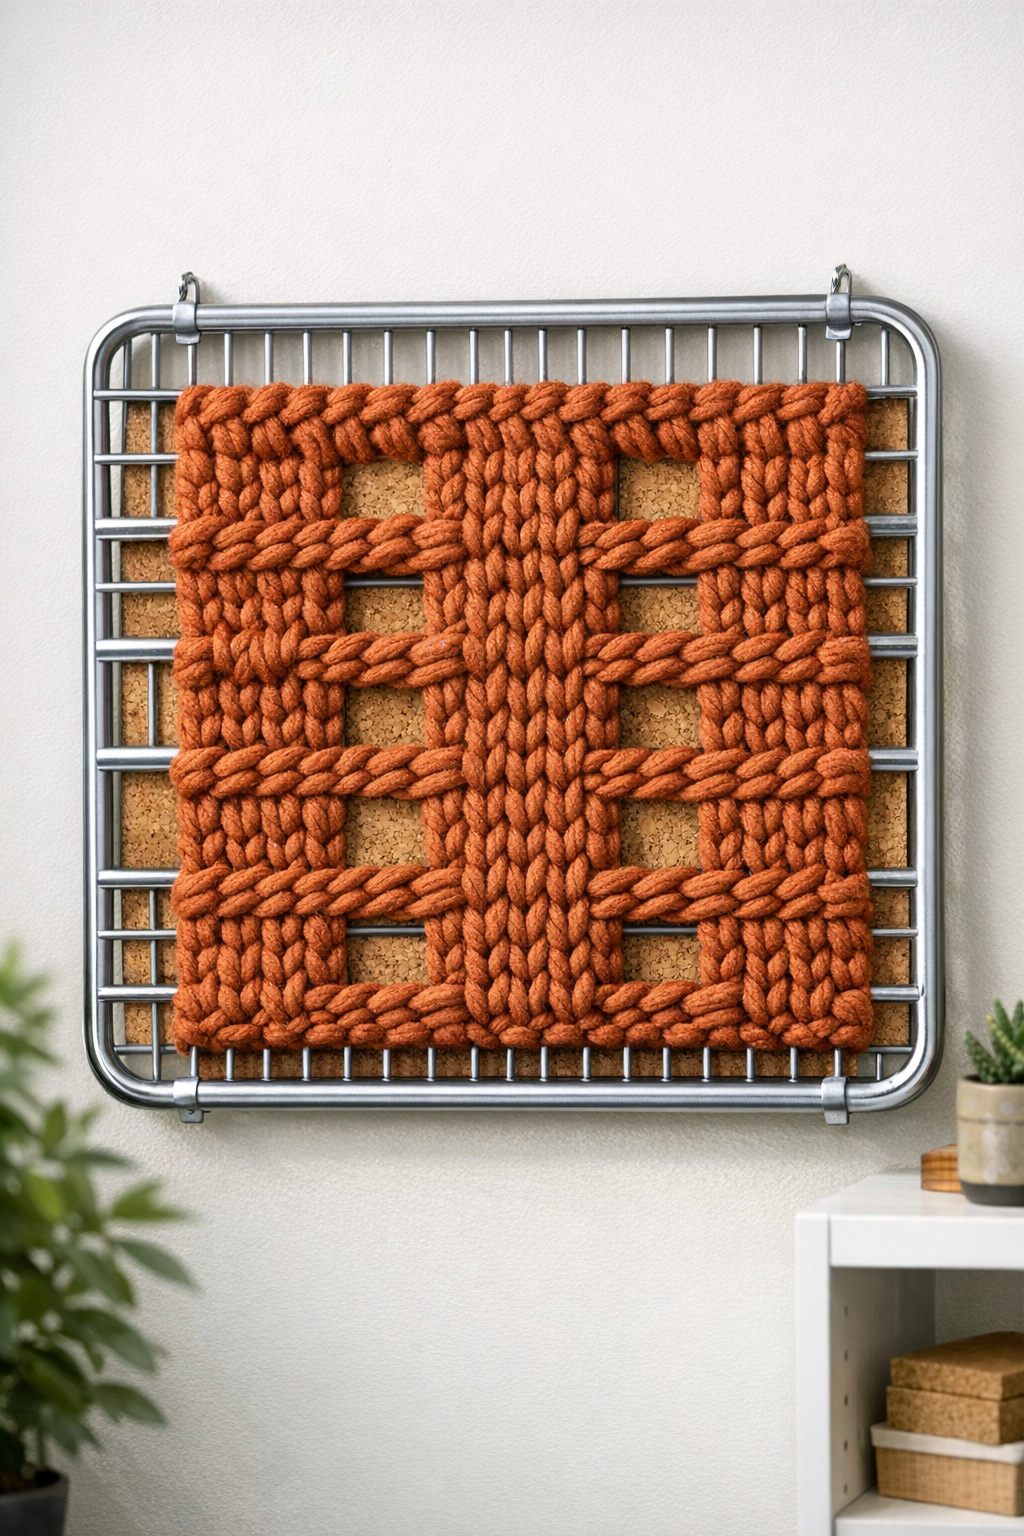
I’ve always had a soft spot for giving tired old things a second life, and this bulletin board is the kind of project that makes you stop and smile when it’s done. By crocheting chunky rust orange yarn right through a thrifted metal oven rack and gluing cork squares behind it, you get a back-to-school board that’s practical, sturdy, and handsome enough to hang in a kitchen, mudroom, office, or child’s study corner.
What I love most is that it doesn’t ask for perfect crochet skills or fancy tools. If you can manage a simple stitch and don’t mind a little bit of patient handwork, you can make this. It reminds me of the kind of project we used to piece together from whatever was on hand—useful, frugal, and far prettier than it has any right to be.
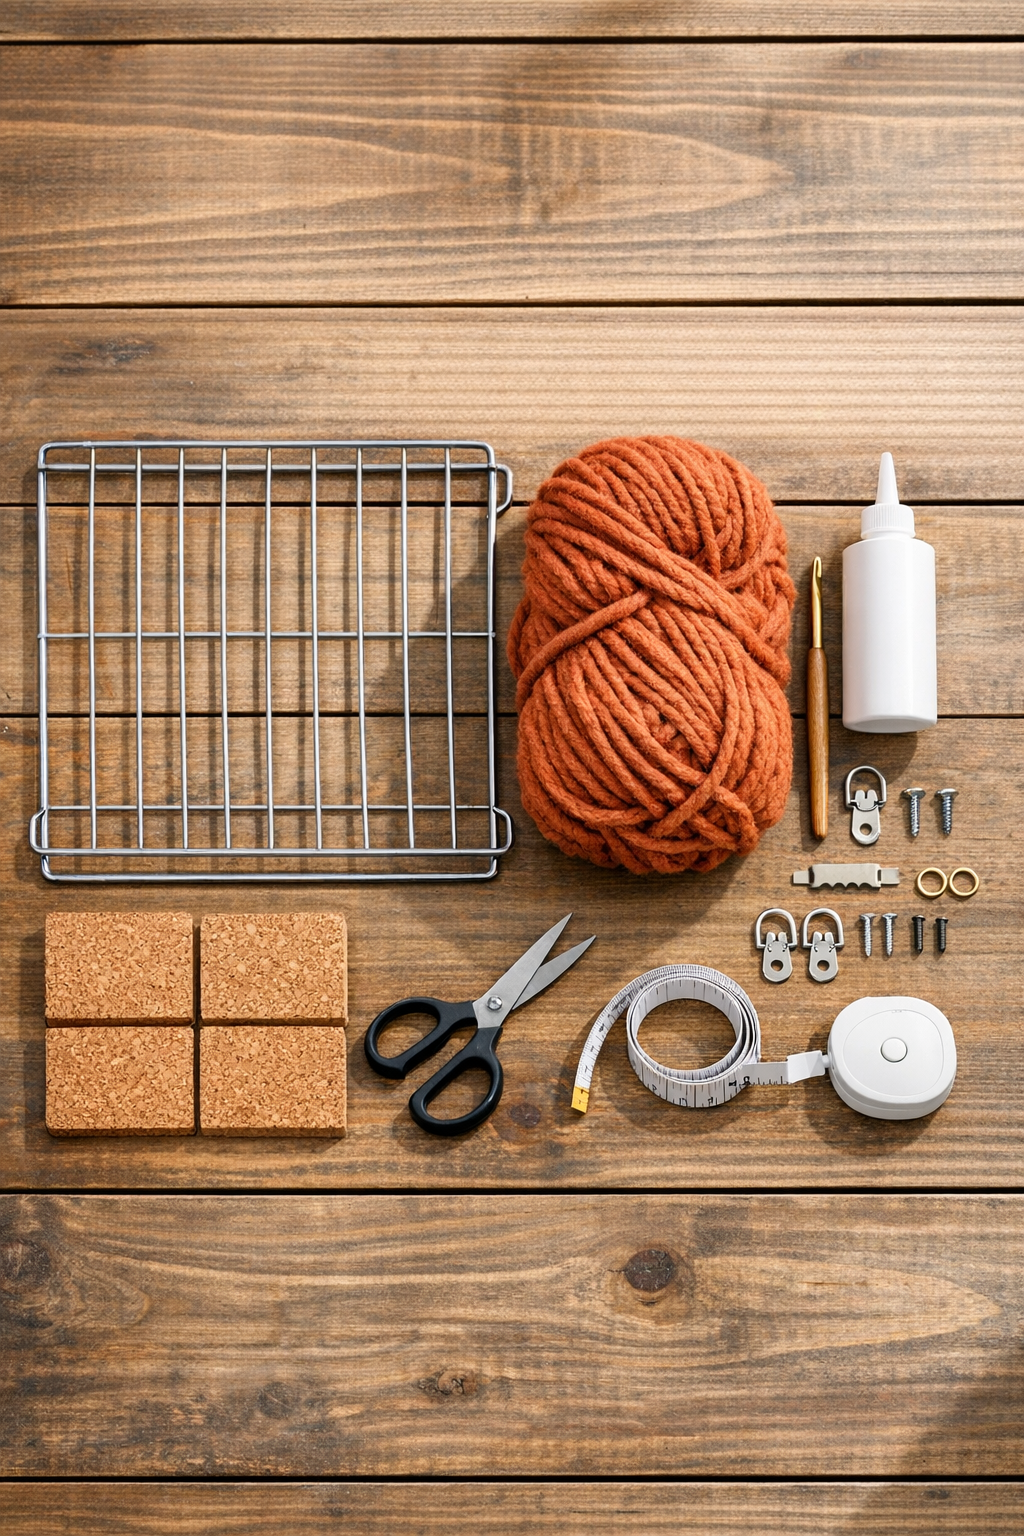
Materials
Instructions
1. Wash the oven rack with warm soapy water, rinse it well, and dry it completely. Wipe away any grease or loose rust so the yarn and glue will sit cleanly.
2. Decide which side will be the front and lay the rack flat with the longer side running left to right. Measure the grid openings so you can plan a neat crocheted section that covers the center area.
3. Cut a starting tail of yarn about 8 inches long and tie it securely to one outer bar near a corner of the area you want to cover. Keep the knot on the back side so the front looks tidy.
4. Insert your crochet hook through one grid opening, pull the yarn through the metal bars, and begin working simple chain-like loops or single crochet-style stitches around the bars. The goal is to wrap and fill the grid evenly rather than follow a formal pattern.
5. Continue crocheting across the rack, working one opening at a time and keeping the tension snug but not tight enough to bend the metal. Push the stitches together with your fingers now and then so the coverage looks full and cushioned.
6. Turn the rack as needed to keep your hands comfortable, and fill the center section row by row. Leave a small metal border around the outside if you want the rack shape to still show.
7. When you reach the end of a section, knot the yarn on the back around a crossbar and weave the end through nearby stitches. Start a new length the same way if you need more yarn.
8. Lay the finished rack front side down and arrange the cork squares on the back so they sit behind the crocheted area. Space them evenly to create a solid pinning surface without covering the edges where the hanging hardware will go.
9. Glue each cork square to the back of the rack, pressing firmly so the cork bonds to the metal contact points and to neighboring cork edges where they touch. Let the adhesive cure fully according to the package directions before moving the board.
10. Attach felt pads or rubber bumpers to the back corners so the board will hang without scratching the wall. This also helps it sit a little more evenly once mounted.
11. Fasten D-ring or sawtooth hangers to the top back edge using small screws with washers and nuts through the rack, or secure them tightly with heavy-duty zip ties. Check that both sides are level before tightening completely.
12. Hang the bulletin board and test it with a few pushpins through the crocheted yarn into the cork behind. Trim any stray yarn ends on the back, and adjust the stitches with your fingers if any spots need fuller coverage.
Variations & Tips
Use a simpler stitch: If regular crochet feels awkward through the rack, just pull loops through each opening and secure them around the bars in an even pattern. It gives a similar chunky, woven look without much fuss.
Change the shape: Smaller toaster oven racks or cooling racks can work for a more compact message board. Just reduce the yarn and cork to fit the size.
Try school colors: Rust orange is warm and striking, but this project also looks lovely in navy, forest green, mustard, or a two-color striped layout. I’d pick a shade that suits the room where it will hang.
Keep the pins easy to use: Don’t crochet too densely over every opening, or pushpins can become hard to insert. A slightly open texture works better for a real everyday bulletin board.
Make it sturdier: If the rack has wide gaps, glue a thin backing board behind the cork squares first, then attach that assembly to the rack. That can make the finished piece feel more solid.
Clean thrifted metal well: Old oven racks can hold onto grease in the corners. I like to scrub them twice and let them dry in the sun if I can—it’s an old farmyard habit, and it saves headaches later.