
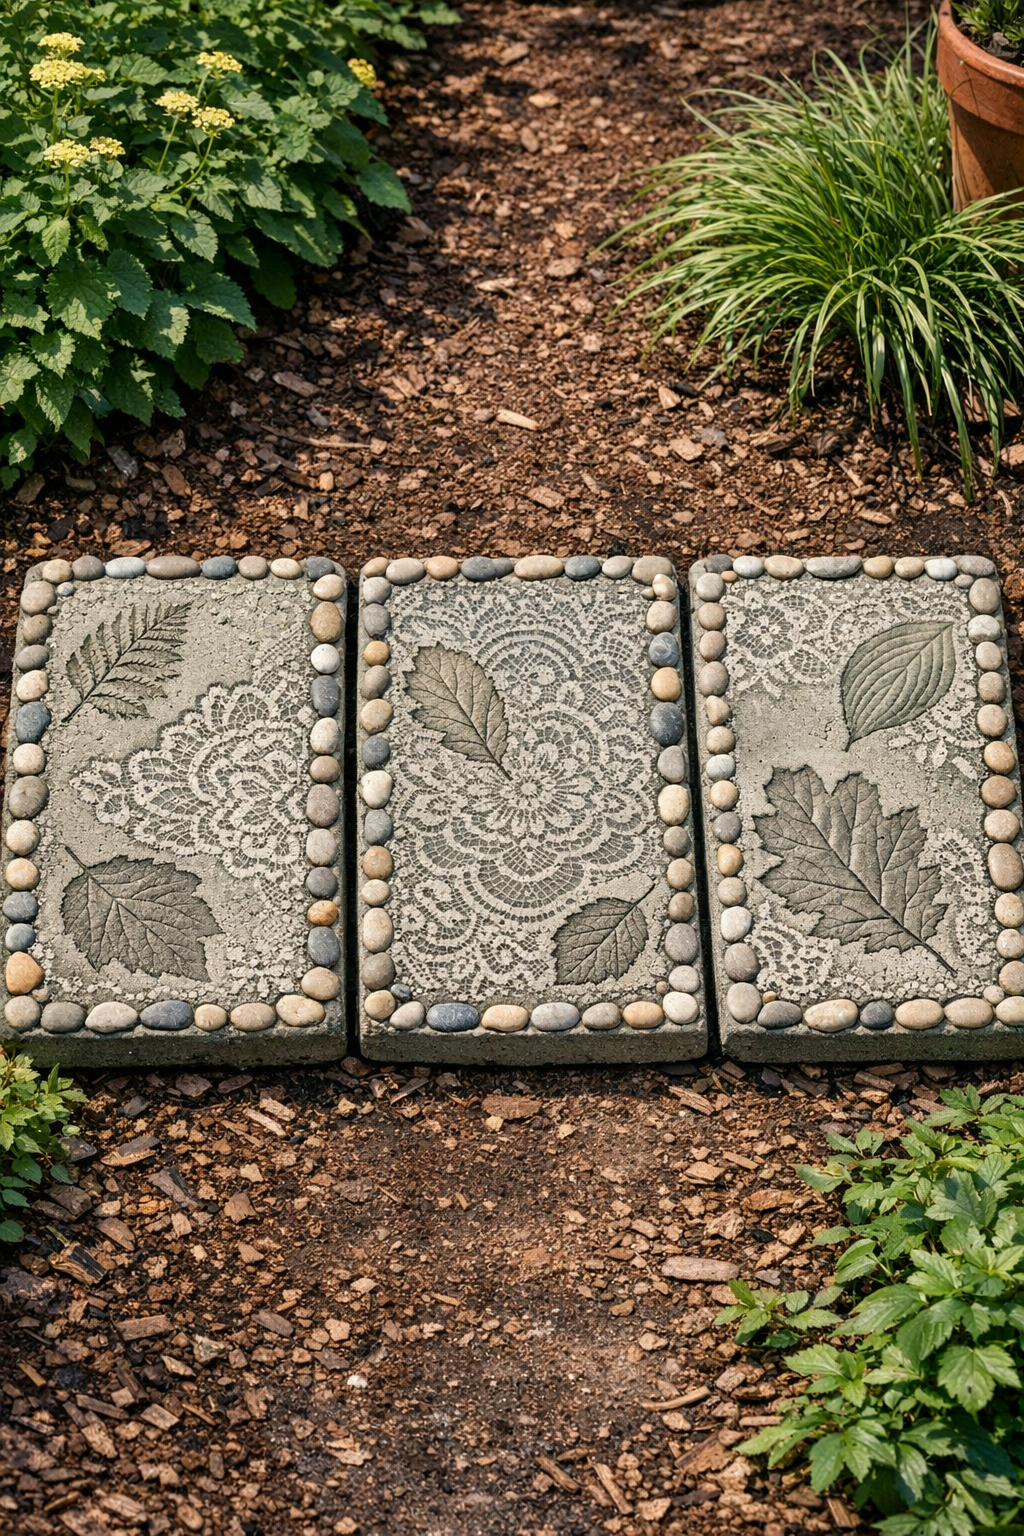
There’s something deeply satisfying about turning plain cement into something that looks like it came from an old garden shop or a well-loved farmhouse path. For these patterned patio slabs, I use thick vinyl lace tablecloths pressed into wet cement, along with two simple extras that make all the difference: sturdy leaf cuttings for a bit of natural texture and small river stones to frame the edges. The result is a set of decorative stepping stones that feel both practical and pretty, the sort of project that makes a patio corner look thoughtfully finished without spending a fortune.
I’m especially fond of projects like this because they remind me of the old Midwestern habit of making do with what we had and making it beautiful anyway. If you’ve got a small patio, a garden path, or even just a patch by the back steps that needs some charm, this is an easy weekend project with a big payoff.
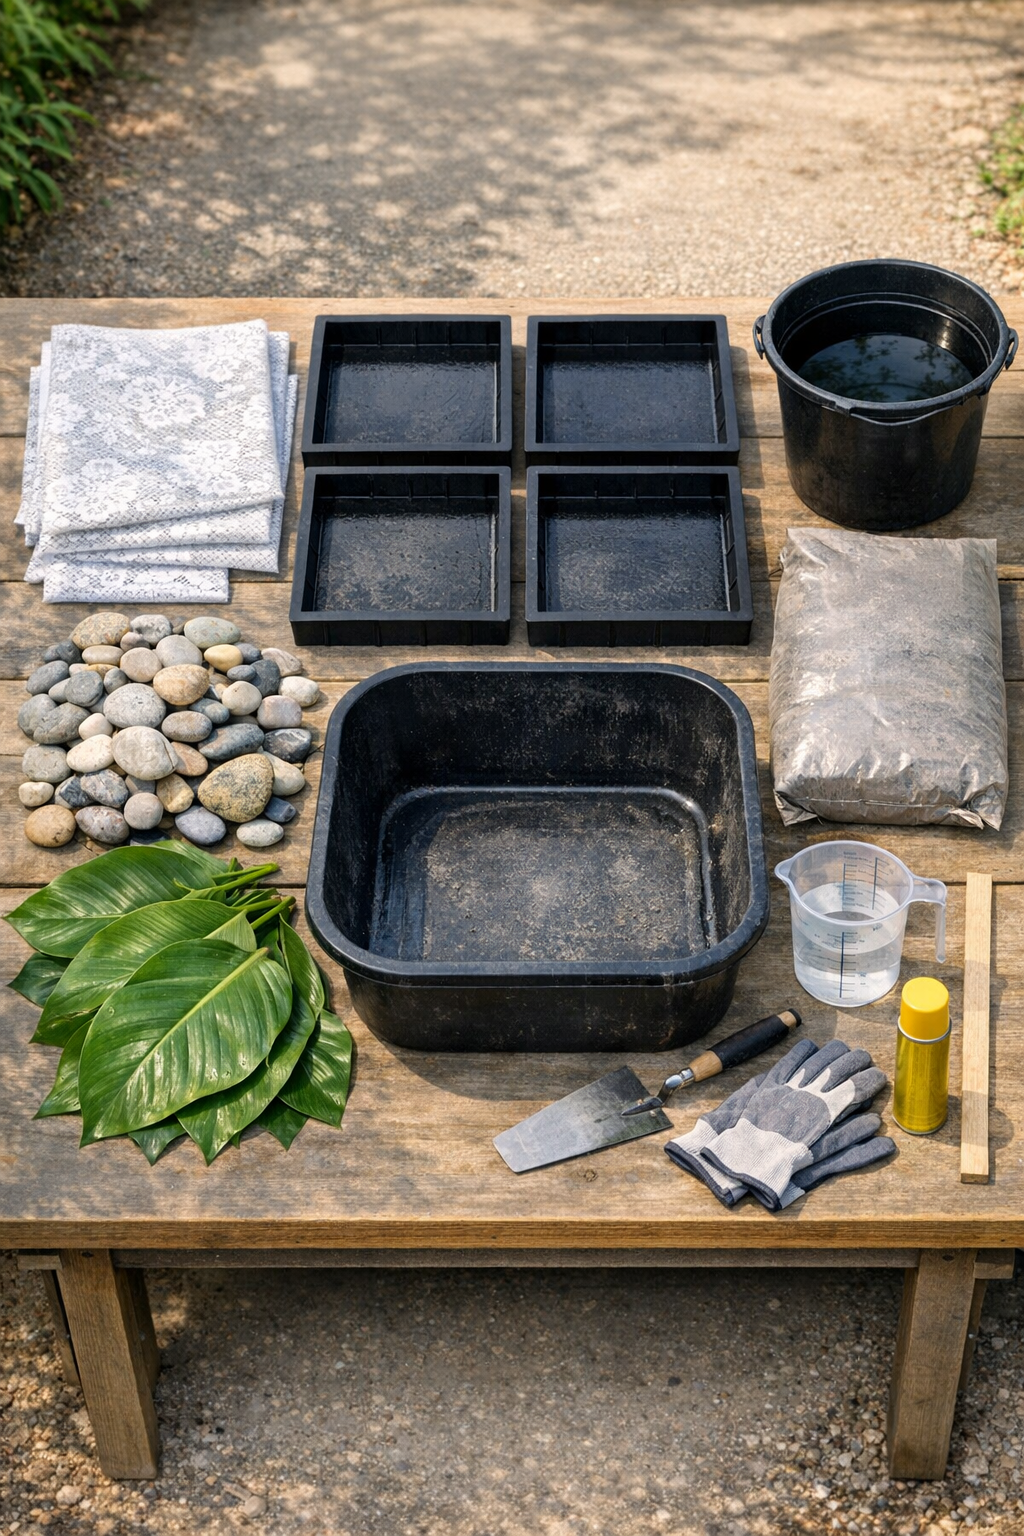
Materials
Instructions
1. Cover your work surface with the tarp and set the three molds on a flat, level area where they can stay undisturbed for at least 24 hours.
2. Cut the vinyl lace tablecloth into three pieces slightly larger than your molds, then choose the prettiest leaf shapes and rinse the river stones clean so no dirt gets pressed into the cement.
3. Lightly coat the inside of each mold with cooking spray or oil, making sure to cover the corners so the slabs release cleanly later.
4. In a mixing tub, combine the cement mix with water a little at a time until it reaches the texture of thick oatmeal and holds its shape when scooped.
5. Fill each mold halfway with cement, tap the sides gently to release air bubbles, then add more cement until each mold is filled to about 1 1/2 inches deep.
6. Smooth the surface lightly with a trowel, but don’t overwork it; a slightly soft top takes impressions better than one that’s already beginning to set.
7. Press a few leaves face-down into the wet cement in each mold, spacing them where you want their veins to show in the finished slab.
8. Lay one piece of vinyl lace tablecloth over each mold and press it firmly and evenly across the surface with your hands so the lace pattern transfers into the cement.
9. Press a border of river stones around the outer edge of each slab, sinking each stone about halfway into the cement so it stays secure after curing.
10. Wait 20 to 30 minutes, then carefully peel back the vinyl lace while the cement is still soft enough to hold the pattern without tearing at the surface.
11. Let the slabs cure in the molds for 24 to 36 hours, then remove them gently and peel out any leaves still attached to reveal their impressions.
12. Set the slabs in a shaded spot and continue curing them for 5 to 7 days, lightly misting once or twice a day if the weather is hot and dry.
Variations & Tips
Different mold shapes: Round plant saucers, rectangular trays, or hexagon molds all work nicely if you want a less formal patio layout.
Best lace choice: Thick vinyl lace gives the cleanest impression and peels away easier than thin fabric lace, which can stick or wrinkle in the cement.
Leaf selection: Choose sturdy leaves with pronounced veins, like hosta, fern, or maple, because delicate leaves tend to collapse before they leave a good print.
Stone border tip: If your river stones vary a lot in size, sort them first and use the flattest ones on top so the finished slabs sit and look more even.
For extra strength: If you expect heavy foot traffic, press a square of galvanized hardware cloth or mesh into the center of each slab halfway through filling the mold.
Color option: A little powdered concrete pigment can be mixed in if you want a warmer stone shade, but I also like the plain weathered gray that settles in naturally over time.
Placement advice: Set the finished slabs on a compacted sand base or level soil so they stay stable and don’t rock underfoot after the first good rain.